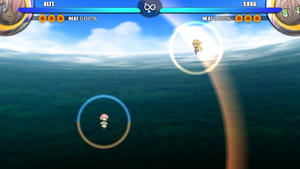
Acceleration of Suguri 2/Alte
Credits to Nyu-13 for allowing us to transcribe their Alte guide to populate this page.
Introduction
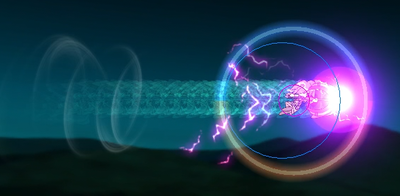
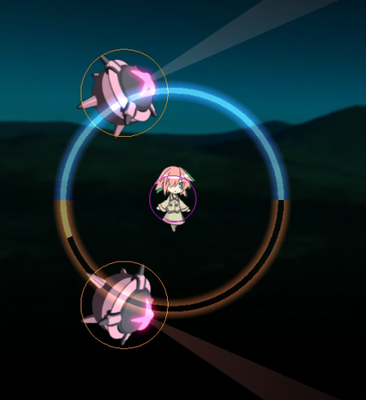
One of the human weapons who fought against Sora in the war a little over 10,000 years ago. Her fighting style is to lock on the enemy with her Searchlight Panel (SLP) and attack them. She also uses a gigantic shock rod in close quarters combat.
She is such a diligent person that she holds her ground even in fights where she stands no chance of winning, risking her own life for the sake of her beloved.
Overview
Alte is an install type character with a kit that has mainly ballistics. She's very snowbally and relies on setting up her Search Light Panel(SLP) as fast as possible and causing the games momentum to shift in her favor.
Because her SLP is destructible however and she is as mentioned before mainly ballistics, she basically struggles against any character with the ability to either quickly take out her SLP(has good rushdown) or destroy ballistics very efficiently. Which to her dismay many characters have at least one off going for them.
This mixed with her low speed and questionable ways of metergain make Alte one of the weaker characters in the game.
Difficulty: Hard
Being low tier isn't easy, Alte isn't super difficult because her kit is very hard to understand or anything. She is due to being a very position reliant slowpoke that relies on an install hyper many characters have no problem taking out in no time to achieve anything of value.
Gameplan
Farming Meter
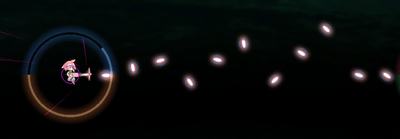
Alte’s best way to gain meter is by using her Tap wB/Hold wB, SPwA and wA. SPwA is your usual combo follow up and tends to be far too risky to use without trying to confirm into it. So you usually want to use wA/dwA to assist you with setting it up while using Tap and Hold wB to as a way to protect yourself.
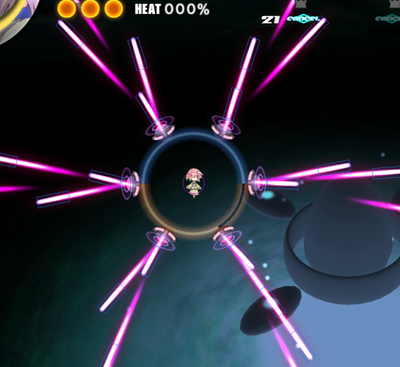
Setting up some missiles or laser panels with Hold wB/Tap wB to hide behind and then follow up with wA/dwA is usually a good way to try and set up a hit you can follow up with SPwA. When you're trying to gain a lead though you usually want to concentrate on using laser panels(Tap wB) more due to their lower meter feed.
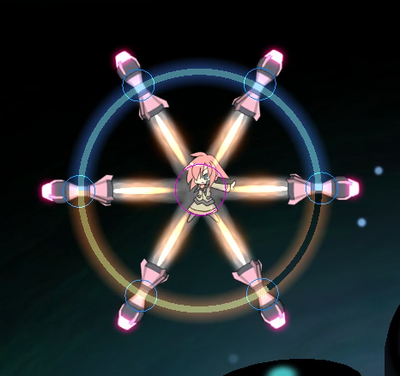
Once SLP is up you usually want to throw any thoughts of feeding meter out the window and just start using rockets(Hold wB) and some occasional laser panels, due to their insane homing, your rockets usually force enough meter out of your opponent for the meter negativity they carry not to matter.
Offense
Alte is a character that really plays aggressive and defensive at the same time, though she has some things she can do to put up some more pressure. In order to be any sort of actual threat however you first want to get SLP up(more on how to achieve that during the defensive section).
After getting SLP up you can can use minigun(wA) or SLP Shield(SP) to try and assists pinning someone down for the rockets to hit. Trying to use rockets more midscreen or setting them up to cut someone off will also help her turn up the pressure. She can also work with Dash Hyper to assist her in cutting people off, though its rather inconsistent and usually not worth the meter. Also making more liberate use of B.Hyper can greatly help with your pressure.
Defense
Due to her nature as a character and the fact that most characters will constantly try to mercilessly rush you down, defensive is the playstyle you'll go to by default, though as mentioned before this isn't really a problem due to your defense being your offense.
Once again you first want to get SLP up, the best way to achieve this without dying is to as mentioned before set up some rockets or laser panels to hide behind and then just shoot your minigun in order to deny any approaches coming your way, be very mindful of your ammo though due to the fact that Alte can keep her gun up without actually fiering causing you to be very open to a potential punish. So always dash cancel out before its almost empty if you didn't hit. Depending on how mobile you need to be to still dodge you'll have to decide if you want to go for dwA or just wA.
Once SLP is up you want to start setting up rockets with some laser panels here and there. Depending on how well they can clear your missiles you'll have to opt for using laser panels more often. If they try to melee you can usually use SLP Shield to deny that, you normally want to try to keep a lot of distance and be sure to have your SLP behind you so it can't get destroyed as easily, having it outside the arena is usually good due to it being unable to get hit from most projectiles there. Keep in mind that SLP Shield always moves SLP in front of you so using it to reposition your SLP to a more favorable position can sometimes be a good idea.
Normal Moves
Weapon A
Weapon B
Hypers
Combos
Most of Alte's combos are very position reliant and will usually not work if you're either too far away or too close.
Meterless
- wA/dwA > Dash Cancel > SPwA
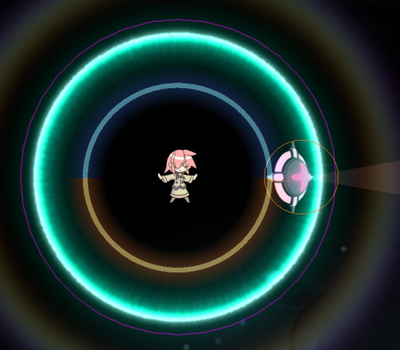
- Fairly simple follow up from wA, requires you to be around midrange for the follow up to be true (shown on image).
- SP(SLP) > WA
- Fairly easy follow up from SLP Shield. Make sure to let go of SP all the way before hitting WA. The closer the opponent is, the easier to combo. A good range is for Alte's ammo circle to go through the middle of the opponent. By moving away while firing, it is possible to get into the range to do the Shock Rod combo just above this one.
- Tap wB > SPwA
- Follow up to any stray laser hits, requires a good feeling of knowing rather Tap wB hits or not, requires you to be somewhat close to your opponent when using SPwA
- Hold wB x 3 > SP/wA/dwA
- Just pinning someone with whatever you can for rockets to hit, you usually want to have SLP up when you go for this due to the improved homing effects
Meter
- Tap wB > N.Hyper
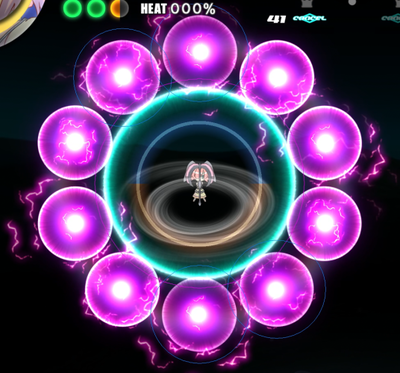
- Summon laser panels and then SLP, rather easy way to protect yourself while getting SLP with the added bonus of having the lasers convert into their homing version, be sure to mind the animation it takes to spawn panels to time your Neutral Hyper after they are actually spawned
- SPwA > N.Hyper
- Alternative way to get SLP up with an added bonus, this one will provide you with an extra chunk of meter
- wA/dwA > SP.Hyper/N.Hyper(SLP)
- Follow up to wA when you're too close for SPwA to connect
- SP(SLP) > SPwA > N.Hyper
- Fairly simple follow up from SLP shield
- wa/dwA > D.Hyper > Dash Cancel > SPwA > Dash Cancel > SPwA
- Requires a good idea of where shock balls spawn, allows you to gain a rather huge chunk of meter back due to SPwA's high gain, only works near walls
- dWA > DH > spWB > WA into Claymore 1 > WA into Claymore 2 > spWA
- Alte's largest source of damage, doing 2800-3200 damage typically for only 1 meter. During dWA, position Alte directly above or below the opponent so DH combos. Spawn Claymores and then use WA to push the opponent into their firing range. Reposition so that spWA does not hit them into a nearby wall. The combo can be done even if the starting dWA uses up all the ammo. Can potentially shield-break an opponent's Shield during DH if the DH lands near max range. Does not require much practice to achieve with landing the initial dWA being the hardest part. spWA can be replaced with the WA > dc > spWA combo if spaced correctly. Different attacks can be incorporated for even more damage (4000+), but the difficulty in execution greatly increases.
- dWA > DH > tap WB > dc towards the opponent > tap WB > WA
- Alternate of the above if there is not enough ammo for Claymores. Tap WB requires decent spacing to hit with the highest number of lasers. WA can be replaced with spWA but awareness of the arena wall is needed.

