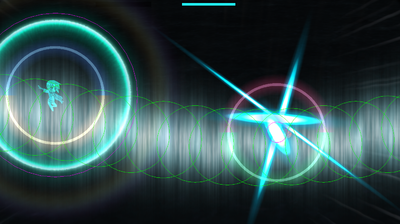
Acceleration of Suguri 2/Mira

From Mizuumi Wiki
Jump to navigation Jump to search
AoS2Mira.png

Introduction

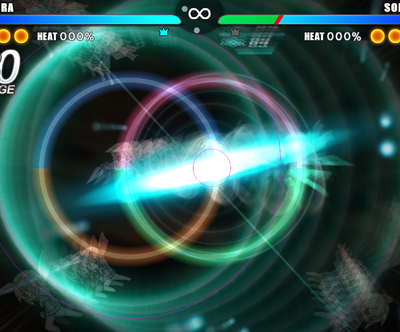
The 2-in-1 heroic ninja from Sora is here to give all the fight they’ve got! Mira is a versatile character with high damage potential, good space control and a variety of powerful hypers. Though their matchup spread is largely negative (due to their slow dashspeed and terrible meterless offense) their unpredictability is what allows you to snag victory from your unsuspecting opponents.

Overview

Mira's primary goal is to abuse their exhorbitant meter gain so they can damage the opponent with their hypers, mainly Tornado (Neutral Hyper) and Beyblades (B Hyper). Tornado is a spammable any-range option that can lead all the way up to a 3k damage combo, while Beyblades significantly improve Mira’s melee abilities. Mira also has a low-startup melee combo in the form of SP Hyper (whose range is boosted significantly if cancelled from the first few frames of SPwA), and a potent, hard to avoid game-ender in Accel Hyper. Note that most of Mira's hypers are vulnerable to being shieldbroken by melee opponents; using these at the right time (or knowing when to use meter on shields instead) is part of the difficulty curve in learning this character.

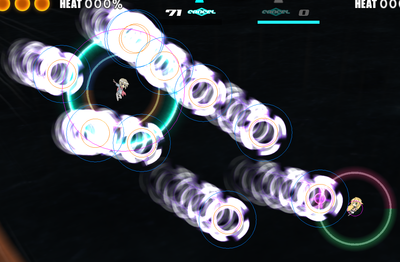
Mira’s offense without their hypers is weak and relies on baiting or trapping your opponent. This means good meter management is vital to playing Mira well. Generally, Mira will pressure the opponent and interrupt their attack patterns with Shurikens (wA) and Knives (Hold wB), while controlling space and defending themself using Smoke Bombs (SPwB) and Caltrops (dash wA), a pair of attacks that limit your opponent's movement options. Almost all of these attacks have incredible meter gain, but they won't easily lead to combo damage. Their greatest benefit, rather, is that they manipulate your opponent and make them hesitate to approach, giving you some temporary leeway to build meter.

Difficulty: Hard

Mira has a ginormous arsenal of attacks, all of which are important in winning damage trades and remaining unpredictable. This, combined with the large number of ‘techniques’, combos and disadvantageous matchups, means that Mira takes a lot of effort to get used to. Incorrect Mira play against certain characters will result in a quick loss.

Normal Moves

  • Moves with a ★ will replace their non-★ counterparts while Mira has a Beyblade/Chakram up.

Weapon A

Scorching Beam Ninja Stars (Can also be held)
Weapon A
Aos2 mira wa2.pngAos2 mira wa.png
Type Energy Shots
Beam Primary: 15-90% 2 - 12
Damage Meter Gain Grazed Meter Gain
200x ~4 full uses for a bar ?
Startup Canceled Recovery Full Recovery
13 8-58 23-73
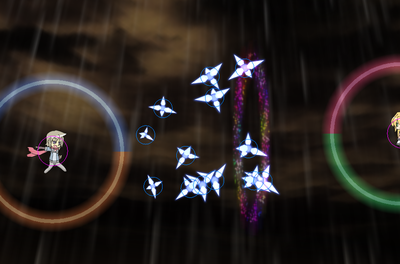
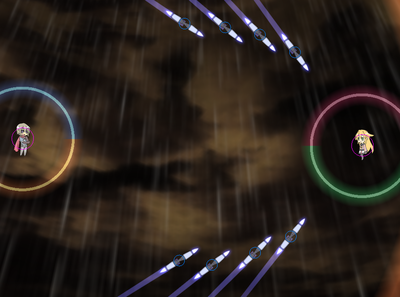
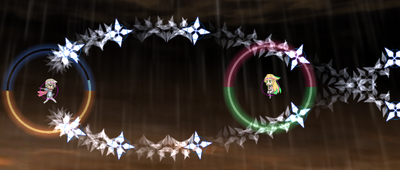
Fires a pair of shurikens, one from each side. The shurikens travel outwards in a curve, then inwards to an intersection point about half a screen away. Holding wA will keep Mira in the animation, and continue to fire shurikens if wA ammo is sufficient. Mira can move while throwing shurikens; moving towards the enemy switches the intersection point to be closer to Mira. Provide very good damage, ballistic/object destruction, and meterbuild, but feed a lot of meter, too. Hitting with this close up can give up to a +42 frame advantage, normally closer to +30.
Gleaming Caltrops
DashWeapon A
Aos2 mira dwa.png
Type Energy Shots
Beam Primary: 0% 13
Damage Meter Gain Grazed Meter Gain
1x (50x after 9 frames) 0 Around 9 per stack
Startup Canceled Recovery Full Recovery
9 17 32
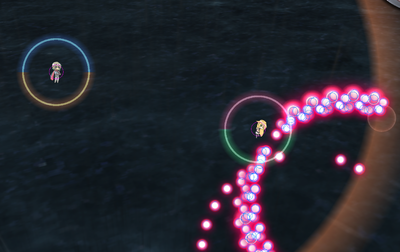
Fires 13 caltrops at random angles in a cone at Mira's front, 1 per frame. Each caltrop will travel forward at a decreasing velocity until they stop in place, persisting for a total of 2 and a half seconds. Despite what the visuals suggest, the hitbox of each caltrop does not increase in size. By frame 30, all caltrops will have switched to dealing 50 damage instead of 1, making it a decent ballistic shield. The low startup also makes it a quick melee blockade and surprise combo starter/extender. Using these in combination with smoke bombs will restrict an approaching opponent's movement. -3 frame advantage at worst with only one caltrop hitting (very rare). Typically +11 when used very close. Can go up to +18 frame advantage at max range.
Quick Slash
SubWeapon A
Aos2 mira spwa.pngAos2 mira spwa2.png
Aos2 mira spwa3.pngAos2 mira spwa4.png
Type Energy Shots
Direct Primary: 0% -
Damage Meter Gain Grazed Meter Gain
120+80+160 ~10 with a full combo, ~20 of just the first hit 0
Startup Canceled Recovery Full Recovery
18 29-47-69 34-57-84
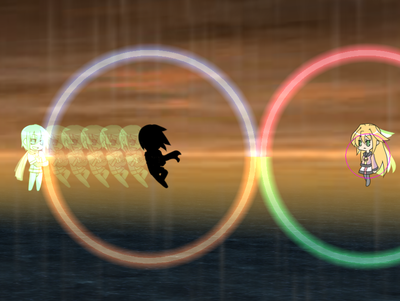
3-hit melee combo. Mira travels towards the opponent in an invulnerable state for 11 frames, then stops in place and attacks. Inputting SPwA again causes Mira to travel behind the opponent and attack again. Inputting it a 3rd time finishes the combo with a lunge through the opponent. The combo will always have a 4-frame gap where the opponent can dash cancel before you land the 2nd hit. A horrible, frame-negative, slow and easily punished melee; should never be used without setups, or a hyper-cancel from the invulnerability period of its startup (see Combos section for details). -14 frame advantage on the first hit, -6 on the second, and -13 on the third.

Weapon B

Gleaming Kunai
Weapon B
Aos2 mira wb.pngAos2 mira wb2.png
Type Energy Shots
Ballistic Sub: 30-90% 3 - 9
Damage Meter Gain Grazed Meter Gain
180x ~10 with just the first set. Followup sets give less meter. ?
Startup Canceled Recovery Full Recovery
13 ( + an additional 13 frames for each additional volley when moving) 13, 31, 34 28, 41, 44
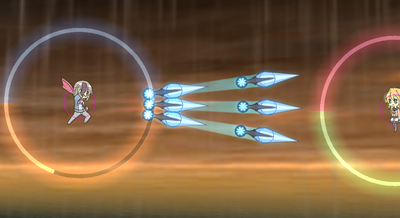
Fires a set of 3 kunai in front of Mira, spread in a thin cone. They travel out at a decelerating pace for 20 frames, then begin accelerating. Pressing wB again fires another set of kunai, up to 2 more times. You can optionally hold a direction during these subsequent throws to have Mira mini-dash in that direction (dashes add 30% heat, does NOT let you go through/graze beams). The 3rd throw has the lowest recovery. If a kunai hits the wall, it will stay in place and persist for two seconds before its hitbox disappears, which is completely useless. Weak, but has niche combo and spacing usage.
Counterattack Kiri (Held)
Weapon B
Aos2 mira hwb.pngAos2 mira hwb2.png
Type Energy Shots
Ballistic Sub: 15%x4 8
Damage Meter Gain Grazed Meter Gain
160x (per knife) ~5 uses for a bar ?
Startup Canceled Recovery Full Recovery
16 10 20
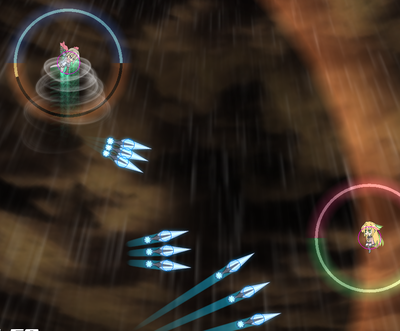
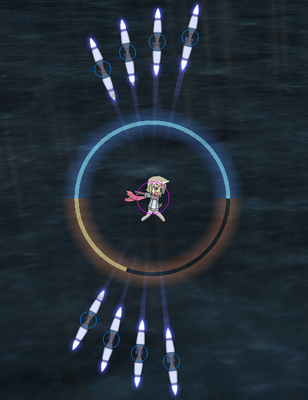
'Knives'. Mira fires a pair of knives sideways every 2 frames, wrapping from front to back. Each pair has its own ammo cost. The knives travel outwards until they hit a wall, upon which they fly towards the opponent's current location at an accelerating pace. One of Mira's two best meterbuild options. Provides strong delayed fire, making it a backbone of Mira's zoning and combo damage. Can also be used as a strong but risky punish on opponents caught in smoke bomb.
Binding Smoke
SubWeapon B
Aos2 mira spwb.pngAos2 mira spwb2.png
Type Energy Shots
- Sub: 30% 1
Damage Meter Gain Grazed Meter Gain
- ~14 uses for a bar ?
Startup Canceled Recovery Full Recovery
11 5 20
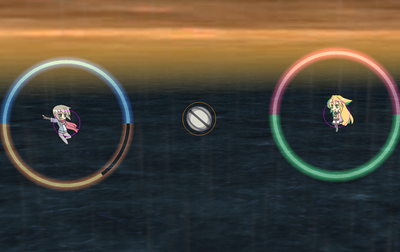
'Smoke bomb'. Mira throws a cask towards the opponent, which will detonate after 45 more frames or when it hits an opponent's attack. Upon detonating, the cask releases a small field of smoke that lasts for 317 frames (about 5.3 seconds). Opponents inside the smoke field have their initial dashspeed lowered and their held dashspeed nullified (several other movements have reduced speed too, such as knockback and movement during melees like Suguri's SPwAs); however, their walkspeed is unaffected. Vital to Mira's pressure, provides great meterbuild without feeding, and is the only thing stopping opponents from simply standing on top of Mira and punching them to death.

Beyblade/Chakram Only

Swift Chakrams ★
SubWeapon A
Aos2 mira beybladespwa.pngAos2 mira beybladespwa2.png
Type Energy Shots
Direct (Beyblades/Chakrams), Beam (Orbs) Primary: 0-84% 3 per Beyblade/Chakram, up to 7 times
Damage Meter Gain Grazed Meter Gain
20x (Beyblades/Chakrams), 80x (Orbs) ~8 full uses for a bar ?
Startup Canceled Recovery Full Recovery
1 (Beyblades/Chakrams), 12 (Orbs) 40 50
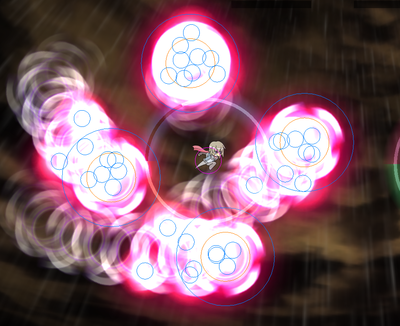
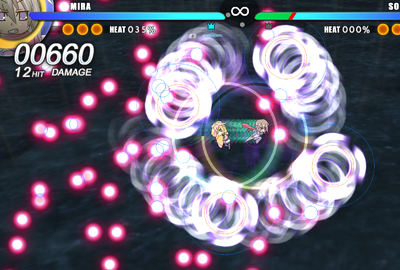
'Beyblade Rush'. Adds 50% heat. Mira lunges towards the opponent starting from frame 9. During this move's animation, Mira's beyblades will spin anti-clockwise at a faster pace than normal, dealing Direct damage per tick while knocking the opponent behind you. In addition, between frames 12-18, each beyblade will spawn a trio of red orbs per frame, expending 3% Primary ammo per trio. These orbs slowly travel outward for 87 frames before disappearing, and tend to juggle opponents caught by the main attack. Orbs will not spawn when ammo is empty. This move is the definition of high-risk, high-reward; it's extremely fast, making it Mira's best source of damage, but has several downsides including ginormous meter feed, heat gain, and the risk of your Beyblades being destroyed mid-rush. +1 to +27 frame advantage normally. It can be up to -23 during rare instances where the opponent only get hits once by a beyblade at the start; this is due to them being extremely close to Mira, so try to maintain some distance when using the move.
Soaring Chakrams ★
SubWeapon B
Aos2 mira beybladespwb.pngAos2 mira beybladespwb2.png
Type Energy Shots
Direct (Beyblades/Chakrams), Beam (Orbs) Sub: 0% -
Damage Meter Gain Grazed Meter Gain
120x (Beyblades/Chakrams), 80x (Orbs) ~22 uses for a bar ?
Startup Canceled Recovery Full Recovery
13 (Beyblades/Chakrams), 30 (Orbs) 3-32 19-48
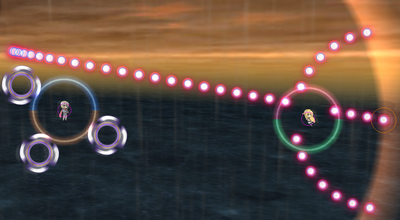
'Beyblade Toss'. One of Mira's beyblades retracts away from the opponent's current location, then flies forward towards that location (does not deal damage per tick like Rush does). A trail of red orbs is left in the beyblade's path as it flies forward, each remaining on the map for 5 seconds, and an expanding ring of orbs is also created once the beyblade collides with a wall, which disappears after 2.3 seconds. The retraction period lasts a bit longer if the beyblade exits the perimeter of the arena, causing the beyblade to fly forward later than normal. Priority for beyblade tossing starts from the beyblade that was north-east of Mira at initial summon, then goes anti-clockwise. Multiple beyblades can be thrown consecutively by holding the button, 8 frames apart each (Mira will also spend 5 frames failing to throw a '5th' beyblade if you keep holding the button). Mainly useful for delayed fire and zoning. Can feed a lot of meter if the opponent grazes the orbs. Due to the retraction, this move has an effective startup of ~42 frames unless the opponent is on top of the beyblade.


Hypers

Regular Hypers

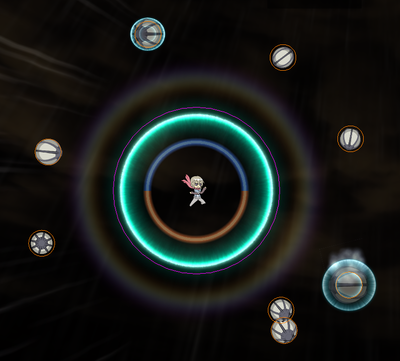
Wrathful Tornado
Weapon AHyper
Aos2 mira nhyper.pngAos2 mira nhyper2.png
Type Energy Shots
Direct - -
Damage Meter Gain Grazed Meter Gain
35x 0 0
Startup Canceled Recovery Full Recovery
30 41 71
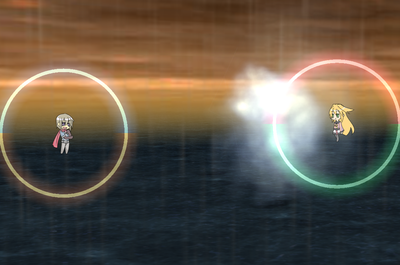
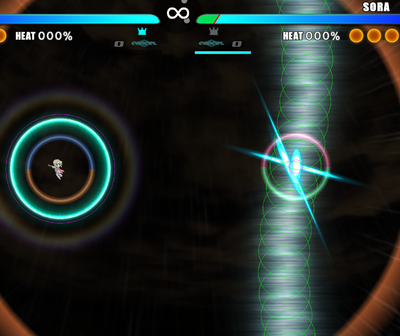
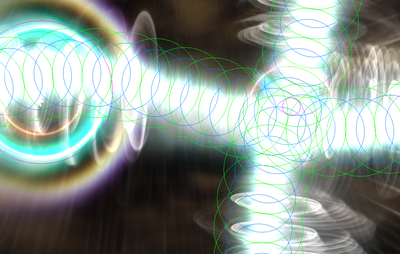
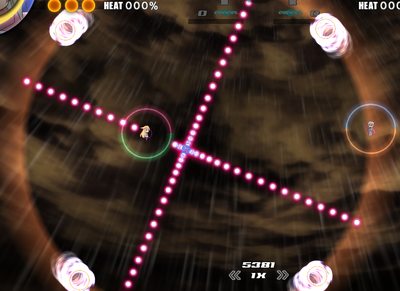
Mira summons a tornado over the opponent's location that lasts for 1.25 seconds and can hit up to 16 times. The tornado covers a line through the entire arena, which runs perpendicular to the opponent's location relative to yours. This can be altered by holding a direction, which will cause the tornado to run perpendicular to that direction over the opponent's location instead (for example, if you held Up, the tornado would run west-east of the opponent). +50 frame advantage if all hits land; though due to the chaotic hitboxes, it is possible for the opponent to escape it if they were only caught by the edge or are juggled by Mira's knives. The startup makes it very half-shieldable (and shield-breakable), but it's an any-range punish and can lead to some brutal combos. One of Mira's main sources for damage.
Circling Chakrams
Weapon BHyper
Aos2 mira bhyper.png
Type Energy Shots
- - -
Damage Meter Gain Grazed Meter Gain
- 0 0
Startup Canceled Recovery Full Recovery
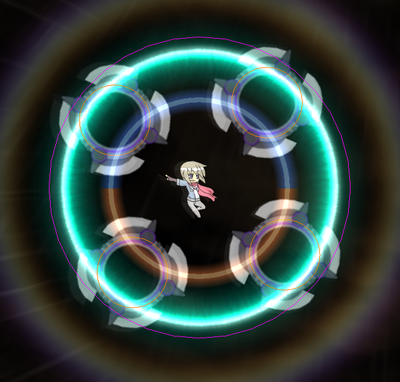
6 35 46
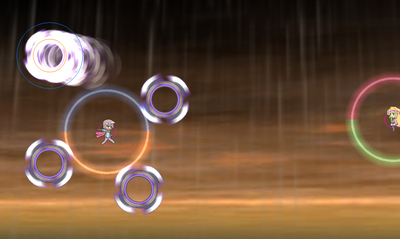
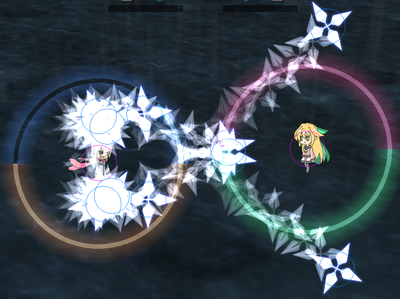
'Beyblades'. Mira summons 4 beyblades that begin to spin around them anti-clockwise, travelling a full circle every 2.4 seconds. Each beyblade can be hit by attacks and has 500HP. While Mira has a beyblade up, their SPwA, SPwB, B Hyper and SP Hyper are replaced by a different set of moves (marked on this page with a ★). This hyper is Mira's other main source of damage, as it gives them access to a powerful melee. Because beyblades are not very durable for their size, they should be summoned safely and used quickly.
Purgatorial Smokescreen
DashHyper
Aos2 mira dhyper.png
Type Energy Shots
- - 8
Damage Meter Gain Grazed Meter Gain
- 0 0
Startup Canceled Recovery Full Recovery
11 30 60
Mira sequentially throws out 8 smoke bombs in random directions, 3 frames between each. These smoke bombs are identical in every way to SPwB ones. Completely redundant in neutral 90% of the time since smokes are already spammable without meter; however, it has uses as a defensive reversal if you've just whiffed a melee or got shieldbroken during another hyper, since some of the bombs will likely detonate upon the opponent's attempted punish and create an immediate wall. Very niche.
Divine Speed Slash
SubHyper
Aos2 mira sphyper.pngAos2 mira sphyper2.png
Type Energy Shots
Direct - -
Damage Meter Gain Grazed Meter Gain
120+80×+200 0 0
Startup Canceled Recovery Full Recovery
15 107 on hit, 26 on whiff 127 on hit, 46 on whiff
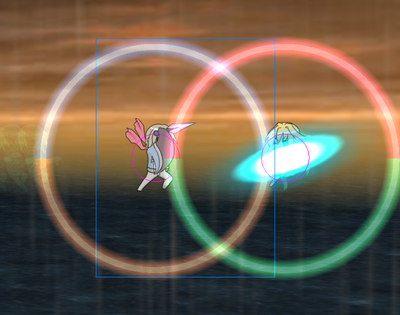
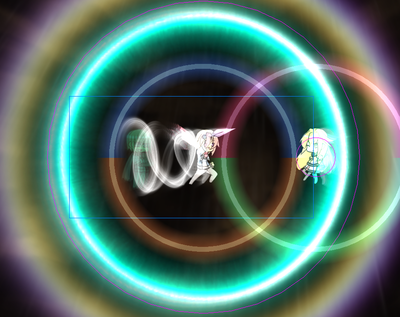
Mira makes a short lunge towards the opponent; if it hits, Mira locks the opponent in place, disappears and performs a combo where 7 clones attack the opponent from random directions, followed by a final lunge that sends Mira towards the middle of the map. The range is pathetic on its own, but decent when cancelled from the invulnerability period of Mira's regular melee, and it has the lowest startup of Mira's hypers, making it a powerful followup from smoke bomb. However, opponents with 1.5 meter can punish it by goldshielding and then shieldbreaking it (which causes Mira to reappear), so it should not be used in that scenario. Additionally, there is a 2-frame dash cancel gap before the final lunge, allowing skilled opponents to halfshield and avoid the final 200 damage. -8 frame advantage if the whole attack hits.
Twin Dragon Tornado
SubWeapon BHyper
Aos2 mira accel.png
Type Energy Shots
Direct - -
Damage Meter Gain Grazed Meter Gain
110x 0 0
Startup Canceled Recovery Full Recovery
30 62 72
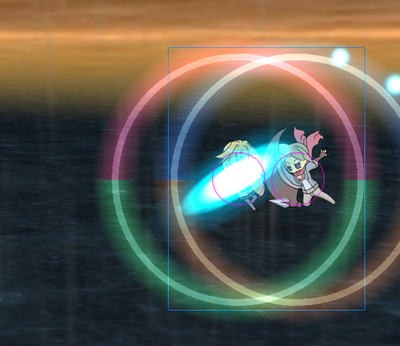
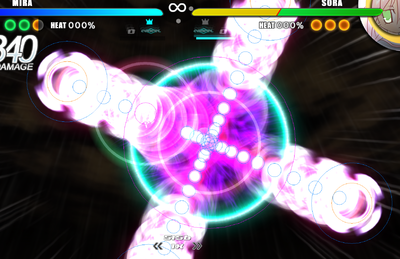
Mira summons a dual-tornado that crosses through the opponent. Like Neutral Hyper, this tornado lasts for 1.25 seconds, can hit up to 16 times, and runs through the map in the same way (based on relative position, runs perpendicular to Mira, directions can be held to alter the angle). +30 frame advantage if all hits land. Best Accel in the game; the larger hitboxes and second tornado make this much easier to land than Neutral Hyper, and it deals a good amount of damage. A meterless Mira is a dead one, though, so this is not a risk-free attack, and it is difficult to keep all the meter needed to use it.

Beyblade/Chakram Only

Soaring Chakrams ★
Weapon BHyper
Aos2 mira beybladebhyper.pngAos2 mira beybladebhyper2.png
Type Energy Shots
Direct (Beyblades), Beam (Orbs) - -
Damage Meter Gain Grazed Meter Gain
50x (Beyblades), 120x (Wall-blades), 80x (Orbs) 0 0
Startup Canceled Recovery Full Recovery
2 (Beyblades), 18 (Orbs) 41 50
Known as the 'Meme Combo'. Mira pulls all remaining Beyblades into themself and then shoots them out in the directions they're facing. Each beyblade leaves a trail of orbs as they fly out. Once a beyblade hits the wall, it will stick to it for 1.75 seconds, then spin anticlockwise around the perimeter of the arena for another 6.5. The orbs and wall-beyblades are a waste of meter, but the initial retraction-ejection phase can shred through a point-blank opponent's HP, since beyblades deal damage per tick during this phase. This makes it an expensive but powerful combo tool, reversal, or followup from smoke bomb (see Combos section for details). Will absolutely be goldshielded if it hits. Effectively has ~5 frames of startup when on top of the opponent, which also can result in +12 frame advantage.
Baiting Chakrams ★
SubHyper
Aos2 mira beybladesphyper.pngAos2 mira beybladesphyper2.png
Type Energy Shots
Direct (Beyblades), Beam (Orbs) - -
Damage Meter Gain Grazed Meter Gain
120x (Beyblades), 80x (Orbs) 0 0
Startup Canceled Recovery Full Recovery
21 50 80
Known as 'Let it Rip'. Mira summons 6 extra beyblades (1 every 5 frames starting from frame 11); each beyblade is sequentially retracted and thrown at a random direction within a cone aimed at the opponent. Mira's existing beyblades are also thrown afterwards in the same manner. Cancelling into another hyper will prematurely end the throwing sequence. The beyblades home slightly on the opponent as they travel. Their damage and knockback properties are identical to Beyblade Toss's, with the exception that the beyblades do not leave trails of orbs behind them (they still leave the rings when hitting the wall, each ring lasting for 1.5 seconds). Used in some rare long-range combos, but is very niche due to the meter cost and potential feed (the opponent can gain over a bar of meter from grazing it).

Combos

(Under construction. Geometry to be added soon.)

PSA: If you're an apprentice Mira, it's better to skip right to the Meter section of this page. Mira's meterless combos are difficult to pull off and require great awareness.

Mira has a veritable army of combos whose scope goes beyond what's listed on this page. A few tips to keep in mind regarding combos:

  • As an attack, Mira's non-beyblade melee (henceforth referred to as SPwA) is beyond awful. Due to the 4-frame dash cancel gap between hits 1 and 2, experienced opponents will be able to escape the combo or even halfshield and punish you for using it. As a result, none of the combos using SPwA are tight on their own; they'll only be tight if SPwA's dash cancel gap is bridged by using knives (hwB) to extend the hitstun. A general good tip is that smoke bombs make melee harder to avoid, knives make it safer, and having both set up is the best-case scenario in which to use it.
  • 'SPwA (invuln) >' signifies that to perform the combo, you must cancel the invulnerability period of SPwA's startup into a hyper (aka kara cancel during invuln). This is because the combo is reliant on using the momentum from SPwA to carry yourself towards the opponent's location during your hyper. To put it simply; kara cancelling SPwA's invuln into a hyper will slingshot Mira towards the opponent, quickly closing the gap between them.
  • Mira's beyblade melee ('Beyblade Rush', henceforth referred to as b.SPwA) has an inconsistent amount of hitstun due to the varying length of time with which the beyblades and orbs will juggle the opponent. Combos below using b.SPwA assume that you are at sufficient wA ammo to generate these orbs, and that you have landed b.SPwA from about mid-distance.
  • Some combos use the 'close-range' version of wA where you're moving towards your opponent and the crossover point is closer, while others use the default 'long-range' version. To distinguish these, the combo list will refer to the close-range version as 'forward-hold wA'.
  • Any combo using already set-up hwB knives will denote hwB as (hwB).
  • The viability of certain combo routes goes up or down depending on whether the opponent is smoked. Individual combos will have notes regarding this.

Meterless

The ideal range to land forward-hold shurikens from. Any closer, and you'll either whiff or drop the combo halfway. Any further, and the opponent'll escape before you can hit them.

Mira's meterless offense is weak. As a result, most of their meterless combos are not tight, and focus mainly on punishing the opponent's rushdown or mistakes.

  • SPwA (3hit)
Terrible. Don't use this without knives/smoke. Leaves you at a significant frame disadvantage even if it's not punished.
  • SPwA (1-2hit) > (hwB) > SPwA (2-3hit)
SPwA's 1st hit > input the 2nd hit > let your previously thrown knives bridge hitstun > finish the SPwA combo. Significantly more viable in smoke. Any hit of SPwA can combo into knives like this, but hit 1 auto-cancelled into hit 2 causes the longest amount of hitstun to set it up with. Note that you can even delay the 2nd attack by a few frames, since it extends the opponent's current hitstun on startup; this is handy if you think you'll need an extra few frames for (hwB) to land.
  • forward-hold wA > SPwA
Close-range shuriken punish > melee followup. Mainly used to punish Tsih's SPwB. If you're in a situation where SPwA will be punished, it's better to dash cancel into dwA or SPwB instead. Don't use all your shurikens if you're landing the combo in smoke, as landing multiple sets of shurikens is reliant on knocking the opponent back (which smoke neuters).
  • dwA > (hwB)/SPwA
Caltrops > letting your previously thrown knives hit them, and/or following up with SPwA. If you're lucky, dwA > SPwA will be tight, but it varies depending on how many caltrops hit. Significantly more viable in smoke.
  • (hwB) > forward-hold wA
Only viable in smoke. Essentially a gamble where you guess how long the opponent will be hitstunned by knives, and use shurikens for a brutal followup. Can be used as an extender from dwA > (hwB) or SPwA > (hwB).
  • hwB > dwA
Tight combo where you catch an opponent strafing around you point-blank with the initial throw of hwB, and then follow up with dwA. Can lead into dwA > (hwB)/SPwA, which is very dangerous for the opponent in smoke. Alternatively, you can finish the combo with dwA and simply use it as a chance to set up smoke.
  • dwA > dwA > loop
Worth noting due to its potential to scum wins by timeout. With moderate spacing and frame-tight execution, dwA can infinitely combo into itself, allowing Mira to hypothetically win games by timeout once they have a HP advantage. Very egregious to try and master. Note that because this loop quickly builds heat, dropping it means you're going to be punished HARD. (On a less scummy note, you can also use this loop to land (hwB).)

Meter

  • Neutral Hyper > forward-hold wA
The standard mid-range combo every single Mira player should learn. Can easily lead to 2-3k. This combo is the reason why opponents will goldshield tornadoes. SPwA (invuln) > Neutral Hyper can help position yourself close enough to be at shuriken range. Depending on the situation, you can choose to link this into dwA or SPwA, or just follow up with a smoke bomb.
  • Neutral Hyper > (hwB)
Usually a happenstance combo that results from knives forcefully ending a tornado combo. Still does more damage than raw tornado, although the necessity of knives in neutral and their ability to interupt nHyper > wA can be annoying at times. Significantly more viable and less shuriken-disrupting in smoke.
  • Neutral Hyper > wB(up to 3 times)
Tornado into trikinves. Only viable in smoke (can be pulled off outside smoke, but requires razor-precise movement and is frame-negative). Requires close proximity to the opponent and is only worth using when wA ammo is dry, but it still does a hefty amount of damage, especially if you have enough wB ammo for all 3 triknife sets.
  • Accel Hyper > wB(up to 3 times)
Same as above but with Accel instead. Only viable point-blank in smoke (SPwA (invuln) > Accel can help set this up). Accel > Shurikens only works point-blank and is very inconsistent, so this route is preferred.
  • Neutral Hyper/Accel Hyper > SPwA(3hit)
Try not to use this.
  • b.SPwA > b.SPwA
Beyblade melee combo. Mira's other most important combo; pretty much always tight if you start with 70% wA ammo and the first b.SPwA is landed at close-mid range. A third b.SPwA has a small chance of being tight outside smoke, but it's generally not worth the lower damage, risk, and heat gain. In smoke, this combo becomes significantly more reliable, and it's possible to repeatedly spam b.SPwA all the way until the smoke disappears; although this can easily backfire on you afterwards due to 300% heat.
  • Neutral Hyper > b.SPwA > b.SPwA
Tornado into beyblade melee. Can combo from a slightly longer range than nHyper > wA and is easier to execute, but doesn't deal as much damage. Consider only using b.SPwA once if you're concerned about heat gain.
  • Neutral Hyper > b.SP Hyper > wA/forward-hold wA
Tornado into 'Let it Rip'. This is the long-range combo for when you've got a 2-0 meter advantage over your opponent and have beyblades up; very niche, but very powerful, especially with the help of the shuriken followup. Note that due to the rings left behind by the tossed beyblades, it can be slightly tricky to aim forward-hold shurikens due to the opponent being bounced around, making the long-range shurikens a safer option.
  • wB/b.SPwB > Neutral Hyper
Setup combo where you throw out a triknife/beyblade and land tornado on your opponent so it'll hit. Adds a chunk of damage from time to time, making it an okay long-range harassment option.
  • Neutral Hyper > b.SPwB > dwA > (b.SPwB hits again)
Doesn't require any ammo. Emergency close-range combo for when you're short on wA ammo and have beyblades up. Requires you to position yourself so the beyblade in question will be over the opponent when you press b.SPwB; then, as the beyblade retracts, you bridge the hitstun with caltrops so the beyblade hits your opponent again once it flies towards them. Can actually chain into itself multiple times, but is extremely hard to pull off, especially outside of smoke. Follow up with dwA, or SPwA/SPwB if that was your last beyblade, or just back off.
  • SPwA (invuln) > SP Hyper > (hwB)
Standard confirm for SP Hyper. Knives add a LOT of damage to this Hyper and make it worth using. Kara cancelling SPwA's invuln period into SP Hyper (and other Hypers, for that matter) is a good habit to learn. Be wary of opponents who have 1.5 meter; you'll need the meter to cancel into another Hyper in order to avoid being punished by them.
  • SPwA (1hit/3hit) > SP Hyper
Very good excuse to not use the full melee combo (unless you have knives incoming). Passable confirm if you just need the damage right then and there.
  • Accel Hyper > (hwB)
Not so much a combo as it is a 'use it when you see it'. Involves capitalising on an opponent that is smoked or boxed in by smokes by landing Accel; the knives will add more unshieldable damage, making it even stronger.

Meter: 'Meme Combo'

The 'Meme Combo', aka landing b.B Hyper on your opponent, is well-known amongst some players for its phenomenal burst damage (although it isn't really a combo on its own, per se). At higher levels of play, it'll generally only result in 200-800 damage before your opponent goldshields it, making it an unreliable 2-for-1 trade that might not even succeed. However, if you're interested in getting into your opponent's head or reserving an absolutely brutal punish for a high-heat opponent, you may still find the information below useful.

  • B Hyper > b.B Hyper
'Bait Meme'. A gateway to insane amounts of damage in just 22 frames if executed perfectly. In this version of the combo, Mira is very stationary, making it a punish option and nothing else. If your opponent is rushing you down despite having no meter to goldshield with, congratulations on your free damage (generally ~4.7-5.7k). Note that after inputting your first B Hyper, you'll need to wait 20 frames before inputting the second one; this is true of all Meme Combos.
  • SPwA (invuln) > B Hyper > b.B Hyper
'Slide Meme'. Involves exploiting the momentum carrying from SPwA to throw Mira over the opponent before the combo is unleashed, making it much more aggressive. Best used on a smoked opponent.
  • Neutral Hyper > SPwA (invuln) > B Hyper > b.B Hyper
Same as above, but with a tornado starter. A tight 3-bar confirm that will result in ~5.5-6k if not goldshielded; basically used to punish a whiffed Accel.
  • Neutral Hyper > forward-hold wA > SPwA (invuln) > B Hyper > b.B Hyper
The ultimate 3-bar punish. Tornado > forward-hold shurikens > Slide Meme. Can deal up to 8000 damage. Following up shurikens with Slide Meme is tricky, as you will have to input a forward dash cancel > SPwA > kara B Hyper > B Hyper with precise timing.
  • SPwA (invuln) > SP Hyper > B Hyper > b.B Hyper
Another tight 3-bar confirm that punishes whiffed Accels; if you land SP Hyper's first hit, simply use Meme Combo while Mira's clones attack the opponent. Genereally deals ~6k damage.
  • b.SPwA > b.B Hyper
Only viable in smoke; too unreliable otherwise. Involves Beyblade Rush-ing over a smoked opponent and comboing directly into b.B Hyper.

General
Basics
Changelog
Controls
FAQ
HUD
Characters
Alte
Hime
Iru
Kae
Kyoko
Mira
Nanako
Nath
Saki
Sham
Sora
Star Breaker
Suguri
Sumika
Tsih