Introduction
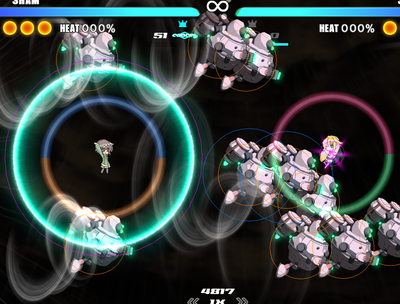
Sham is AoS2's resident Summoner-type character; she's brought the robots and attacks she used in her home game along with her, and they do most of the heavy lifting. Unfortunately, they all have immense flaws in their design to the point where she functionally has no offense, and her defense leaves much to be desired. As a result, she is weaker than every character in the entire game by a large margin (barring Alte) and has no winning matchups. In fact, most of her matchup numbers go beyond 'bad' and tend to reach 'downright awful'.
Overview
Sham is a summoner type character that doesn't really do much fighting herself, and relies more on working with her drones to do that for her while backing them up with supportive fire. She is extremely defensive as a result of her non-existent offense; her attacks are all slow, inconsistent, and reliant on sluggish, destructible minions. While they do a decent job at protecting her in neutral, their aggro game is terrible. As a result, Sham struggles monumentally against characters who don't need to actually close in on her to hit her, and she tends to lose the second she reaches a significant HP disadvantage unless her opponent makes a careless mistake. Worse yet, her defense is ultimately let down by her incapability at building meter, causing most hypers to ruin her.
There's no mincing words; Sham is the worst character in the game. She has the second lowest tap-dash speed (equal to Mira's and only better than Kyoko's), the lowest meter gain, high meter feed, and no fast confirms. Unless you love the character or are curious as to why she is so powerless, you'd be better off not playing her. Do not expect any competitive success with her.
Difficulty: Hard
Sham's difficulty, to be blunt, just stems from her being the worst character in the game, having very little matchups in which she doesn't have a huge disadvantage. Her kit itself is relatively straightforward, or so it seems. But to actually utilize it without feeding your opponent unnecessary amounts of meter will take a lot of practice. This mixed with having to avoid getting hit more than anyone else (due to a utter lack of decent confirms) makes Sham very difficult to actually pull off.
Normal Moves
- Moves with a ★ are moves that require Sham to have a particular kind of robot summoned (either Sprites or Dwarves). They will replace their non-★ counterparts while Sham controls at least 1 of said robot.
Weapon A
Sprite Call (Can also be held)
|

|
| Type
|
Energy
|
Shots
|
| Beam
|
Primary: 20-100%
|
3 - 15
|
| Damage
|
Meter Gain
|
Grazed Meter Gain
|
| 120x
|
~11 full uses per bar
|
?
|
| Startup
|
Canceled Recovery
|
Full Recovery
|
| 13 (Sprite Summon), 24 (Shots)
|
8-32
|
19-43
|
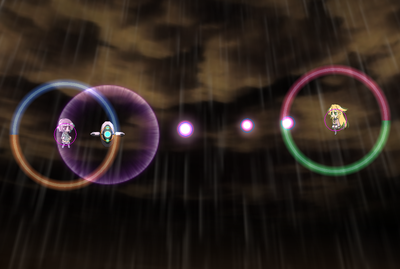
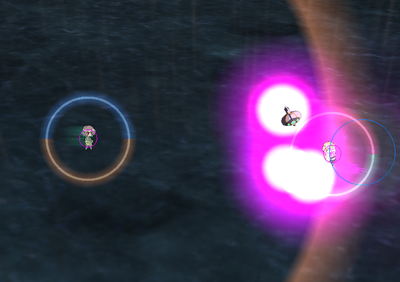
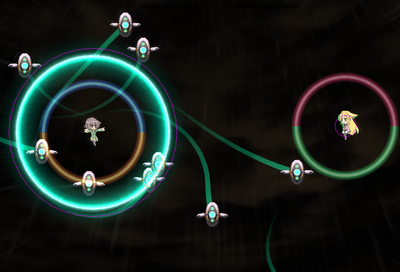
| Sham summons a Sprite at a random location within a ring surrounding her; holding down the button will summon more sprites if wA ammo is available (5 max), 6 frames apart each. Sprites have 200HP. Each sprite fires 3 sequential shots shortly after being summoned, before following Sham while travelling in randomised loop patterns around her, pausing to fire the same set of shots again every 3.3 seconds. After firing their 3rd set, they will continue following Sham in the same manner for another 3.3 seconds and then disappear. Significant meter disadvantage if grazed. Sham's dwA is replaced with an alternate move while she has at least one Sprite up.
|
Beam Ribbon
|
 
|
| Type
|
Energy
|
Shots
|
| Beam
|
Primary: 15-60%
|
24
|
| Damage
|
Meter Gain
|
Grazed Meter Gain
|
| 120x
|
~17 uses per bar
|
?
|
| Startup
|
Canceled Recovery
|
Full Recovery
|
| 16 (Wisps), 114 (Shots)
|
10
|
21
|
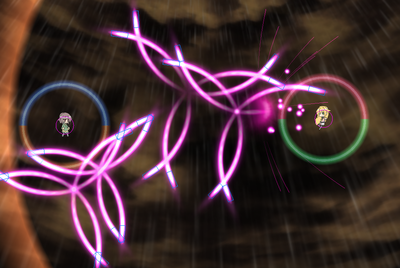
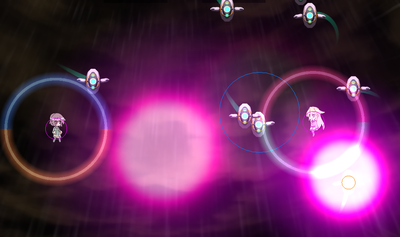
| Can only be used when you control no Sprites. Sham fires out 4 wisps (2 frames between each) which place themselves in random locations around her. About 1.6 seconds after being summoned, each wisp detonates into a 'flower' pattern made of 6 beams that curve inwards (the pattern is tilted based on the wisp's relative location to the opponent). They stick around until they hit the edge of the map, making them a decent delayed cover option. Harder for the opponent to graze than Sprite Call.
|
Sprite Release ★
|
 
|
| Type
|
Energy
|
Shots
|
| Direct
|
Primary: 0%
|
-
|
| Damage
|
Meter Gain
|
Grazed Meter Gain
|
| 250x
|
0
|
0
|
| Startup
|
Canceled Recovery
|
Full Recovery
|
| 11
|
10
|
21
|
| Can only be used when you control at least one Sprite. Post-startup, Sham's Sprites amplify their current loop movement before homing in on the opponent, exploding if the opponent comes into contact with their hurtbox or if they are destroyed. They will chase the opponent in this state for a little over 4 seconds, although they will only genuinely try to run into the opponent during the last few frames of their existence; until then, they will repeatedly travel away in small loop patterns if they ever detect themselves getting too close. In other words, they are designed to only hit if the opponent dashes into them. Sometimes they will even deliberately curve outwards on startup if they detect that they are heading directly towards the opponent.
|
Resistant Sphere
|

|
| Type
|
Energy
|
Shots
|
| Direct (Explosion)
|
Primary: 50-100%
|
-
|
| Damage
|
Meter Gain
|
Grazed Meter Gain
|
| 100 (Knockback)
|
~10 uses per bar
|
0
|
| Startup
|
Canceled Recovery
|
Full Recovery
|
| 11 (Sphere), 21 (Knockback)
|
15
|
26
|
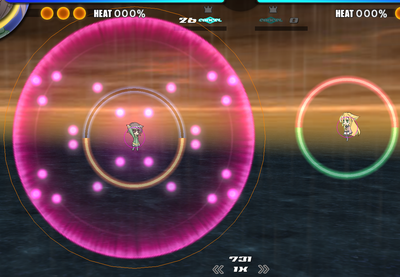
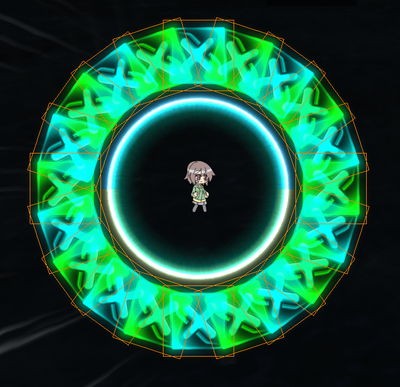
| Sham expends all of her remaining wA ammo (minimum 50%) to summon a large sphere; it expands in size until frame 21, where it then has a single frame where opponents in contact with it will be damaged and knocked back. The sphere surrounds Sham as she moves and can push the opponent if she runs into them with it. Duration of the sphere is dependent on ammo expended; lowest is 61 frames (about 1 second), highest is 160 frames (about 2.6 seconds). The sphere does not interact with anything other than opponents and Star Breaker's tap wB (which will automatically stick to Sham if it hits the sphere). +11 frame advantage.
|
Weapon B
Mysterious Cube
|
 
|
| Type
|
Energy
|
Shots
|
| Direct (Explosion)
|
Sub: 30%
|
7
|
| Damage
|
Meter Gain
|
Grazed Meter Gain
|
| 250x
|
~20 uses per bar
|
0
|
| Startup
|
Canceled Recovery
|
Full Recovery
|
| 13
|
8
|
19
|
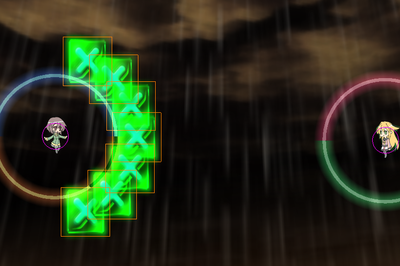
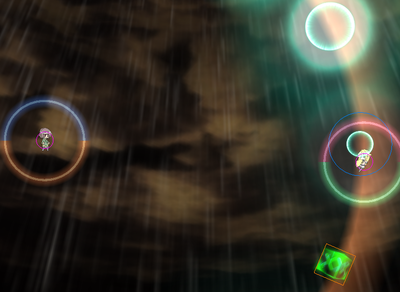
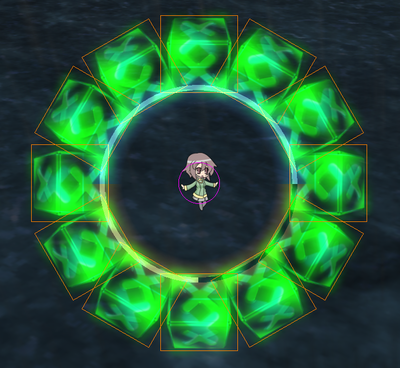
| Sham summons an arc of 7 cubes at her front. The cubes become active on frame 33 (unless they overlap with the arena's edge, in which case they disappear). Once they are active, they travel outwards at a slowly accelerating pace, pushing opponents in contact away from their center as they do. Cubes do not interact with other attacks; they only block opponents and Star Breaker's tap wB. Once a cube reaches the edge of the map, it will explode in a small radius.
|
Mysterious Cube (Held)
|

|
| Type
|
Energy
|
Shots
|
| Direct (Explosion)
|
Sub: 50%
|
12
|
| Damage
|
Meter Gain
|
Grazed Meter Gain
|
| 250x
|
~10 uses per bar
|
0
|
| Startup
|
Canceled Recovery
|
Full Recovery
|
| 16
|
10
|
26
|
| Sham summons a circle of 12 cubes. They become active on frame 36, and behave in the exact same way as cubes from the non-held version. Due to their tight clustering, it takes about half a second after becoming active for the opponent to be able to slip between them.
|
Dwarf Call
|
 
|
| Type
|
Energy
|
Shots
|
| Ballistic (Discs), Beam (Rings)
|
Sub: 0%
|
7 per dwarf (Discs and Rings)
|
| Damage
|
Meter Gain
|
Grazed Meter Gain
|
| 150 (Discs), 120 (Rings)
|
0 (Summon)
|
? (Discs), ? (Rings)
|
| Startup
|
Canceled Recovery
|
Full Recovery
|
| 16 (Summon), 190 (first dwarf shot)
|
10
|
21
|
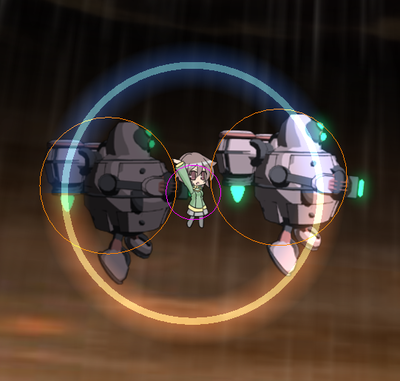
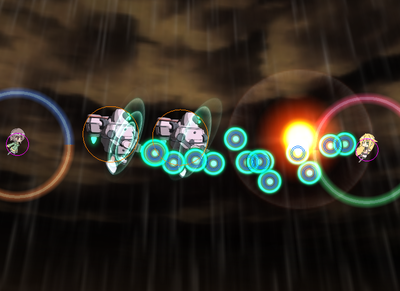
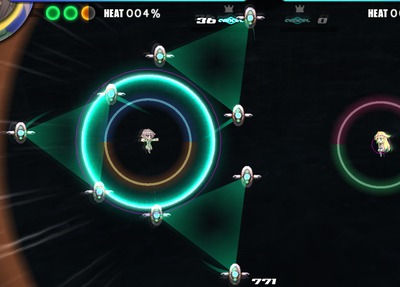
| Sham summons a pair of Dwarves 5 frames apart. Each dwarf has 800HP. After being summoned, Dwarves remain stationary for about 3 seconds (175 frames) before firing a volley of shots ('Disc Volley'), each at a random direction within a cone aimed at the opponent. The shots are made of two seperate hitboxes; a ballistic-type disc and a beam-type ring that surrounds it, each smaller in size than their visuals suggest. The ring will continue to exist even if its disc is destroyed. After 37 frames of recovery (following the first shot), Dwarves will spend about 1.6 seconds (101 frames) positioning themselves at each side of Sham and slowly following her around, before pausing again for about 2.6 seconds (164 frames) until they fire the next volley. This cycle repeats infinitely until the dwarves are destroyed. You cannot resummon Dwarves until both are destroyed.
|
Dwarf Tackle ★
|

|
| Type
|
Energy
|
Shots
|
| Direct
|
Sub: 0%
|
-
|
| Damage
|
Meter Gain
|
Grazed Meter Gain
|
| 60x9 (per dwarf)
|
0
|
-
|
| Startup
|
Canceled Recovery
|
Full Recovery
|
| 21 (First Dwarf, or Second Dwarf if first is dead), 41 (Second Dwarf)
|
5
|
16
|
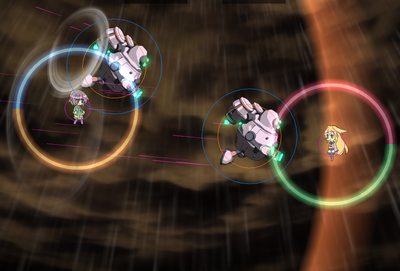
| Sham commands the Dwarves to stop their current action on Frame 11, after which they will lunge straight towards the opponent. The lunge consists of 9 hitboxes spaced 4 frames apart, each knocking the opponent back a small distance. 101 frames after lunge startup, Dwarves will enter a 'cooldown period' during which they follow Sham in the same manner that they normally do between disc volleys. This recovery period lasts for 101 frames (about 1.6 seconds); after it ends, Dwarves will prepare another disc volley in the typical manner, at which point Sham can command them to lunge again. Due to the 20-frame gap between each Dwarf's lunge, the first Dwarf will exit its recovery period sooner than the other one does; issuing the command to tackle again during this gap will only cause one Dwarf to lunge, since the other is still on cooldown. This allows you to stagger the length between each Dwarf's volleys and/or lunges.
|
Hypers
Poly Sprite
|
 
|
| Type
|
Energy
|
Shots
|
| Direct
|
-
|
11
|
| Damage
|
Meter Gain
|
Grazed Meter Gain
|
| 250x
|
-
|
-
|
| Startup
|
Canceled Recovery
|
Full Recovery
|
| 5
|
41
|
77
|
| Sham sequentially summons 11 sprites in random locations around her, 4 frames between each. Each sprite is launched 10 frames after summon, curving inward or outward before homing in on the opponent. These sprites are slower than the ones fired out by dwA, but they do not loop away from the opponent if they get too close. They explode either on contact or 110 frames after being summoned (a little under 2 seconds).
|
Bounding Cube
|

|
| Type
|
Energy
|
Shots
|
| Direct (Explosion)
|
-
|
20
|
| Damage
|
Meter Gain
|
Grazed Meter Gain
|
| 250x
|
-
|
-
|
| Startup
|
Canceled Recovery
|
Full Recovery
|
| 11
|
20
|
51
|
| Sham summons a circle of 20 cubes. They become active on frame 31. The cubes behave in the exact same way as the non-hyper counterparts; in addition, Blue cubes also block all of the opponent's beams and ballistics on contact. It takes a little over a second after they are active for the opponent to be able to dash between them.
|
Delta Sprite
|

|
| Type
|
Energy
|
Shots
|
| Direct (Released Sprites)
|
-
|
3x3
|
| Damage
|
Meter Gain
|
Grazed Meter Gain
|
| 250x (Released Sprites)
|
-
|
-
|
| Startup
|
Canceled Recovery
|
Full Recovery
|
| 11
|
25
|
41
|
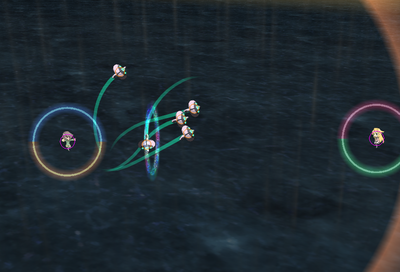
| 'Delta Field'. Sham summons 3 trios of sprites. One trio travels out behind her, while the other two travel out slightly in front of her sides. Each trio of sprites carries a paralysing field between them that will remove the opponent's ability to dash if they come into contact with it (even if they have a shield up). About 2 seconds after their initial summon, they will slowly travel in a straight line towards the opponent's current location; then, once they hit the arena's edge, they will disappear after about 1.6 seconds. Each sprite has 100HP; if it is destroyed, then the paralysing field it carried will disappear, and the other sprites that carried the field will fire out at the opponent in the exact same way as dwA.
|
Dwarf Rush
|

|
| Type
|
Energy
|
Shots
|
| Direct
|
-
|
10
|
| Damage
|
Meter Gain
|
Grazed Meter Gain
|
| 40x
|
-
|
-
|
| Startup
|
Canceled Recovery
|
Full Recovery
|
| 31
|
20
|
51
|
| Sham sequentially summons 10 dwarves in random locations around her, 3 frames between each. Each dwarf lunges forward 20 frames after being summoned, travelling in a straight line until it reaches the end of the map; during this period, it has a hitbox surrounding it every 5 frames that knocks the opponent back slightly. Like the SPwB ones, these dwarves have 800HP.
|
Combos
Mainly here for reference. All of Sham's moves are depressingly slow; this results in a combo game that only has the slightest semblance of viability when an opponent is debuffed by Dash Hyper and does not have meter to shield with (or meterless reversal/movement options, or fast walkspeed, etc, etc).
- Sham's extended combo that can lead to huge amounts of damage. Sprites can combo into each other when repeatedly summoned and dash-cancelled between (provided you stay directly on top of your opponent), allowing you to loop until your wA ammo has run dry. You can also combo this into Dash Hyper, or disc volley/Dwarf Tackle if your Dwarves are close enough. This will allow you to potentially chain a few more Sprites, as long as RNG is on your side. Generally, this combo is only landed from a punish on a reckless opponent, or on an opponent debuffed by Dash Hyper.

