Acceleration of Suguri 2/Sora
Credits to Nyu-13 for allowing us to transcribe their Sora guide to populate this page.
Credit to Jiraymin for frame data and other information that can be found here.
Introduction
Ex-Army Heroine of the Past.
Overview
Sora is essentially a more aggressive version of Suguri, trading most of the versatility Suguri's kit had in exchange for aggression tools and damage.
Sora's low meter gain and and relatively high feed need her to basically play an aggressive game at almost all times in order to not fall behind. Having to constantly try to rush her opponent down and force meter.
Due to the lack of Sword Waves Sora is far more melee heavy, this mixed with her high damage and speed gives her one of the strongest melee games out of all the characters.
Difficulty: Intermediate
Sora used to be a far more simple and straightforward character, though she now gains some amount of heat for trying to play constantly aggressive. This can cause the smallest mistakes to deal high amounts of damage to her. Due to this, Sora will now require you to have a feeling of when you want to go for a lungeshot combo, when you want to stay in on them, or want to cool down, all of this increased up her difficulty a bit.
Gameplan
Farming Meter
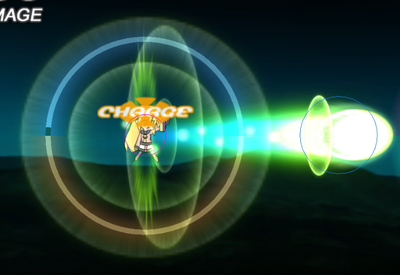
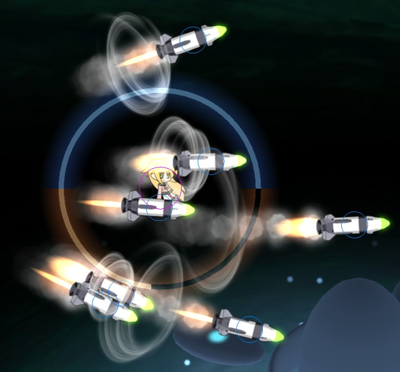
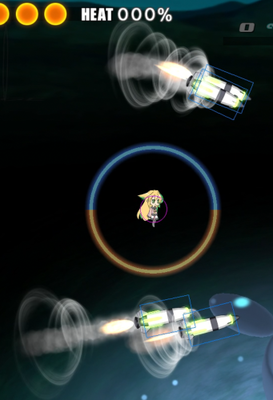
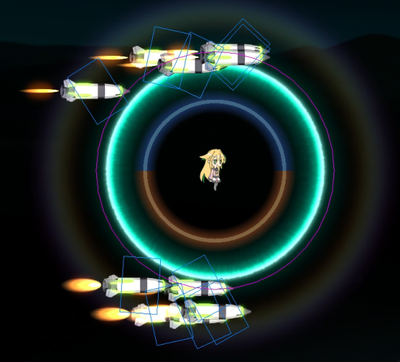
Sora’s best meter farming tools are Charge Shot(Hold wA) and Hold wB rockets, even though rockets feed a lot of meter they also apply fairly good pressure and help with zoning.
Soras metergain is overall on the lower side and her high feed doesn't help with that, so in order to gain a meter lead you usually want to play aggressive and force meter out of your opponent, using rockets to zone them into your SPwA for LL follow ups for instance.
Generally speaking Sora gains the highest burst of meter for performing her lungeshot combo, therefor hitting LL will generate you high amounts of meter while also dealing high amounts of damage. This is why Sora should usually be played aggressively.
Playing Aggressive
As mentioned, being aggressive is what you usually want to do with Sora, the key to achieving this are Hold wB rockets and SPwA.
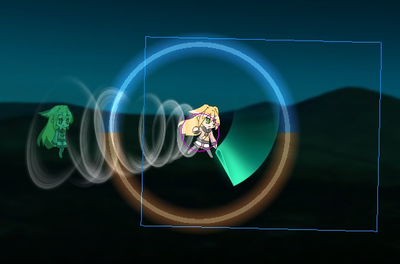
You usually want to zoom around your opponent and setup rockets at the edges to cut off their escape route and zone them into your SPwA. If they try to stop you with laser types attacks you can work with dwA to hit them out of it and follow up with lungeshot).
Should the denial they throw at you consist of ballistics you should be able to just swipe through a bunch of it due to the ballistic destruction property of SPwA and SPwB.
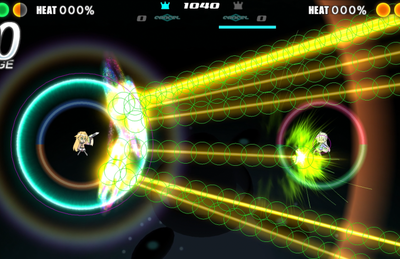
Once you have some meter you can use it to help you pin people down and engage, using D.Hyper or N.Hyper to pin them down and follow up with LL, or working with a SP.Hyper setup.
Keep in mind that after every lungeshot or loop you usually should try and cool down a bit, during this time you can work with Charge Shot to gain some meter.
Playing Defensive
Even though Sora normally wants to play aggressive there's some matchups in which you simply won't be able to (like Saki for instance), in which case Sora is also able to play defensive quite decently.
Working with chargeshot to gain meter and using rockets to keep some sort of pressure up, after you get some meter you can try to gain a lead/deepen your lead with hypers and LL, though in matchups where you struggle with engages its usually smarter to just go for 1 lungeshot to not get exploded after.
Tap wA and dwA are also very good denial tools and can help you keep people off your face.
Normal Moves
Weapon A
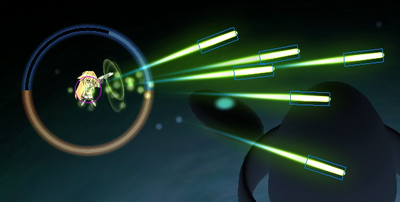
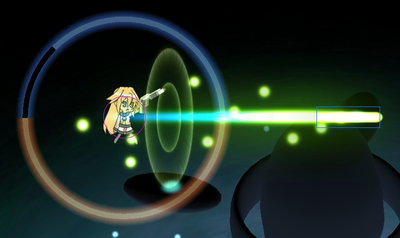
Beam Rifle
| ||
|---|---|---|
| ||
| Type | Energy | Shots |
| Beam | Primary: 20% | 1 |
| Damage | Meter Gain | Grazed Meter Gain |
| 180 | ? | ? |
| Startup | Canceled Recovery | Full Recovery |
| 13 | 8 | 18 |
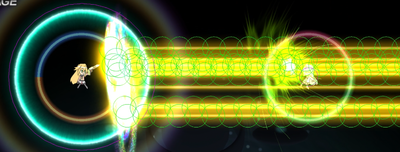
| A single beam. Fast and useful. | ||
Weapon B
Hypers
Combos
Meterless
- SPwA > SpwB > wA > Dash Cancel > SPwA > SPwB > wA > Dash Cancel > SPwA > SPwB (or SPwA x2 depending on positioning)
- This is generally known as Lunge Loop, its very similar to a stagger in that it is not an airtight combo and it's possible to halfshield or, for some characters, even dash out of this, though if you time it right it becomes very difficult to actually do that. Anyhow, due to this being rather essential in most of Sora's combos and to spare myself some writing, I'll be referring to this as "LL"
- SpwA(3 Hit) or SPwA > SPwB
- The SPwB ender does more damage, but which one is better depends on positioning.
- SpwB > wA
- The "Lungeshot".
- Tap wA/dwA > LL
- Standard confirm from a stray hit/punish, can only do one lungeshot combo if confirming with Dash wA
Meter
- N.Hyper/D.Hyper > LL
- Doesn't work if you're too far away, should be around midrange in order for it to connect
- Hold wB x 2-3 > SP.Hyper
- Setting up rockets and using Special Hyper to pin them down in order for them to follow up, in some cases it's even possible to add LL if the rockets still hit after your hyper finishes
- SPwA > SPwB > wA > N.Hyper > Dash Cancel > SPwA > SPwB > wA
- A simple way to make consecutive lungeshots (SPwA > SPwB > wA/SPwB > wA) a 100% true follow up, can also add N.Hyper after your second lungeshot during LL to be able to add a third one

