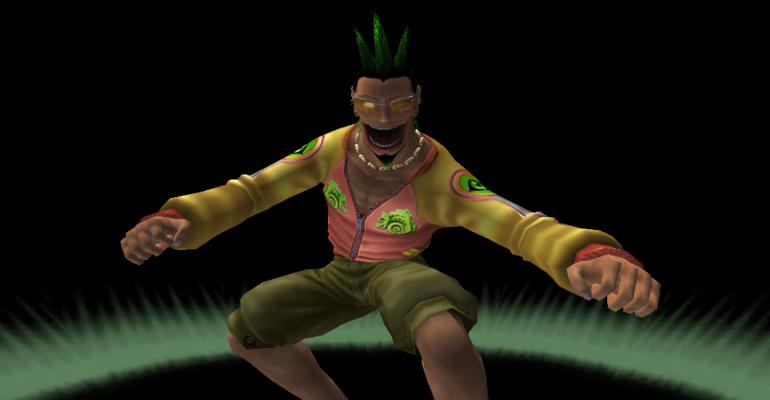
Bloody Roar Extreme/Busuzima the Chameleon
Introduction
Busuzima is an extremely tricky and deceptive character who is able to fight at range due to his extending limbs in Beast Form, though at the cost of his overall mobility being quite lacking. Busuzima excels at feints due to having a large amount of Cancel Points, as well as being able to delay his strings longer than normal. He has two very strong Command Throws, which allow him to make a scary guessing game when close, and is also able to fight while backturned, adding to his deceptive nature and making him a dangerous threat. His Busuzima Serious stance allows him to apply pressure or fight from a distance, and also lets him charge his Beast Gauge. Despite his tools, however, Busuzima must take a lot of risks in order to deal damage; this, combined with his low defense rating and mediocre damage output, means he can struggle if he is not able to constantly read his opponent.
Stats
Human
| Weight | Attack | Defense | Walk (Forward) | Walk (Backward) | Dash/Run | Backdash (Distance) | Backdash (Duration) | Jump Height |
|---|---|---|---|---|---|---|---|---|
| 650 | 100% | 0.74 | 13.82 | 9.41 | - | 15.44 | 36 | - |
Beast
| Weight | Attack | Defense | HP Recovery | Walk (Forward) | Walk (Backward) | Dash/Run | Backdash (Distance) | Backdash (Duration) | Jump Height |
|---|---|---|---|---|---|---|---|---|---|
| 650 | 127% | 0.91 | 16 | 19.56 | 18.19 | - | 15.44 | 36 | - |
Hyperbeast
| Weight | Attack | Defense | HP Recovery | Walk (Forward) | Walk (Backward) | Dash/Run | Backdash (Distance) | Backdash (Duration) | Jump Height |
|---|---|---|---|---|---|---|---|---|---|
| 650 | 127% | 0.91 | 16 | 19.56 | 18.19 | - | 15.44 | 36 | - |
Ability Plus
- Invisibility: The user remains invisible for the duration of Hyperbeast, so long as damage is not taken.
- Any Cancel A: All normals become special-cancelable.
Key Moves
5P
5P {{{name}}} [[File:BREX_{{{char}}}_5P.png | 175x250px | center|class=lazyimg]]
|
|---|
