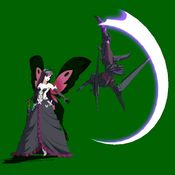
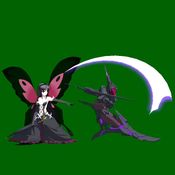
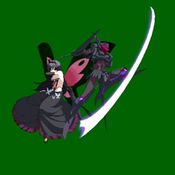
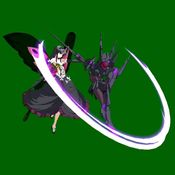
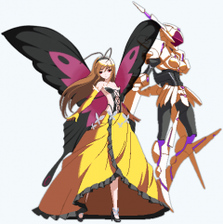
Dengeki Bunko: Fighting Climax/DFCI/Kuroyukihime
Introduction
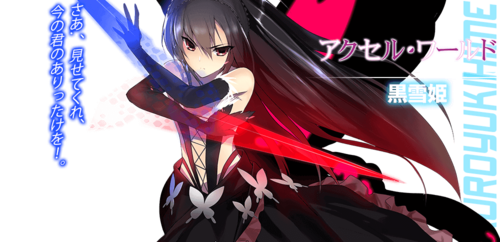
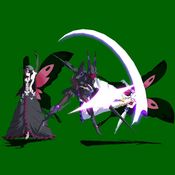
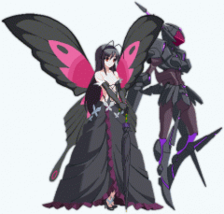
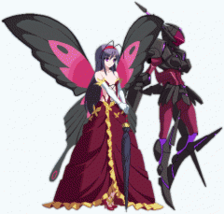
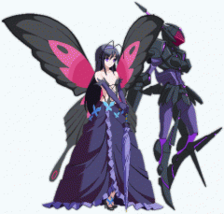
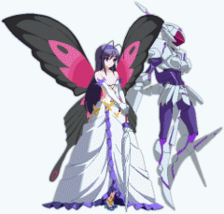
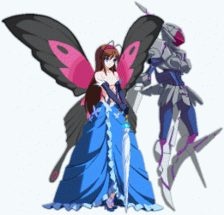
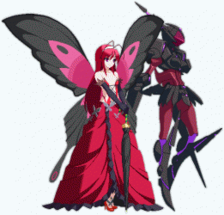
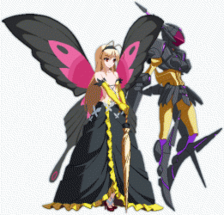
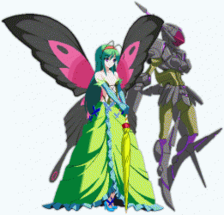
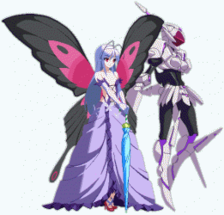
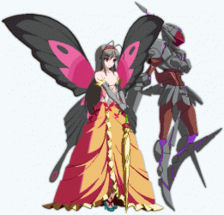
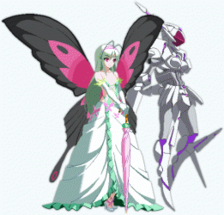
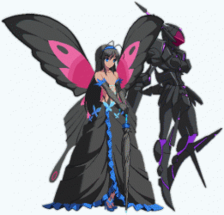
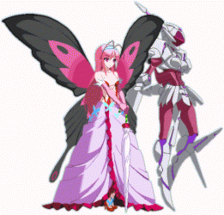
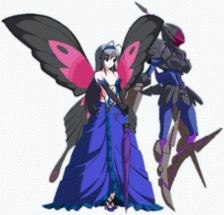
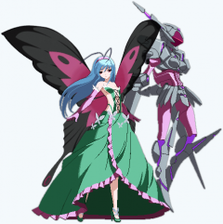
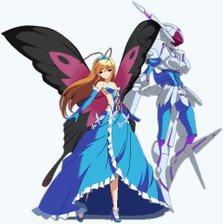
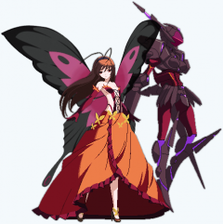
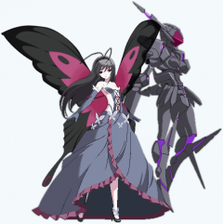
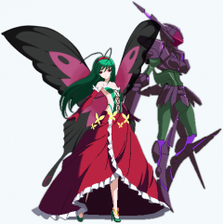
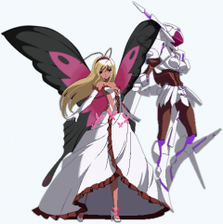
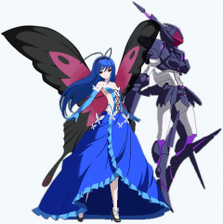
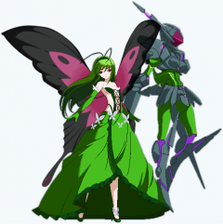
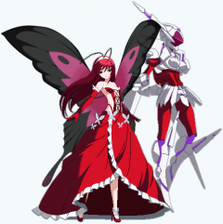
A junior high student, she's nicknamed "Kuroyukihime" because of her beauty. She is the leader of the Black Legion "Nega Nebulus" and her Brain Burst avatar is called "Black Lotus".
Originally from the light novel series Accel World.
Kuroyukihime is sometimes shortened to "KYH" in various DFC forums or sites.
Gameplay
Kuroyukihime is a somewhat peculiar hybrid-zoner character that can pursue both a keepaway game as well as a conventional offensive strategy. With large moves covering wide swaths of space and a strong counter move with Mode Green 2AB, she forces interactions on her terms. Her unique Blue Trump can be activated into three Modes: Red, Blue, and Green. While Red and Blue have situational uses by drastically buffing her keepaway specials, it is Mode Green that is the true force behind Kuroyukihime's impenetrable threat factor. Mode Green not only makes 2AB an extremely effective and difficult-to-punish reversal to immediately turn the tide of battle, but it gives her an impressive defensive buff, making her take considerably less damage than usual. A character worthy of bearing a moniker of royalty.
Pros
- Solid and versatile set of specials and Impact Skills with wide variety of applications, including fullscreen punishes with her Starburst Stream Climax Art (63214BC)
- By design, a decent amount of her combos are Escape-Blast safe, an extremely valuable and rare point in DFCI
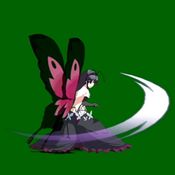
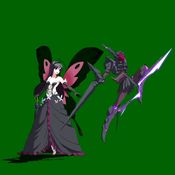
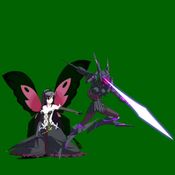
- Fairly large hitboxes on normals with comparatively small hurtboxes as her "Duel Avatar" does the attacking
- Strong Blue Trump Card that works is an effective reversal and immediately affects how the opponent approaches the match-up
Cons
- Normals are notably slower than the rest of the cast
- Fairly reliant on Trump Card to become threatening
- Specials have blind spots outside of their respective Trump Modes that can make piloting her difficult for beginners
Recommended Assists
Iriya - Kuroyukihime’s strong space control pairs well with accumulating Iriya's plate icons. 5S gives you a plate projectile to use for setplay or to help you close in on opponents. 6S is a moped that can be used to punish Blasts or whiffed attacks and force out air options. Use Iriya's 5S to bait opponents into attacking her and move in with an attack of your own to punish the dinner-crashers.
Rusian - Rusian allows Kuroyukihime to play a straightforward timer-scam game by forcing a life lead and making the opponent approach her. Rusian can easily overwhelm opponents with 6S Monster Train and completely control the pace of the match while also chipping slowly away at the foe’s health. 5S is a counter move with a huge trigger box to ward off overly eager opponents.
Dokuro - Dokuro-chan is both a powerful neutral tool and a damaging combo extender. 5S is DFCI's greatest anti-air, covering the entire vertical space two character lengths in front of you. This is perfect for catching jump-outs on your offense, and clipping jump-happy opponents on your defense. 6S is a full-screen projectile. Just in case.
Potentials
Universal Potential: Increases damage dealt by 10% for 20 seconds when health falls under 30%. If behind in rounds won, increases damage dealt by 20% instead.
Character Potential: Block 10 attacks (in the case of multi-hitting moves only the first hit is counted) to gain 1 bar of Climax Gauge. Can be activated once a round.
Move List
L = Low, H = High, A = Air
JC = Jump Cancel, SC = Support Cancel, EX = EX Cancel
ISC = Impact Skill Cancel, TCC = Trump Card Cancel, CAC = Climax Art Cancel
Startup includes the first active frame.
Normal Moves
| 5A |
|---|
| 2A |
|---|
| 5B |
|---|
| 2B |
|---|
| 5C |
|---|
| 2C |
|---|
| j.A |
|---|
| j.B |
|---|
| j.C |
|---|
Special Moves
| Death by Piercing 「デス・バイ・ピアーシング」 236X Air O.K. |
|---|
| Death by Flashing 「デス・バイ・フラッシング」 214X Air O.K. |
|---|
| Follow-up: Attack 「攻撃」 A or B after Death by Flashing Air O.K. |
|---|
| Follow-up: Feint 「フェイント」 C after Death by Flashing |
|---|
Universal Mechanics
| Throw 6C or 4C |
|---|
| Impact Skill Death by Barraging 「デス・バイ・バラージング」 5A+B |
|---|
| Impact Skill Soft Act Counter 「柔法当身」 2A+B |
|---|
| Impact Break 4A+B |
|---|
| Trump Card Overdrive 「オーバードライブ」 A+C |
|---|
Climax Arts
| Death by Embracing 「デス・バイ・エンブレイシング」 41236B+C |
|---|
| Starburst Stream 「スターバースト・ストリーム」 63214B+C |
|---|
Combos
| Combo Notation Guide: |
|---|
|
Note: Damage listed is without Power Up Blast/Trump Card Overdrive unless otherwise specified.
Assorted Combos
Quick Combination
- 5A > 5A > 5A > 5A > 5A(2) (> 5A)
- 1703 (2138). Equivalent to 5A > 5B > 5C > 214A -> B(2) (> 236A+B).
- 2A > 2A > 2A > 2A > 2A > 2A -> 2A(2) (> 2A)
- 1573 (1903). Equivalent to 2A > 2A > 2A > 2B > 5C > 214A -> B(2) (> 236A+B).
- Less damaging than the 5A combo, so if you're gonna mash, mash 5A after you hit-confirm.
Air Combo Enders
- (etc.) > j.B > j.C > 8jc > (j.B >) j.C > j.214C -> B(2) (/ j.214A+B)
- Opponent can tech high in the sky as you land. Meter ender causes hard knockdown. Make sure to input the jump cancel as 8 to get the spacing right for the third hit of EX Flashing.
- You may need to omit the second j.B off of some starters, depending on height.
- (etc.) > j.B > j.C > 8jc > j.B > j.C > j.236A (> j.236A+B)
- Opponent can tech as you they hit the ground. EX ender adds ~200 damage and forces opponent to tech later (as you land).
Overdrive OTG Ender
- (etc.) 5A > 5B > 2B > 2C > 2A > 2A
- Tacks on a little extra damage to opponents lying on the ground near you.
Midscreen
5A/2A Starter
Meterless
- 5A > 5B > 5C > 236C
- 1472. Safest meterless option, since it sends the opponent flying.
- 5A > 5B > 5C > 5A+B
- 1663. Lets the opponent tech near you, so probably not advisable.
- 5A > 5B > 5C > 214A -> B(2)
- 1703. Leaves the opponent standing at slight advantage about a 5C's reach away.
- 2A > 5A > 5B > 5C > 236C
- 1526. Most damage meterless Piercing combo from an A starter. Throw in an extra 2A for lazy low confirms and 100 less damage.
0-1 Stocks, During Mode Green
- (2AxN >)5A > 5B > 5C > 5A+B > jc > (Air Combo Ender)
- Standard meterless ender does 2420, 1 stock ender does 2668 with knockdown.
0 Stocks, During Mode Blue
- (2AxN >) 5A > (5B >) 5C > 2C > 214A -> C -> j.B
- 2262. You will need to subtract attacks depending on spacing to connect the j.B knockdown at the end, especially if you start with one or more 2As or hit from 2A/5A's max distance.
0 Stocks, During Mode Red
- (2AxN >) 5A > 5B > 5C > 2C > 236C > 236C
- 2286. Good times with wall bounce.
1 Stock, During Mode Red
- (2AxN >) 5A > 5B > 5C > 236C > 236C > delay 236A+B > 236C
- 2816. Even better times with wall bounce.
1 Stock
- (2A >) 5A > 5B > 5C > 5A+B(5) > 214A+B
- 2235. Knocks down the opponent just outside 5C range.
- (2A >) 5A > 5B > 5C > 5A+B(5) > 236A+B
- 2230. The "get out of my face" option.
2 Stock
- (2A >) 5A > 5B > 5C > 214A -> B(2) > 41236B+C
- 3173. Death by Embracing does more damage than Starburst Stream. Leaves opponent at roughly round-start distance.
- (2A >) 5A > 5B > 5C > 5A+B > 61234B+C
- 2805. Starburst Stream combo, for getting people out of your face and across the stage. Thanks to the magic of Damage Scaling(tm), Barraging has better proration into Starburst than Flashing.
Trump Card (Mode Red)
- (2A >) 5A > 5B > 5C > 5A+B(5) > 4A+C > 236C > 236C
- 2275. Link the second Piercing as they bounce off the wall.
Trump Card (Mode Blue)
- (2A >) 5A > 5B > 5C > 214A -> A > 6A+C > 5B > 5C > 214A -> C -> j.B
- 2335. Don't mash the j.B followup link. Side-switches, causes soft knockdown.
Trump Card & 2 Stocks
- (2AxN >) 5A > 5B > 5C > 214A -> A > 4A+C > (5B >) 5C > 2C > 236C > 236C > 63214B+C
- 3426. Slightly delay the attack after Mode Red activation so the opponent is closer to you. Omit the second 5B if you start from a couple of 2As. (You can do this one without the super ender, but it does less damage than the Barraging combo above.)
- (2AxN >) 5A > 5B > 5C > 5A+B(5) > 4A+C > 5A+B(5) > 41236B+C
- 3754. A much easier and more damaging Mode Red activation combo.
- (2AxN >) 5A > 5B > 5C > 214A -> A > 6A+C > 5B > 5C > 214A -> B > 41236B+C
- 3911. Nice damaging option for Mode Blue fans.
5B/5C Anti-Air
No Trump Card
- 5B > jc > Air Combo Ender
- For the one-stock ender, at peak height, you may want to omit the 214C and go right into 214A+B.
- 5B > 5C > 236C
- 1262. Piercing won't catch foes at the apex of the jump.
- (5B >) 5C/2C > 214C -> B
- (1493) 1324. Meterless option if you don't want to do an air combo or stuffed something with a C attack.
During Any Trump Card Overdrive
- 5C/2C > jc > (Air Combo Ender)
- You may need to omit the first (or second) j.B depending on the height/spacing of the opponent when you catch them with 5C/2C. It's possible to combo into Mode Blue's C warp -> j.B follow up, but because of proration it won't knock down.
Throw Starter
1 Stock
- 4/6C(4) > 236A+B
- 1532. Blow away.
- 4/6C(4) > 214A+B
- 1534.
2 Stocks
- 4/6C(4) > 412346B+C
- 2570.
- 4/6C(4) > 63214B+C
- 1993. Fly away now.
Trump Card (Mode Red)
- 4/6C(4) > 4A+C > 236C > 236C
- 1570.
Trump Card (Mode Blue)
- 4/6C(4) > 6A+C > 214C -> C -> j.B
- 1531. Opponent can tech the knockdown.
4A+B Starter
- 4A+B -> B > Air Combo Ender
- Basic 1-stock EX Flashing ender does 2380.
2 Stocks
- 4A+B -> B > 63214B+C
- 2445. Buffer it during the zoom-in on the second hit of the follow-up. Not worth it unless you can burn some Trump Cards to end the match (does ~2900 if you use two).
5A+B Starter
1 Stock
- 5A+B(5) > 236A+B
- 1505.
- 5A+B(5) > 214A+B
- 1507. At close ranges, the third hit of EX Flashing will whiff and the opponent will be able to air-tech above you.
2 Stocks
- 5A+B(5) > 41236B+C
- 2543.
- 5A+B(5) > 63214B+C
- 1966. As usual, pick damage or flinging opponent across the stage.
Trump Card (Mode Blue)
- 5A+B(5) > 6A+C > 5B > 7jc > j.C > j.214A -> C -> j.B
- 1720. For showboats.
Trump Card (Mode Red)
- 5A+B(5) > 4A+C > 5C > 236C > 236C
- 1688.
Trump Card & 2 Stocks
- 5A+B(5) > 4A+C > 5C > 236C > 236C > 63214B+C
- 2665.
2A+B Starter
1 Stock
- 2A+B > 236A+B
- 2052.
- 2A+B > 214A+B
- 2059. Pick your distance, etc.
2 Stocks
- 2A+B > 63214B+C
- 2774.
- 2A+B > 41236B+C
- 3170. Again, distances.
During Code Green
- 2A+B > 5C > jc > (Air Combo Ender)
- 2491 or 2727 for one stock. Omit the second j.B and input the jc as 9jc.
236X Starter
Most of these combos can be used for grounded hits and anti-air.
1 Stock
- 236C > 236A+B
- 1510 (ground hit). Can be used for anti-air hits, but not at max height.
2 Stock
- 236C > 63214B+C
- 2347 ground, 2277 air hit. Braindead easy at any height, works on anti-air hits, etc.
During Mode Red
- 236C > 236C
- 1345 air hit. Timing can be tricky on very high anti-airs.
1 Stock, During Mode Red
- 236C > 236C > 236A+B (> 236C)
- 2438 ground hit (with optional ender), 2057 air hit (w/o). Link the 236Cs, cancel quickly into EX Piercing, then link the last C Piercing. Last 236C may not work on high aerial opponents. Easiest at near-max range.
2 Stocks, During Mode Red
- 236C > 236C > 63214B+C
- 2785 ground hit, 2691 air hit. Easy and fun.
214B/C Anti-Air Starter
Trump Card (any)
- 214B/C -> A > 4/2/6A+C > 214C -> B
- ~1528 (damage will vary based on Overdrive Mode used). Not an especially great mode activation setup, but the best you're getting off a raw Flashing.
Corner
Meterless, Trump Card-less
- Any two normals > 236C
- Two hits or less before a Piercing is an untechable knockdown. Use when you want to create some space and not deal with a forward-teching opponent in your face.
0 Stocks, During Mode Red
- (2AxN >) 5A > 5B > 5C > 2C > 236C > (Overdrive OTG Ender)
- 2279.
1 Stock, During Mode Red
- (2AxN >) 5A > 5B > 5C > 2C > 236C > delay 236A+B > 5C > 236C
- 2849. Used to knock 'em back down in the corner. Delay the EX Piercing just enough to give yourself the height needed to link the 5C.
Assists
Kino
1 Stock (or during Overdrive), Blast OK
- 5A > 5B > 5C > 6S + 5A+B(5) > 6S hits > dash ABC
- Prototypical combo into launch into Power Up Blast.
Accelerator
1 Stock (or during Overdrive), Blast OK
- 4/6C(3) > 6S > 4/6C(4) > 6S hits > dash > ABC
- Throw into assist launch into Power Up Blast. Time the 6S with the third hit of the throw. Wait until the opponent is done pinballing off the edges of the screen before Blasting.
Enju
3(+1) Stocks, Trump Card (Mode Red), Blast OK
- 2A > 2A > 5B > 5C > 5A+B(5) > 4A+C > 5A+B(5) > 236A+B > 236A+B > 5S > ABC > dash 5A+B(1) > 41236B+C
- 4637. Hit 5S as soon as the second 236A+B connects, then Power Up Blast as soon as Enju hits. Dash up and time the Barraging so the opponent is low enough they don't fly out of Embracing.
Colors
| Color 1 | Color 2 | Color 3 | Color 4 |
|---|---|---|---|
| Color 5 | Color 6 | Color 7 | Color 8 |
| Color 9 | Color 10 | Color 11 | Color 12 |
| Color 13 | Color 14 | Color 15 | Color 16 |
| Color 17 | Color 18 | Color 19 | Color 20 |
| Color 21 | Color 22 | Color 23 | Color 24 |
