Introduction
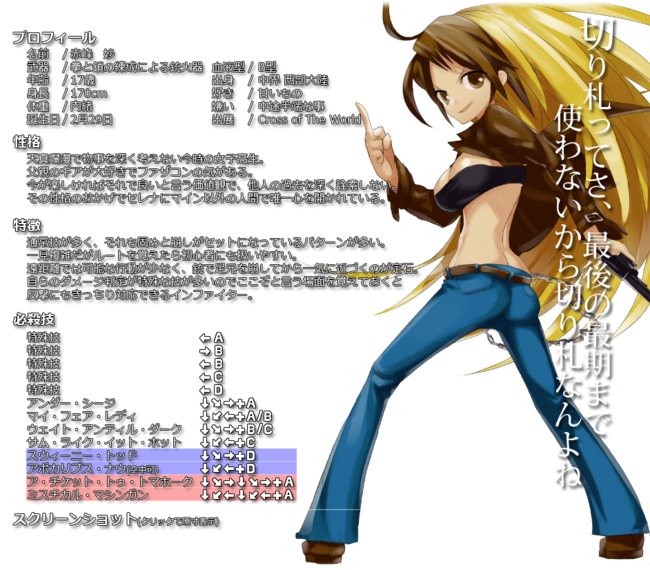
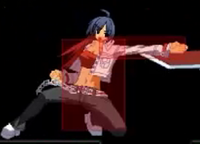
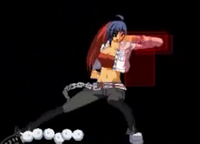
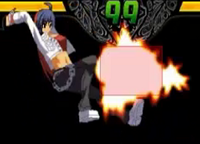
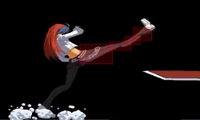
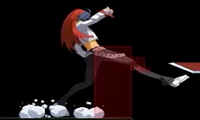
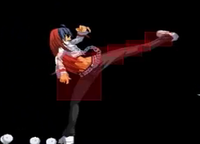
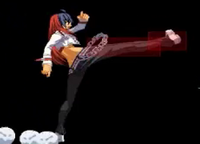
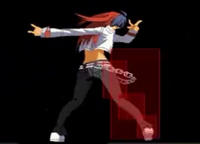
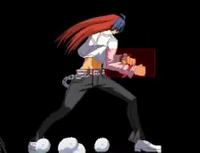
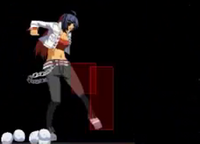
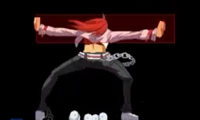
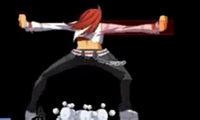
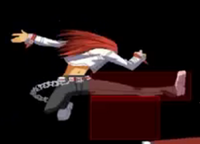
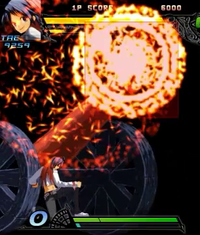
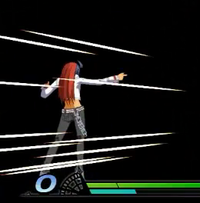
Tae is a rushdown character with a good set of specials and normals to make her being in your face a nightmare. Decked out with fearsome oki, high damage and some good ways to open up the opponent. She suffers from the normal things that rushdown, short-ranged characters do, and that's lack of range. She's easily put at bay by characters like Cecil or Main with range or projectiles that can keep her on the other side of the screen or just out of her reach.
-Pros and Cons-
-Pros-
+ Fast normals
+ Great rushdown abilities
+ Solid damage anywhere and amazing damage with meter in the corner.
+ Oki is monstrous. Once you get an opponent in the corner, it should always be your turn and you likely won't get out unless they guess correctly.
+ Very good corner carry even meterless
+ Pretty strong mix-up
+ Good health (Over 9k)
-Cons-
-Many of her normals are unsafe on block
-Lacks any real way to fight zoning
-No meterless reversal
-Most normals lack any range to them.
-4B Overhead cannot be chained into from any of her normals
-Most combos rely on meter to deal high damage.
-Tae's meter gain is horrible to the point she'll likely only gain one bar a round.
Move List
Normal Moves
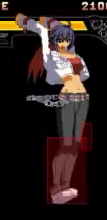
| 【5A】
[Mid | Damage - 170 | Startup - 4f | Active - 4f | Recovery - 6f | Advantage - +3 Jump cancelable]
A nicely ranged 5a. Being +3 on block, it's a very good normal to use for tick throws and frame traps on certain opponents. This normal will whiff on some characters crouching, though, so be careful.
|
| 【2A】
[Low | Damage - 170 | Startup - 4f | Active - 3f | Recovery - 6f | Advantage - +2]
A quick, short-ranged normal. Plus on block, hits low, chains into itself and overall puts you at great advantage on hit or block. Useful for mashing out of pressure, too.
|
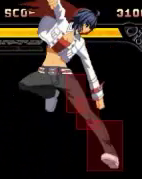
| 【J.A】
[High | Damage - 280 | Startup - 6f | Active - 6f | Recovery - 12f | Advantage - Varies, but is always plus]
Basically, your air to air normal. Very good reach, good hitbox and you can confirm off of it or even use it for j.C whiff shenanigans. Very good normal.
|
| 【5B】
[Mid | Damage - 450 | Startup - 6f | Active - 2f | Recovery - 16f | Advantage - -3 | Jump cancelable]
Very good normal, fast, amazing hitbox, jump cancelable and only minus 3 to boot. Even though it isn't plus, it has almost everything you'd want out of a good normal.
|
| 【2B】
[Low | Damage - 350 | Startup - 6f | Active - 5f | Recovery - 14f | Advantage - Varies, but is normally -2 ~ -4]
Fast, active, long ranged. It's only 2 frames slower than 2a with about twice the range since it moves her forward. Very good normal for meaties, or poking out of some strings. It's one of your longest ranged normal.
|
| 【J.B】
[High | Damage - 400 | Startup - 6f | Active - 6f | Recovery - 16f | Advantage - Varies, but is always plus | Jump cancelable]
A combo tool/normal to use when people are above you in the air or even in blockstrings. It's always plus and has zero ground recovery.
|
| 【5C】
[Mid | Damage - 600 | Startup - 6f | Active - 6f | Recovery - 18f | Advantage - -5]
Mainly a combo tool, though it moves you forward a little. Force stands onc rouching hit.
|
| 【2C】
[Mid | Damage - 280 | Startup - 8f | Active - 6f | Recovery - 23f | Advantage - Varies between -10 and -14]
Your anti-air with zero horizontal reach, so it's not to be used in blockstrings unless you want to die. Easy to confirm into a combo depending on height. On CH, the opponent can't tech until they touch the ground.
|
| 【J.C】
[High | Damage - 280 | Startup - 12f | Active - 4f | Recovery - Until you touch the ground | Advantage - Varies, but is always plus]
Your go-to jump-in normal. Very good hitbox, good damage. Due to start-up, it can be used for whiff shenanigans as well.
|
| 【5D】
[Mid | Damage - 540 | Startup - 9f | Active - 5f | Recovery - 20f | Advantage - -4 to -6]
Your longest ranged normal it's okay on block when used at max range and is a little bit hard to punish at close since it's minus -6. Though, many 2B's are 6 frames in this game and there are some 4f 5A's so you can be punished for just doing this. It's good for 'forcing' someone into a B Mat in the corner by canceling right into it on hit or block.
|
| 【2D】
[Low | Damage - 370 | Startup - 7f | Active - 7f | Recovery - 15f | Advantage - -5 to -7]
Your standard knockdown move. It has alright range, but you won't get much use out of it outside of (maybe) a poke. You have better moves that cause down status than stick with longer range to boot. Though the start-up is nicer than, say 6B.
|
| 【J.D】
[Mid | Damage - 540 | Startup - 10f | Active - 8f | Recovery - Until you touch the ground | Advantage - Varies, but is always minus]
THIS IS NOT AN OVERHEAD. It can be done very low to the ground. Though it isn't recommended except as an Oki trick. This move has very specific uses outside of combos such as stuffing some telegraphed Sisca cross-ups by doing 9J.D
|
|
|
Command Normals
| 【4A】
[Mid | Damage - 400 | Startup - x | Active - x | Recovery - x | Advantage - -1 to -5]
|
| 【6AA/ 4A > 6A】
[Mid | Damage - 392 (From raw 4A) and 379 (From raw 6A) | Startup - x | Active - x | Recovery - x | Advantage - -12]
|
| 【4B】
[High | Damage - 570 | Startup - x | Active - x | Recovery - x | Advantage - -9]
|
| 【4C】
[Mid | Damage - 510 | Startup - x | Active - x | Recovery - x | Advantage - -1 to -4]
|
| 【4D】
[Mid | Damage - 450 | Startup - x | Active - x | Recovery - x | Advantage - -13]
|
| 【6A】
[Mid | Damage - 400 | Startup - x | Active - x | Recovery - x | Advantage - -6]
|
| 【6B】
[Low | Damage - 380 | Startup - x | Active - x | Recovery - x | Advantage - -17 to -18]
|
| 【6C】
[Mid | Damage - 680 | Startup - x | Active - x | Recovery - x | Advantage - -14]
|
| 【6D】
[High | Damage - 820 | Startup - x | Active - x | Recovery - x | Advantage - -22]
|
| 【j.2A】
[High | Damage - 370 | Startup - x | Active - x | Recovery - x | Advantage - Varies]
|
| 【j.2C】
[High | Damage - 710 | Startup - x | Active - x | Recovery - x | Advantage - Varies]
|
| 【j.2D】
[Mid | Damage - 280 | Startup - x | Active - x | Recovery - x | Advantage - Varies]
|
|
|
Special Moves
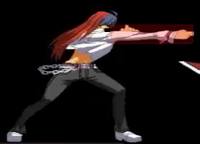
| 【236+A Under Siege】
[Mid | Damage - 259/594 (On second shot connect) | Startup - x | Active - x | Recovery - x | Advantage - 0]
|
| 【214A/B My Fair Lady】
[X | Damage - X | Startup - x | Active - x | Recovery - x | Advantage - X]
|
| 【236B/C Wait Until Dark】
[Mid | Damage - 780 | Startup - x | Active - x | Recovery - x | Advantage - Varies]
|
| 【214C Some Like It Hot】
[Mid | Damage - 820 | Startup - x | Active - x | Recovery - x | Advantage - -14 to -17]
|
| 【236D Sweeney Todd】
[X | Damage - x | Startup - x | Active - x | Recovery - x | Advantage - x]
|
| 【214D Apocalypse Now】
[High (First Hit) | Damage - 602, but will vary | Startup - x | Active - x | Recovery - x | Advantage - Varies, but is always minus]
|
|
|
Supers
| 【236236A A Ticket To Tomahawk】
[Mid | Damage - 1024 to 2135 | Startup - x | Active - x | Recovery - x | Advantage - 5+ and onwards normally]
|
| 【214214A Mystical Machine】
[Mid | Damage - Up to 1084 | Startup - x | Active - x | Recovery - x | Advantage - Around +10
|
|
|
Colors
