Introduction
A living mass of chaotic matter analogous to a primordial soup, created from the accumulation of the lives of 666 creatures. His name, phonetically spelled "Nero", was given to him by the Church as a play on words in Gematria by which the letters that compose it add up to 666, the so-called Number of the Beast.
Nero Chaos is a character that relies heavily on summons and long-reaching normals. By taking advantage of many long reaching and air unblockable moves, a Nero player can keep an opponent locked down or keep his opponent from approaching easily. The bad news is that a lot of these moves have huge blind spots and leave him vulnerable to attacks from specific angles. He's also really tall, giving certain characters instant overheads on him.
Stage: Back Alley

BGM: The theme of Arcueid
Moon Overview
| Moon Style
|
Description
|
|
Crescent
|
- The most setplay focused moon and regarded as one of the best characters in the game, having access to deer summons that track the opponent and the best knockdowns for oki.
- Has the most robust combo game of all three moons, offering a wide variety of routing options to improve damage or meter gain and go into different setups.
- This Nero has access to 5[C], an extremely disjointed normal with low recovery that beats most DPs, deals high damage on hit, and functions as an antiair.
- Abuses crescent moon mechanics very well, having high meter gain and good uses for meter in most situations while also not being meter reliant.
- Has the largest suite of antiairs, while strong this Nero requires more situational awareness than the other two moons to make full use of all them.
- Has slightly higher health than the other two for some reason.
|
|
Half
|
- The only Nero with a dash, allowing enhanced ability to reposition and abuse his longer 2a and antiairs he shares with the other moons such as C's 2C and F's 3C as well go for more traditional strike/throw offense.
- The deer summon no longer tracks but lasts longer, making it worse for setplay and midscreen insurance but better for covering forward approaches and long range situations.
- No longer has a fullscreen fireball like the other two moons, H-Nero's is now angled downwards allowing it to be used as a pressure tool and deny dashes that would go under C/F's.
- Has unique access to a bee super that tracks the opponent and hits multiple times and very active puddle summons but both go away on hit making this Nero's offense generally weaker and forces you to be more active in forcing mistakes out of the opponent.
- Loses ex guard and has arguably the worst abare out of all three moons as well as worse reward off of his defensive options result in this Nero having a harder time reversing momentum in addition to not carrying it as well as the other two moons.
- Overall while not the top tier that crescent and full are H-Nero is still a strong character and a solid high tier pick in his own right with his unique tools helping in some matchups where the other two struggle more.
|
|
Full
|
- Widely considered as strong as C, F-Nero is the most focused on neutral control and denying approaches, being the least mobile moon with a less flexible air game in exchange for enhanced tools to control the ground with.
- Deer is replaced with sludge, a hitbox that continuously travels along the ground to either protect Nero's behind or travel forward across the screen to harass people in front of you.
- F-Nero's 214A/B now have high hitting air unblockable hitboxes allowing the character new opportunities to punish jumps and create guard breaks with.
- The more niche 236B that the other two moons have is now replaced with a mine that slowly floats forward and detonates automatically when near an enemy collision box which in conjunction with his other tools makes this moon the best equipped at stifling straightforward, grounded aggression.
- Has a more streamlined antiair game than the other two with access to a very fast, active, and disjointed 5B that gives partial head invul and covers a good portion of air space at the cost of high recovery and also has far and away the highest reward off of shield with meter, breaking 5K with optimization and resources.
- While more committal in his defensive options than crescent, F-Nero also reaps the most reward off of his gambles due to aforementioned damage from shield counter and his reversal giving a full, high damage combo on trade.
|
Statistics
Crescent
| Stance
|
100%
|
75%
|
50%
|
25%
|
Net Health
|
| Jump
|
0.792
|
0.740
|
0.717
|
0.638
|
15,891
|
| Stand
|
0.900
|
0.842
|
0.815
|
0.725
|
13,979
|
| Crouch
|
0.972
|
0.909
|
0.880
|
0.783
|
12,945
|
| Average
|
|
|
|
|
14,271
|
Half/Full
| Stance
|
100%
|
75%
|
50%
|
25%
|
Net Health
|
| Jump
|
0.792
|
0.749
|
0.717
|
0.638
|
15,845
|
| Stand
|
0.900
|
0.852
|
0.815
|
0.725
|
13,939
|
| Crouch
|
0.972
|
0.920
|
0.880
|
0.783
|
12,908
|
| Average
|
|
|
|
|
14,230
|
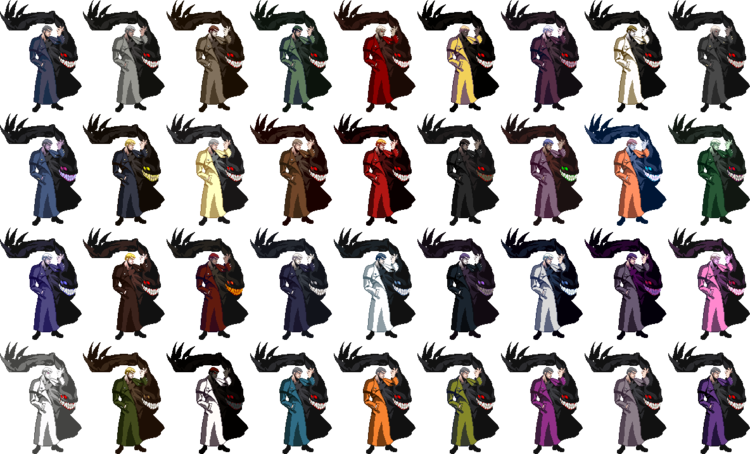
Palettes
External Links
MBAACC Navigation


