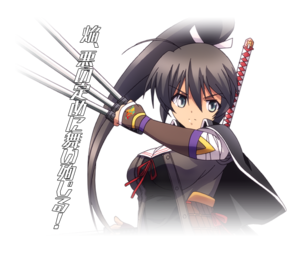
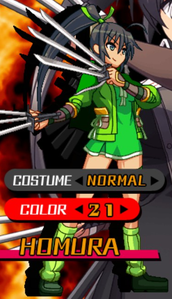
Nitroplus Blasterz: Heroines Infinite Duel/Homura
Profile
Name: Homura
Debuted in: Senran Kagura: Portrait of Girls
Voice Actor: Eri Kitamura
Introduction: She was originally affiliated with Hebijo Clandestine Girls' Academy but she is currently working as the leader of a renegade team, "Homura's Crimson Squad." She is full of emotion and has a straight personality when it comes to her friends. She respects and recognizes strength, even in her enemies.
Summary
Homura is based around a very simple yet effective concept: Very efficient buttons that lead into really high damage. Her movement is also fairly strong for how much range she has, and she also possesses an instant crossup that she can perform from a lot of situations.
Command List
If you are having trouble reading inputs, check out the Notation section!
Movement
Homura's walk speed is terribly slow, but her dash is quite fast, her backdash travels further than most, and her jumps, airdashes and rolls all cover respectable albeit unexceptional distance. She also recovers quite quickly after her j.236C, allowing her to travel pretty far into the air while still keeping her double jump.
Normals
5A 2A [6A / cl.B] st.B 2B 5C 2C [5E/2E] is basic chain route. Any deviations from that route will be noted as an additional or limited.
5A
|
|---|
2A
|
|---|
6A
|
|---|
c.5B
|
|---|
f.5B
|
|---|
2B
|
|---|
5C
|
|---|
2C
|
|---|
5E
|
|---|
2E
|
|---|
j.A
|
|---|
j.B
|
|---|
j.C
|
|---|
j.E
|
|---|
Specials
Aerial Rave
A small amount of Homura's moves (236C and 421C on hit, 623C on close hit, and 5C and E on counterhit) will, after connecting, darken the screen and put the opponent in a slowdown effect. During this time, you can then input A, B, or C to have Homura leap towards them, then continue to press them in order to perform a sequence of attacks followed by a finisher that differs depending on the button you use to enact it (A is a downwards Spiral that knocks down, B is a j.E that groundbounces, allowing for followups, and C is a j.236B that wallbounces, which can also be combo'd from). Confirming into this without the aid of an assist generally isn't happening, but it does at the least make 5C/5E frame traps much more rewarding.
Purgatory of the Beast
236x (air OK) |
|---|
Ascension Run
421x |
|---|
Crimson Lotus Dance
623x |
|---|
Supers
Ultimate Purgatory of the Beast
236AB |
|---|
Charge!
421AB |
|---|
Falcon
623AB |
|---|
Variable Rush
19F
All Variable Rushes allow you to do a sequence of attacks depending on if you hit the A, B, or C button. If you press nothing, the VR will end. If your VR is blocked, you have the option to press nothing, or keep attacking. Even if you keep attacking, you could still stop at any time, assuming you don't execute the final attack.
Depending on what combination of buttons you use, you can come up with some useful strings.
The A ender is a downwards 236AB (lowest damage scaling), the B ender launches, and the C ender is a 623X (highest damage raw).
Lethal Blaze
Gurren
236236BC |
|---|
Combos
Please check out the Notation section, for help on understanding how to read and write combos!
Meterless
(6A>)j.A>j.B>j.E>j.236A, j.B>j.236C, j.A>j.B>j.A>j.B>j.E
If you're close enough, going into j.236A after j.E will hit them before they reach the ground, giving you the bounce and allowing for more damage and fullscreen carry. This isn't actually hard to acheive assuming you've forward jumped, which, combined with how strong the buttons involved are, makes Homura's air game very threatening.
(crouching confirm)...f.B>j.236A, j.B>j.236C, j.A>j.B>j.A>j.B>j.E
This is written with "j.236A" specifically because trying to TK it often gets you a superjump, which makes this too slow to combo with; inputting the jump then the motion is much more consistent.
(corner)...5C/2C>236A, 5A>c.B>air combo
Standard corner confirm. You won't have time to link the 5A if you're too close when you spiral, so this might not work from shorter strings.
Throw>2D, j.C>j.236B, dash 6A>j.A>j.B>j.236C, air combo
Midscreen throw confirm, which, again, gives you full carry. Doesn't work on Ouka, and there aren't really any substitutes that do outside of a simple >2D into j.E.
throw(1hit)>2D>jA>jB>land> 5A> 5B> 5C> 2E or special ender
(corner) Throw, 5C>236B, 5A>6A>air combo
Universal corner throw confirm.
(corner) Throw, 5C>236B, 5A>5B>j.B>j.236A, air combo
Real Ninja Damage, but only works on Saya, Muramasa, Saber and Sonico. It can also work on Ouka through going into 5B>j.A>j.B post-236A instead of the 5A link.
(corner) 5C/E counterhit>Aerial Rave B ender, j.B>j.236A, air combo.
Frametrap into Aerial Rave combo. Not much more reward than the more standard routes, but thats still pretty good.
(corner carry)236C> aerial rave B ender> jA > jB > djc> jB> jE
hold up to make it easiest
Meter and Assists
421A>Franco, dash 2C>236C>Aerial Rave [A ender] or [C ender, j.E]
This isn't the best damage you can get off the crossup, and it can drop if you're point blank when you do it, but on the other hand Franco is one of the best assists for maintaining advantage if they block it, so she's still decent.
(>Franco) 421A (Franco hits), 5[E], 236C>Aerial Rave enders
The damage becomes much better if you're in a situation (typically either a dash jab or j.236A being blocked) that allows you to cancel into Franco before doing the crossup and still get it (from a lot of strings, Franco will hit them before you can, activating the protection). This is also a decent way to get reward off 2C at longer ranges.
aerial rave(C ender) 236A Franco/Henri charged E 236236B+C works with either assist
421A/B>Kaigen, dash 5[E]>236C, Aerial Rave enders
Kaigen is probably the best option for consistent strong crossup damage, giving you a good 6K+ meterless confirm from anywhere.
623B>Franco, land, j.E>j.236A, j.A>j.B>j.236C, air combo
623B>Kaigen (whiff), j.E>j.236A, j.A>j.B>j.236C, air combo
Cancelling DPs with the above two assists gives you your standard ,air-to-air conversions, which is actually pretty great all things considered.
623AB>Althea (3), 5C>Variable
Your most consistent way of comboing off the reversal super, even if Althea doesn't give much else.
...j.A>j.B>j.E>j.236A>236236BC
This is possible anywhere you would usually do a more standard air combo assuming you're fairly low to the ground and haven't already used j.236A. Very high damage even off simpler confirms.
...Kaigen, 5[E]>2D, j.236A>236236BC
Big damage Lethal Blaze combo from Kaigen confirms. Won't work if they're not near the corner by the time Kaigen hits; for those situations, use throw, although that might still drop on the super from heavily prorated confirms.
...Kaigen>Angelia>Grab>236236B+C>Angelia hits>charged E
A B C 2E Angelia 623C~BBBBB Kaigen 623C~xxx Angelia hits 421C AAAA
meterless knock down. may not work at certain parts of the screen since angelia lazers do vary depending on positioning
A B C 2E Angelia 623C~BBBBB Kaigen 623C~xxx Angelia hits 236236B+C
A B C 2E Angelia 623A+B second Assist 623C~xxx Angelia hits 421C May work with nearly any assist. positioning to make angelia hit is tricky
Blast
...5C>EB, (dash 5B>) 623B>j.D, 623A>j.D, delay j.236B, 5A>6A>j.A.j.B>j.A>j.B>j.E>j.236A>236236BC
Standard EB confirm from grounded strings. Demands you omit the j.236B in the corner, and won't work from heavily prorated confirms if you need to do the dash 5B (which is required if they're not very close to you or in the corner).
...5C>EB, 5E>236C>Aerial Rave B ender>j.D, j.236A>236236BC
Simple but still very damaging Blast confirm from just about anything, regardless of proration.
6A/5C anti-air>EB, 623B, 5A>5C>236A>j.D, delay j.C, land, j.A>j.B>j.C>j.C>j.E>j.236A>236236BC
Insta-blast anti-air confirm. Very high damage when done from 5C.
...air combo jE>EB>236A land>623A+B>assist cancel>623C>aerial rave
Strategy
rushdown and push buttons, fly around the screen with j.236C and airdash/escape roll
Links
JP: Homura page on the Japanese NPB wiki
Colors
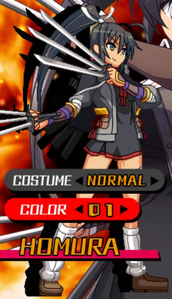
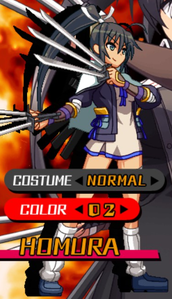
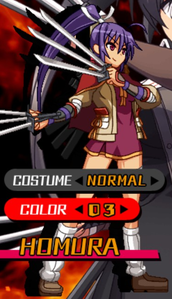
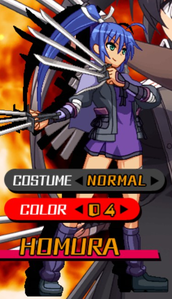
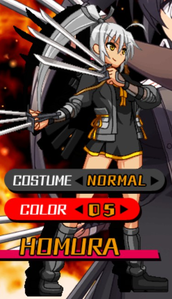
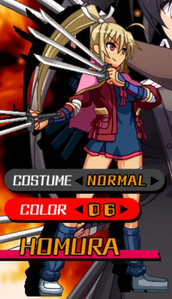
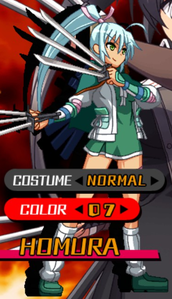
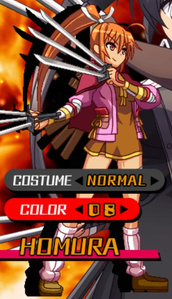
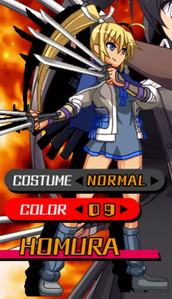
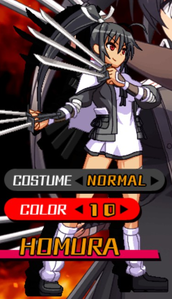
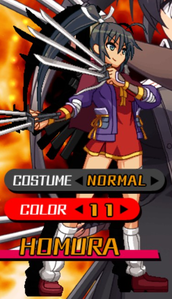
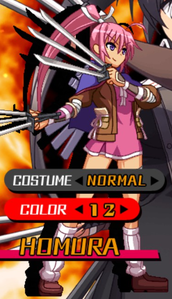
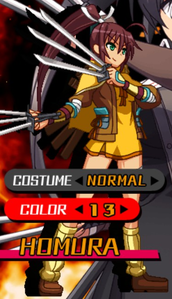
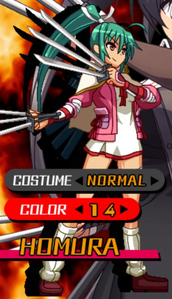
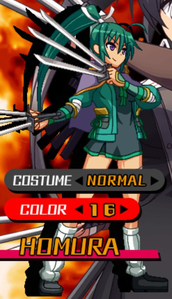
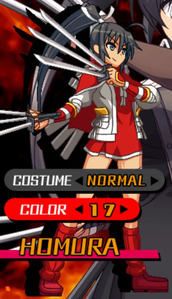
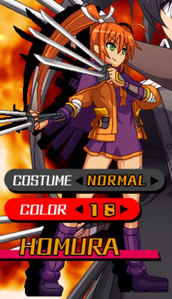
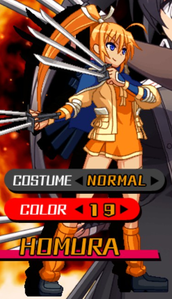
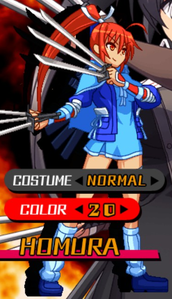
Click the pictures to see the full resolution.
