Introduction
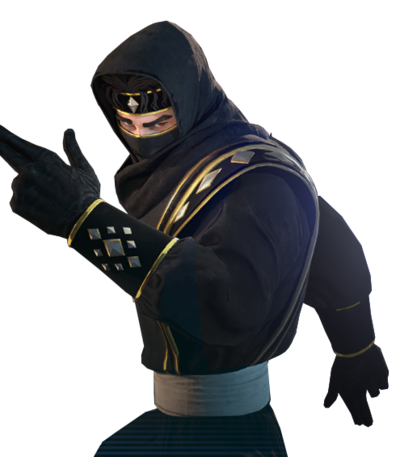
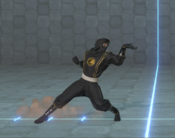
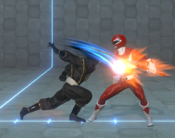
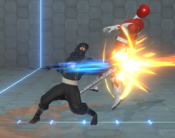
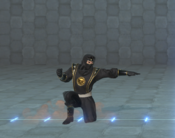
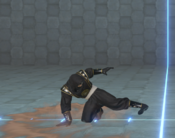
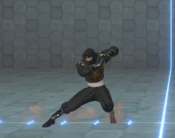
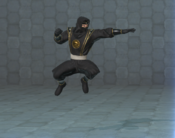
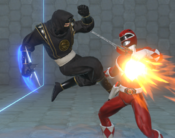
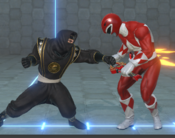
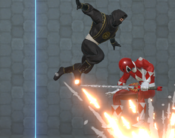
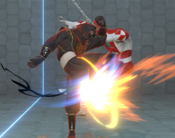
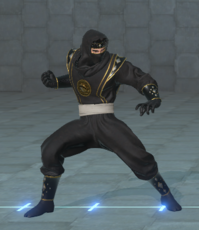
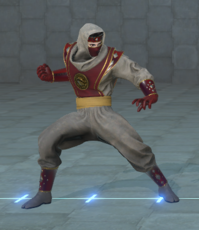
Originally a student in Stone Canyon, Adam eventually made his way to Angel Grove and impressed Zordon and the Rangers with his martial arts prowess and reserved thoughtfulness. He's served as the Mighty Morphin Black Ranger and the Green Zeo Ranger. He's a bit in his own head about proving his value as a Ranger, but Adam Park always comes through with effort and dedication.
Overview
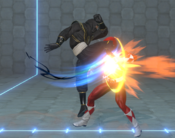
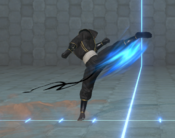
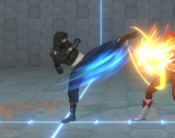
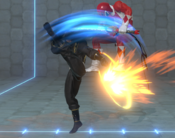
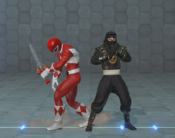
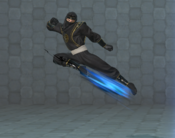
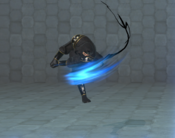
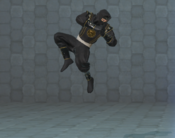
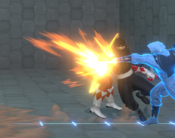
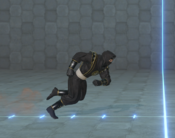
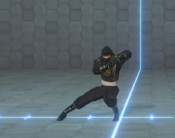
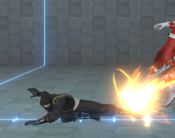
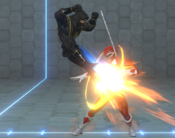
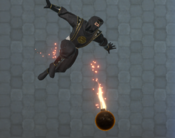
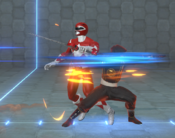
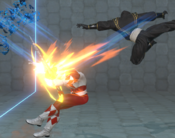
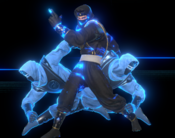
Adam is a tricky ninja with above average execution requirements and high damage. He has everything you'd expect from a ninja including teleports. wall jumps, and shurikens. Adam can choose to play a safe, methodical neutral game, or he can just mix you from half screen. He has some of the best mix up tools in the game, especially while he's installed. While his mixup tools are strong, they are unsafe alone, so he does best with assists behind him to keep him safe.
Playstyle
|
Adam Park is a tricky mixup character with high damage and a unique install super |
| Pros |
Cons |
- Off Rip - Adam's specials allow him to completely dominate at round start with good assists
- Incredible - Adam's specials allow him to fill the screen with projectiles or skip neutral entirely when used correctly
- Huge Damage - Adam can consistently convert almost any hit into a ToD
- Unbroccoli - Adam's multi-hit overhead makes unblockable resets very consistent. His unblockable setups also work on happy birthdays
- Cuisinart Mix - Adam has access to the strongest incoming mix in the game while installed
- The Messenger - Adam's jS and jump buttons make him incredibly strong in the air
- PrEsEnT fOr Ya - Adam's assist is strong in neutral and can be tagged into for strong high/low mix
|
- Highly Committal - Adam's neutral skips are unsafe when not covered by an assist
- Squishy - Adam has only 950 HP which makes it easy to kill him off of most hits
- Super Execution - Adam's install makes him very hard to control without lots of lab time
|
Normal Moves
5L
5L
|
| Damage
|
Guard
|
Startup
|
Active
|
Recovery
|
Frame Adv (Block)
|
Frame Adv (Hit)
|
| -
|
-
|
-
|
-
|
-
|
-
|
-
|
|
|
|
5LL
5LL
|
| Damage
|
Guard
|
Startup
|
Active
|
Recovery
|
Frame Adv (Block)
|
Frame Adv (Hit)
|
| -
|
-
|
-
|
-
|
-
|
-
|
-
|
|
5LLL
5LLL
|
| Damage
|
Guard
|
Startup
|
Active
|
Recovery
|
Frame Adv (Block)
|
Frame Adv (Hit)
|
| -
|
-
|
-
|
-
|
-
|
-
|
-
|
- Hits overhead, Sliding Knockdown
- Cancels into Lantern Pass (ground) and (air)on hit
|
|
5M
5M
|
| Damage
|
Guard
|
Startup
|
Active
|
Recovery
|
Frame Adv (Block)
|
Frame Adv (Hit)
|
| -
|
-
|
-
|
-
|
-
|
-
|
-
|
|
5MM
5MM
|
| Damage
|
Guard
|
Startup
|
Active
|
Recovery
|
Frame Adv (Block)
|
Frame Adv (Hit)
|
| -
|
-
|
-
|
-
|
-
|
-
|
-
|
- Staggers on hit
- Cancels into Lantern Pass (ground) and (air)on hit
|
|
5H
5H
|
| Damage
|
Guard
|
Startup
|
Active
|
Recovery
|
Frame Adv (Block)
|
Frame Adv (Hit)
|
| -
|
-
|
-
|
-
|
-
|
-
|
-
|
- 2 hit attack, first hit is special cancellable on both hit and block
- Adam moves forward incredibly far during this move
|
|
5HH
5HH
|
| Damage
|
Guard
|
Startup
|
Active
|
Recovery
|
Frame Adv (Block)
|
Frame Adv (Hit)
|
| -
|
-
|
-
|
-
|
-
|
-
|
-
|
- 2 hit followup to 5H
- Cancels into Lantern Pass (ground) and (air) on hit
|
|
2L
2L
|
| Damage
|
Guard
|
Startup
|
Active
|
Recovery
|
Frame Adv (Block)
|
Frame Adv (Hit)
|
| -
|
-
|
-
|
-
|
-
|
-
|
-
|
- Contrary to 5L does not hit low
|
|
2M
2M
|
| Damage
|
Guard
|
Startup
|
Active
|
Recovery
|
Frame Adv (Block)
|
Frame Adv (Hit)
|
| -
|
-
|
-
|
-
|
-
|
-
|
-
|
|
2H
Hot Frog
2H
|
| Damage
|
Guard
|
Startup
|
Active
|
Recovery
|
Frame Adv (Block)
|
Frame Adv (Hit)
|
| -
|
-
|
-
|
-
|
-
|
-
|
-
|
|
|
|
2H
Hot Frog (followup)
H (after Hot Frog)
|
| Damage
|
Guard
|
Startup
|
Active
|
Recovery
|
Frame Adv (Block)
|
Frame Adv (Hit)
|
| -
|
-
|
-
|
-
|
-
|
-
|
-
|
- Launches opponent upwards
- Cancels into Lantern Pass (ground) and (air)on hit
|
|
j.2M
Lantern Pass (Ground)
M after any Target Combo
|
| Damage
|
Guard
|
Startup
|
Active
|
Recovery
|
Frame Adv (Block)
|
Frame Adv (Hit)
|
| -
|
-
|
-
|
-
|
-
|
-
|
-
|
|
j.2M
Lantern Pass (Air)
H after any Target Combo
|
| Damage
|
Guard
|
Startup
|
Active
|
Recovery
|
Frame Adv (Block)
|
Frame Adv (Hit)
|
| -
|
-
|
-
|
-
|
-
|
-
|
-
|
|
j.L
j.L
|
| Damage
|
Guard
|
Startup
|
Active
|
Recovery
|
Frame Adv (Block)
|
Frame Adv (Hit)
|
| -
|
-
|
-
|
-
|
-
|
-
|
-
|
|
j.M
j.M
|
| Damage
|
Guard
|
Startup
|
Active
|
Recovery
|
Frame Adv (Block)
|
Frame Adv (Hit)
|
| -
|
-
|
-
|
-
|
-
|
-
|
-
|
|
j.H
j.H
|
| Damage
|
Guard
|
Startup
|
Active
|
Recovery
|
Frame Adv (Block)
|
Frame Adv (Hit)
|
| -
|
-
|
-
|
-
|
-
|
-
|
-
|
|
j.2M
Elbow Drop
j.2M
|
| Damage
|
Guard
|
Startup
|
Active
|
Recovery
|
Frame Adv (Block)
|
Frame Adv (Hit)
|
| -
|
-
|
-
|
-
|
-
|
-
|
-
|
|
Special Moves
5S
Croak and Dagger
5S
|
| Version
|
Damage
|
Guard
|
Startup
|
Active
|
Recovery
|
Frame Adv (Block)
|
Frame Adv (Hit)
|
| Stance
|
-
|
-
|
-
|
-
|
-
|
-
|
-
|
Shredding Star
5S~L/M/H
|
-
|
-
|
-
|
-
|
-
|
-
|
-
|
|
4S
Ninjetti Retreat
4S
|
| Version
|
Damage
|
Guard
|
Startup
|
Active
|
Recovery
|
Frame Adv (Block)
|
Frame Adv (Hit)
|
| Run
|
-
|
-
|
-
|
-
|
-
|
-
|
-
|
Super Jump
4S~L
|
-
|
-
|
-
|
-
|
-
|
-
|
-
|
Fly Catcher
4S~M
|
-
|
-
|
-
|
-
|
-
|
-
|
-
|
Pond Hopper
4S~H
|
-
|
-
|
-
|
-
|
-
|
-
|
-
|
Quick Halt
4S~S
|
-
|
-
|
-
|
-
|
-
|
-
|
-
|
|
5S
Ninjetti Advance
6S
|
| Version
|
Damage
|
Guard
|
Startup
|
Active
|
Recovery
|
Frame Adv (Block)
|
Frame Adv (Hit)
|
| Run
|
-
|
-
|
-
|
-
|
-
|
-
|
-
|
Rip-It
6S~L
|
-
|
-
|
-
|
-
|
-
|
-
|
-
|
Slipstream
6S~M
|
-
|
-
|
-
|
-
|
-
|
-
|
-
|
Leap Frog
6S~H
|
-
|
-
|
-
|
-
|
-
|
-
|
-
|
Quick Halt
6S~S
|
-
|
-
|
-
|
-
|
-
|
-
|
-
|
|
j.S
Amphibia Flip
j.S
|
| Damage
|
Guard
|
Startup
|
Active
|
Recovery
|
Frame Adv (Block)
|
Frame Adv (Hit)
|
| -
|
-
|
-
|
-
|
-
|
-
|
-
|
|
EX Special
5L+S
Flanking Frog
5S+L
|
| Damage
|
Guard
|
Startup
|
Active
|
Recovery
|
Frame Adv (Block)
|
Frame Adv (Hit)
|
| -
|
-
|
-
|
-
|
-
|
-
|
-
|
|
Throws
Forward Throw
Forward Throw
5M+H/6M+H
|
| Damage
|
Guard
|
Startup
|
Active
|
Recovery
|
Frame Adv (Block)
|
Frame Adv (Hit)
|
| -
|
Throw
|
-
|
-
|
-
|
-
|
-
|
|
Back Throw
Back Throw
4M+H
|
| Damage
|
Guard
|
Startup
|
Active
|
Recovery
|
Frame Adv (Block)
|
Frame Adv (Hit)
|
| -
|
Throw
|
-
|
-
|
-
|
-
|
-
|
|
Super
Super
Courageous Spirit
H+S
|
| Damage
|
Guard
|
Startup
|
Active
|
Recovery
|
Frame Adv (Block)
|
Frame Adv (Hit)
|
| -
|
-
|
-
|
-
|
-
|
-
|
-
|
|
Tag Actions
Assist
Assist
A1/A2
|
| Damage
|
Guard
|
Startup
|
Active
|
Recovery
|
Frame Adv (Block)
|
Frame Adv (Hit)
|
| -
|
-
|
-
|
-
|
-
|
-
|
-
|
|
Swap Strike
Swap Strike
A1/A2+S
|
| Damage
|
Guard
|
Startup
|
Active
|
Recovery
|
Frame Adv (Block)
|
Frame Adv (Hit)
|
| -
|
-
|
-
|
-
|
-
|
-
|
-
|
|
Team Synergy
Combos
Solo
LLLL
Auto combo
5L > 5M > 5H
Example combo
Assist combos
5L > 5M > 5H > assist name > 5L > 5M > 5H
Example combo
Videos
Colors
External Links
