Introduction
Health: 1100
Walk Speed: 400 Forward, 280 Back
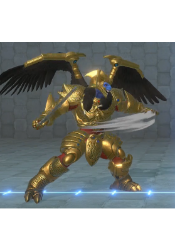
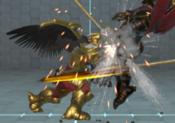
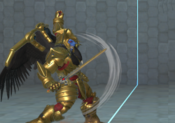
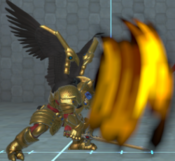
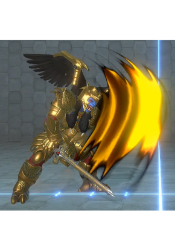
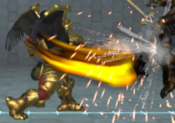
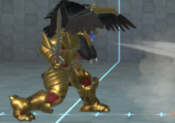
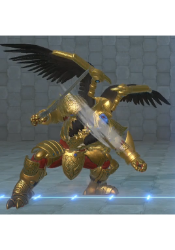
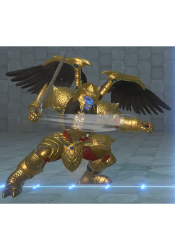
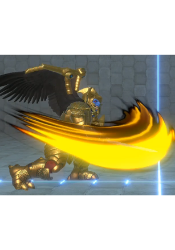
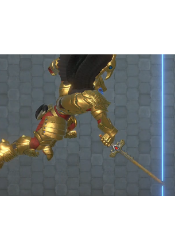
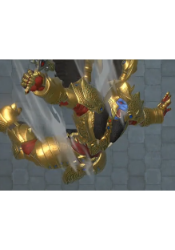
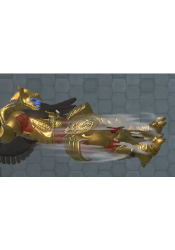
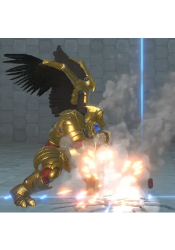
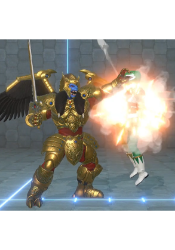
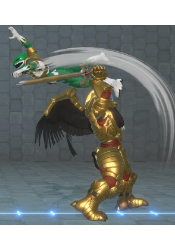
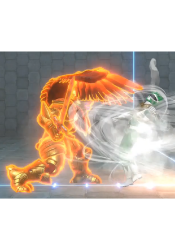
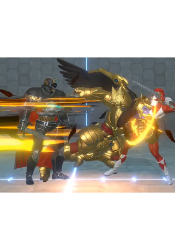
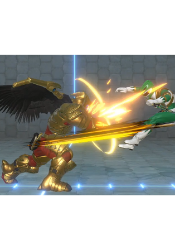
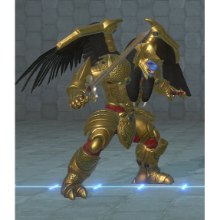
Goldar is the loud, perpetually angry, and vicious humanoid ape general of Rita Repulsa. Goldar is one of the few henchmen who are capable of holding their own against the Power Rangers.
Overview
Goldar is a highly unga character who excels at getting in close and making the opponent's situation a living nightmare. His air normals are among some of the best in the game, and his jS swoop cancels make his air movement unorthodox enough that he's one of the harder characters to punish in the air. His close range normals all net him excellent frame advantage, allowing him to keep up the pressure when close, especially when coupled with his ridiculous Kara Throw.
He can function quite a lot like a typical grappler in other fighting games, with a very threatening grab game alongside an anti-air grab to catch an opponent if they try to jump out of his pressure.
Generally he'll struggle more at the long range, so you'll want to use assists and his air movement well to close in on the opponent and make use of his tools.
His assist also numbers among the best in the game, allowing you to no-sell a lot of options the opponent can throw out, and is amazing at setting up sandwich mixups.
Playstyle
|
Goldar is a big body with decent sized buttons and great air mobility |
| Pros |
Cons |
- Press A Button - Goldar's 6S and assist are armored and forward moving. They can easily punish opponents who love to press buttons
- Staggeringly Good Buttons - Goldar gets great stagger pressure from his numerous safe normals
- Fresh Breath - Goldar's 4H reflect let's him stuff assists and projectiles from afar. It is also the only reflect that can deal with Poisandra's Sledge attacks
- Secret Zangief - Goldar's strike/throw mixups are bolstered by his very long kara throw
- Tagout Value - Goldar's 6S and jS are tricky and long-lasting which make them perfect for tagouts
- Pick a Side - Goldar has a 5-way mixup after flipout resets
- When Gorillas Fly - Goldar's has great air mobility due to his jS. He can alter his descent by cancelling the animation into different jump attacks
|
- Meter Dependent - Goldar's solo damage is heavily reliant on meter. He can not ToD from a 0 bar start without his difficult infinite or unblockable resets
- Big Chungus - Goldar is giant and has to deal with many mixups and options that smaller characters don't have to
- Armor is Heavy - Goldar's forward dash leaves him vulnerable for a long time and is easily punishable
- Duck Hunt NES - While Goldar's air mobility helps against many characters, he has terrible matchups against all of the zoners on the roster
|
Normal Moves
5L
|
| Damage
|
Guard
|
Startup
|
Active
|
Recovery
|
Frame Adv (Block)
|
Frame Adv (Hit)
|
| 40
|
High/Low/Air
|
7
|
-
|
-
|
6
|
-
|
- Forces flip reset on airborne opponents
Whiff Cancels
This move cancels into Super on whiff, making it a good meaty option off a hard knockdown.
|
|
5LL
|
| Damage
|
Guard
|
Startup
|
Active
|
Recovery
|
Frame Adv (Block)
|
Frame Adv (Hit)
|
| 60
|
High/Low/Air
|
-
|
-
|
-
|
6
|
-
|
|
5LLL
|
| Damage
|
Guard
|
Startup
|
Active
|
Recovery
|
Frame Adv (Block)
|
Frame Adv (Hit)
|
| 40 + 40
|
High/Low/Air
|
-
|
-
|
-
|
2
|
-
|
Used to link into 4M from 5L
|
|
5M
|
| Damage
|
Guard
|
Startup
|
Active
|
Recovery
|
Frame Adv (Block)
|
Frame Adv (Hit)
|
| 65
|
High/Low/Air
|
8
|
-
|
-
|
3
|
-
|
Great poke. use 5M~H for an above-average ranged kara grab.
|
|
5MM
|
| Damage
|
Guard
|
Startup
|
Active
|
Recovery
|
Frame Adv (Block)
|
Frame Adv (Hit)
|
| 80
|
High/Low/Air
|
-
|
-
|
-
|
-27
|
-
|
|
|
|
4M
|
| Damage
|
Guard
|
Startup
|
Active
|
Recovery
|
Frame Adv (Block)
|
Frame Adv (Hit)
|
| 75
|
High/Low
|
-
|
-
|
-
|
0
|
-
|
Great Anti-Air - recovery is fast enough to get a jab reset afterwards
|
|
6M
|
| Damage
|
Guard
|
Startup
|
Active
|
Recovery
|
Frame Adv (Block)
|
Frame Adv (Hit)
|
| 40 + 60
|
High/Air
|
21
|
-
|
-
|
-1
|
-
|
Standing overhead, which allows you to set up unblockable resets, or just excellent mixups. Has OTG properties, so you'll be using this a lot mid combo - you'll want to practice hitting this after EX and 6S to continue combos.
|
|
5H
|
| Damage
|
Guard
|
Startup
|
Active
|
Recovery
|
Frame Adv (Block)
|
Frame Adv (Hit)
|
| 65
|
High/Low/Air
|
13
|
-
|
-
|
-4
|
-
|
|
5HH
|
| Damage
|
Guard
|
Startup
|
Active
|
Recovery
|
Frame Adv (Block)
|
Frame Adv (Hit)
|
| 90
|
High/Low/Air
|
-
|
-
|
-
|
+2
|
-
|
|
4H
|
| Damage
|
Guard
|
Startup
|
Active
|
Recovery
|
Frame Adv (Block)
|
Frame Adv (Hit)
|
| 1 + 1
|
High/Low/Air
|
-
|
-
|
-
|
-
|
-
|
- Reflects projectiles
- Causes reset on airborne opponents
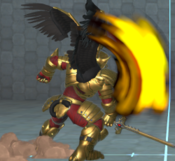
Goldar flaps his wings to send out a gust of wind - pushes enemies back and reflects projectiles. Has a long recovery, so very punishable if spaced poorly.
|
|
2L
|
| Damage
|
Guard
|
Startup
|
Active
|
Recovery
|
Frame Adv (Block)
|
Frame Adv (Hit)
|
| 35
|
Low/Air
|
6
|
35
|
-
|
+4
|
-
|
Goldar's fastest normal; really good to check the opponent with and kara cancel into a throw on block.
|
|
2M
|
| Damage
|
Guard
|
Startup
|
Active
|
Recovery
|
Frame Adv (Block)
|
Frame Adv (Hit)
|
| 65
|
High/Low/Air
|
8
|
-
|
-
|
-4
|
-
|
|
2H
|
| Damage
|
Guard
|
Startup
|
Active
|
Recovery
|
Frame Adv (Block)
|
Frame Adv (Hit)
|
| 70
|
Low/Air
|
10
|
-
|
-18
|
-
|
-
|
- Spinning knockdown on airborne opponent.
Combos into 4S on a grounded opponent, though it's not consistent on Jen.
|
|
j.L
|
| Damage
|
Guard
|
Startup
|
Active
|
Recovery
|
Frame Adv (Block)
|
Frame Adv (Hit)
|
| 40
|
High/Air
|
4
|
-
|
-
|
-
|
-
|
One of Goldar's fastest normals, with a really good hitbox, rising jL allows you to immediately open up the opponent with an overhead, which you can convert into a combo with the right assist.
|
|
j.M
|
| Damage
|
Guard
|
Startup
|
Active
|
Recovery
|
Frame Adv (Block)
|
Frame Adv (Hit)
|
| 65
|
High/Air
|
7
|
-
|
-
|
-
|
-
|
This move has a pretty large hitbox, making it fantastic to throw out on incoming
|
|
j.H
|
| Damage
|
Guard
|
Startup
|
Active
|
Recovery
|
Frame Adv (Block)
|
Frame Adv (Hit)
|
| 70
|
High/Air
|
12
|
-
|
-
|
-
|
-
|
|
Special Moves
5S
|
| Damage
|
Guard
|
Startup
|
Active
|
Recovery
|
Frame Adv (Block)
|
Frame Adv (Hit)
|
| 40 + 70
|
High/Low/Air
|
25
|
-
|
-
|
-10
|
-
|
Goldar stabs his sword into the ground, creating a shockwave a small distance away - the distance can be extended if you input 5S twice. Can OTG. You can plink cancel it into EX with 6S~L.
Against a hard knockdown 5S can bring an opponent off the floor if both shockwaves hit the grounded opponent. This creates great combo extensions with assists.
|
|
4S
|
| Damage
|
Guard
|
Startup
|
Active
|
Recovery
|
Frame Adv (Block)
|
Frame Adv (Hit)
|
| 130
|
-
|
-
|
-
|
-
|
-
|
-
|
Anti-Air Grab, can be used to catch fleeing opponents, but finds most of it's use in combos, comboing from 2H, 4M and Throw, and from 5M/5H if the opponent is already in an air juggle. Causes a wallbounce.
|
|
6S
|
| Damage
|
Guard
|
Startup
|
Active
|
Recovery
|
Frame Adv (Block)
|
Frame Adv (Hit)
|
| 90
|
High/Low/Air
|
25
|
-
|
-
|
-10
|
-
|
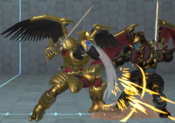
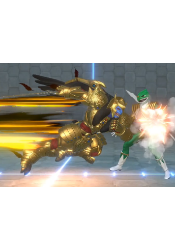
Goldar charges forward a considerable distance, with an armoured shoulder charge. Good for getting through projectiles, and is a really nice neutral option when backed with an assist. Causes a stagger.
|
|
j.S
|
| Damage
|
Guard
|
Startup
|
Active
|
Recovery
|
Frame Adv (Block)
|
Frame Adv (Hit)
|
| 60 + 30 + 30 + 90
|
High/Air
|
-
|
-
|
-
|
-
|
-
|
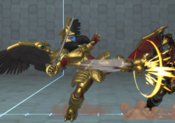
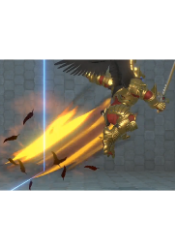
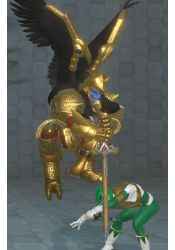
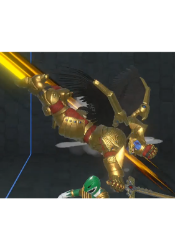
Goldar swoops into the air and plunges his sword into the ground - generally not a move you want to be throwing out randomly, unless you're tagging out during it. The main benefit of jS is that you can cancel it into any of his air normals, while maintaining the momentum of the swoop, allowing Goldar some of the best air mobility in the game.
|
|
Throws
Forward Throw
5M+H/6M+H
|
| Damage
|
Guard
|
Startup
|
Active
|
Recovery
|
Frame Adv (Block)
|
Frame Adv (Hit)
|
| 40 + 40
|
Throw
|
-
|
-
|
-
|
-
|
-
|
|
|
|
Back Throw
4M+H
|
| Damage
|
Guard
|
Startup
|
Active
|
Recovery
|
Frame Adv (Block)
|
Frame Adv (Hit)
|
| 190
|
Throw
|
-
|
-
|
-
|
-
|
-
|
Combos into 2L in the corner
|
|
EX Special
5S+L
|
| Damage
|
Guard
|
Startup
|
Active
|
Recovery
|
Frame Adv (Block)
|
Frame Adv (Hit)
|
| 30 + 30 + 30 + 30 + 110
|
High/Low/Air
|
-
|
-
|
-
|
-18
|
-
|
- Reflects projectiles
- Causes hard knockdown
Standard invincible reversal - you can continue a combo afterwards with a 6M OTG
|
|
Super
Super
H+S
|
| Damage
|
Guard
|
Startup
|
Active
|
Recovery
|
Frame Adv (Block)
|
Frame Adv (Hit)
|
| 90 + 100 + 110 + 160
|
High/Low/Air
|
-
|
-
|
-
|
-
|
-
|
Goldar jumps up and divebombs the opponent - decent at punishing the opponent for doing something unsafe at fullscreen,
|
|
Assist
Assist
A1/A2
|
| Damage
|
Guard
|
Startup
|
Active
|
Recovery
|
Frame Adv (Block)
|
Frame Adv (Hit)
|
| -
|
-
|
-
|
-
|
-
|
-
|
-
|
Goldar's 6S - retains it's armoured properties, which make for a very powerful pressure assist, and helps to setup strong sandwich pressure due to how long he stays out
|
|
Swap Strike
A1/A2+2S
|
| Damage
|
Guard
|
Startup
|
Active
|
Recovery
|
Frame Adv (Block)
|
Frame Adv (Hit)
|
| -
|
-
|
-
|
-
|
-
|
-4
|
-
|
|
Setups
Incoming Setups
On incoming, one of Goldar's best tools is to throw out jM, and once it hits the incoming opponent's airblock, to input jS~M which will cross the opponent up as soon as they land.
Team Synergy
Combos
Combos in this section are broken down into the pre-juggle (starter) and post-juggle (finishers)
Starters
2L 5MH 6S, 5M 2H 4S, 9j.LMSM 9j.LHSM, 2L 5M 5M2H 5S 6S 534 DMG, uses 0 launchers (video)
This combo is slightly more difficult in that if this combo starts with a jump-in like j.M then the last part of the combo drops a 5M to not go over the juggle limit.
2L 5MH 6S, 2H 4S, 9j.MH, 4M 9j.LMSM, (micro-walk) 2L 5M 5M2H 5S 6S 548 DMG, uses 1 launchers (video)
Does not change if the combo starts with a jump-in however does use 1 launcher.
Finishers
All these finishers are done assuming the first starter combo is used. If the second starter is used then drop a 4M where required.
6M 4M 4M 4S (walk in) 5S 6S Meterless; 704 DMG, 0 meter (video)
6M 4M 4M 4S (walk in) 5S 6[S]~L Kara EX; 814 DMG, 1 meter (video)
6M 4M 4M 4S (walk in) 5S 6S super Super; 927 DMG, 2 meter (video)
6M 4M 4M 4S (walk in) 5S 6[S]~L super Kara EX super; 1037 DMG, 3 meter (video)
Reset Finishers
Even though Goldar has huge damage potential, his jab resets are very good as he can go for a lot of options following the reset. Most characters in the cast have some form of this. At the end of any combo, use 5L to force a flipout that guarantees 1 frame where the opponent can't use a reversal. In other words, this guarantees a meaty without fear of getting interrupted by an EX, or some other invulnerable move. After 5L, you have the following options:
6M 5L+A1, 6M~A1 2L (or assists low) Unblockable; always the best option with an assist. (video)
6M 5L 2L 5MH 6S Same-side low (video)
6M 5L throw 4S Same-side throw (video)
6M 5L 6M 5LMH 6S Same-side overhead (video)
6M 5LM~L 2L 5MH 6S Opposite-side low (video)
6M 5LM~L throw 4S Opposite-side throw (video)
6M 5LM~L 6M 5LMH 6S Opposite-side overhead (video)
Zord Combos
All combos shown in this section use the starting combo found in the section above.
Dino
A1+A2~M (backdash and walk back a few steps > 5S 6S~M)x3-4 (video)
Mega Goldar
A1+A2~L (5S 6S)x2-3 (video)
Dino
A1+A2 [L]~M ]L[ (6M 4S 5S 6S~L)x2-3 (video)
A1+A2~H (4S 5S 6S~H)x2-3 (video)
SPD
The SPD combos below use an air-unblockable setup on incoming; when SPD M hits an airborne opponent they get a debuff which prevents them from blocking in the air. Paired with a snap the incoming character also has this debuff letting us do a meaty attack on them.
2 Bar
A1+A2 6M 4MS walk-in 2A1+A2 4S 4MS 2A1+A2 4S combo (video)
3 Bar
A1+A2 6M 4MS walk-in 2A1+A2 4S 4MS 2A1+A2 4S~H 4M 9j.LM combo (video)
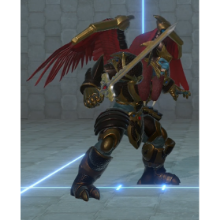
Colors
External Links

