Introduction
Health: 950
Walk Speed: - forward, - back
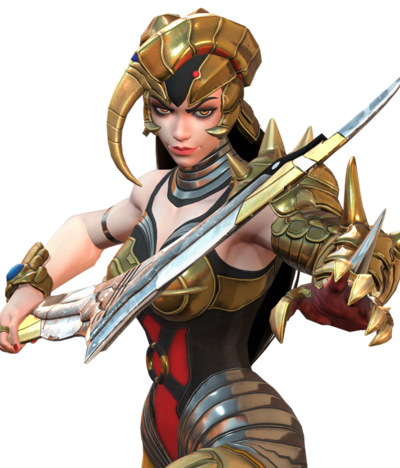
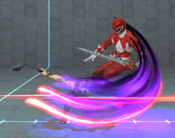
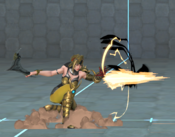
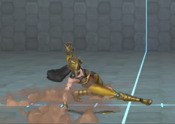
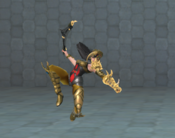
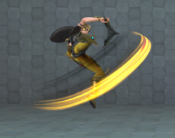
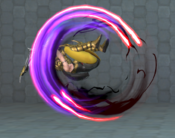
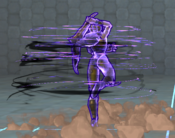
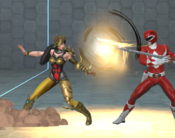
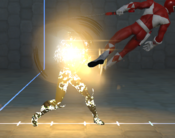
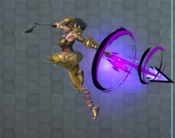
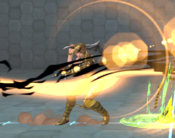
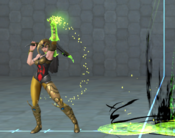
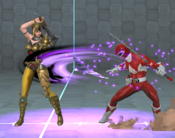
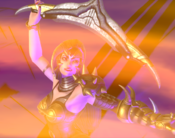
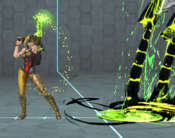
Scorpina is one of Rita Repulsa's most ruthless minions. She was released from her imprisonment after Rita created her evil Green Ranger and continues to fight alongside Goldar. From fighting with her pet silkworm, posing as a human teenager to get close to the Rangers, or transforming into her Scorpion form, Scorpina has proven to be one of the most dangerous villains to the Power Rangers.
Overview
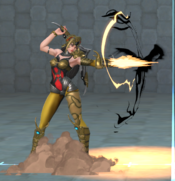
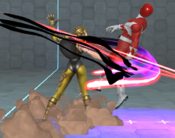
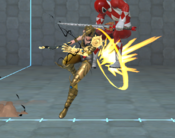
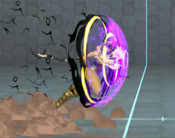
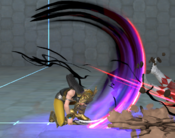
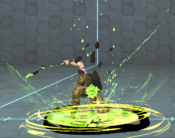
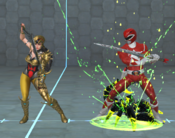
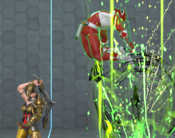
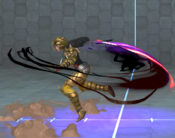
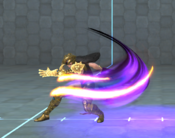
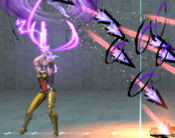
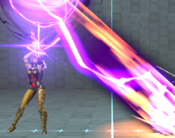
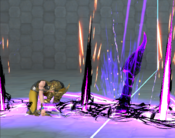
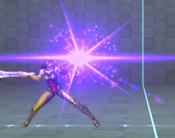
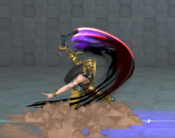
Scorpina is an unorthodox character who excels at playing a tricky, aggressive zoning type of gameplan. While she sports somewhat sluggish basic movement and awkward normals, she makes up for this with some powerful space control tools with their own special properties from teleports to damage-over-time debuffs, unique aggressive movement and powerful new special moves every time she lands an EX.
Playstyle
|
Scorpina is a high support value character with a unique dash jump |
| Pros |
Cons |
- Assist Me! - Scorpina's assist is one of the best in the game. It has applications as a pressure, mixup, neutral, and combo extension tool
- Panic Button - Scorpina's EX covers a ton of space and leads to a ToD
- Damage - Scorpina does incredible damage as a solo character and as a tag in damage engine. Her combos are simple and happy birthday friendly.
- Solo Mix - Scorpina's dash jump float gives her access to great solo left/right and high/low mix, especially in the corner
- Don't Call it a Comeback - Scorpina's damage and solo mix give her great comeback potential
- Low Profile - Scorpina has one of the smallest crouching hurt boxes in the game, so many attacks go right over her
- Batman Doesn't Need Guns - Scorpina has strong solo tools for neutral and plink pressure with 2L, 5L, and jS
- Poison - Scorpina's poison damage doesn't fill the opponents Zord meter. This can limit your opponents chances for comeback opportunites
|
- Limited Poke Options - Scorpina's safest tools are 2L, 5L, and jS, but many of her other buttons are highly committal
- Odd Movement - While Scorpina has a strong plinkdash, her unique dash jump removes the advantages given by BFTG's normal dash jump, such as the auto air block
- Backline - Scorpina's other downsides make her neutral game as the active character relatively weak. She is somewhat reliant on the opponent's mistakes and should almost never be used as a point character
|
Normal Moves
5L
5L
|
| Damage
|
Guard
|
Startup
|
Active
|
Recovery
|
Frame Adv (Block)
|
Frame Adv (Hit)
|
| 40
|
High/Low/Air
|
4
|
-
|
-
|
-6
|
-
|
Excellent close-range poke that has deceptively long range.
|
|
5LL
5LL
|
| Damage
|
Guard
|
Startup
|
Active
|
Recovery
|
Frame Adv (Block)
|
Frame Adv (Hit)
|
| 52
|
High/Low/Air
|
-
|
-
|
-
|
-17
|
-
|
Causes a spin state and combos into 6S
|
|
5M
5M
|
| Damage
|
Guard
|
Startup
|
Active
|
Recovery
|
Frame Adv (Block)
|
Frame Adv (Hit)
|
| 60
|
High/Low/Air
|
12
|
-
|
-
|
-1
|
-
|
You definitely do not want to whiff this move in neutral as it is super easy to punish. Pretty much just combo filler.
|
|
5MM
5MM
|
| Damage
|
Guard
|
Startup
|
Active
|
Recovery
|
Frame Adv (Block)
|
Frame Adv (Hit)
|
| 70
|
Low/Air
|
-
|
-
|
-
|
-15
|
-
|
Low hitting follow-up. It takes while to come out, so the opponent has to be high enough during a combo to connect.
|
|
5MMM
5MMM
|
| Damage
|
Guard
|
Startup
|
Active
|
Recovery
|
Frame Adv (Block)
|
Frame Adv (Hit)
|
| 66
|
High/Low/Air
|
-
|
-
|
-
|
-22
|
-
|
Combos into Scorpina’s Ex install “carve” allowing for 4S to hit. Not cancelable outside of Ex and super
|
|
5H
5H
|
| Damage
|
Guard
|
Startup
|
Active
|
Recovery
|
Frame Adv (Block)
|
Frame Adv (Hit)
|
| 80
|
High/Low/Air
|
11
|
-
|
-
|
-18
|
-
|
Juggle immune. Causes an OTG state. This can be used to setup a hard-to-blockable (5HH tag into a low). It is also helpful for post-juggle combo extension.
|
|
5HH
5HH
|
| Damage
|
Guard
|
Startup
|
Active
|
Recovery
|
Frame Adv (Block)
|
Frame Adv (Hit)
|
| 76
|
High/Air
|
-
|
-
|
-
|
-27
|
-
|
Causes a juggle, standing or OTG ground bounce depending on how the opponent is hit. Juggle limit immune. Risky hard-to-block setup as they can push block punish it. Very useful for combos.
|
|
2L
2L
|
| Damage
|
Guard
|
Startup
|
Active
|
Recovery
|
Frame Adv (Block)
|
Frame Adv (Hit)
|
| 40
|
High/Low/Air
|
5
|
-
|
-
|
-1
|
-
|
Scorpina's go to close range poke. Also very useful for hit confirms. Cancelling 2L into 5M~L is Scorpina's best pressure tool as it sets up for dash j.H, 2M, throw, or another 2L.
|
|
2M
2M
|
| Damage
|
Guard
|
Startup
|
Active
|
Recovery
|
Frame Adv (Block)
|
Frame Adv (Hit)
|
| 70
|
Low/Air
|
8
|
-
|
-
|
-5
|
-
|
|
2H
2H
Nox Bomb
|
| Damage
|
Guard
|
Startup
|
Active
|
Recovery
|
Frame Adv (Block)
|
Frame Adv (Hit)
|
| 80
|
High/Low
|
-
|
-
|
-
|
-14
|
-
|
|
j.L
j.L
|
| Damage
|
Guard
|
Startup
|
Active
|
Recovery
|
Frame Adv (Block)
|
Frame Adv (Hit)
|
| 40
|
High/Air
|
5
|
-
|
-
|
-
|
-
|
|
j.M
j.M
|
| Damage
|
Guard
|
Startup
|
Active
|
Recovery
|
Frame Adv (Block)
|
Frame Adv (Hit)
|
| 60
|
High/Air
|
8
|
-
|
-
|
-
|
-
|
|
j.H
j.H
|
| Damage
|
Guard
|
Startup
|
Active
|
Recovery
|
Frame Adv (Block)
|
Frame Adv (Hit)
|
| 20, 20, 30
|
High/Air
|
11
|
-
|
-
|
-
|
-
|
|
Special Moves
5S
Nox Mine
5S
|
| Damage
|
Guard
|
Startup
|
Active
|
Recovery
|
Frame Adv (Block)
|
Frame Adv (Hit)
|
| 10
|
High/Low/Air
|
64
|
-
|
-
|
-
|
-
|
|
4S
Soul Deception
4S
|
| Damage
|
Guard
|
Startup
|
Active
|
Recovery
|
Frame Adv (Block)
|
Frame Adv (Hit)
|
| 60
|
High/Low/Air
|
35
|
-
|
-
|
-26
|
-
|
|
4SS
Soulshredder
4SS
|
| Damage
|
Guard
|
Startup
|
Active
|
Recovery
|
Frame Adv (Block)
|
Frame Adv (Hit)
|
| 80
|
-
|
-
|
-
|
-
|
-
|
-
|
|
6S
Scorpstrike
6S
|
| Damage
|
Guard
|
Startup
|
Active
|
Recovery
|
Frame Adv (Block)
|
Frame Adv (Hit)
|
| 70
|
-
|
30
|
-
|
-
|
+1
|
-
|
|
j.S
Serket Storm
j.S
|
| Damage
|
Guard
|
Startup
|
Active
|
Recovery
|
Frame Adv (Block)
|
Frame Adv (Hit)
|
| 20, 20, 20
|
-
|
15
|
-
|
-
|
-
|
-
|
|
EX Special
5L+S
Rancorous Edge
5S+L
|
| Damage
|
Guard
|
Startup
|
Active
|
Recovery
|
Frame Adv (Block)
|
Frame Adv (Hit)
|
| 50, 50, 50
|
High/Low/Air
|
-
|
-
|
-
|
-
|
-
|
|
5L+S2
Telekinisis Sting
5S after EX
|
| Damage
|
Guard
|
Startup
|
Active
|
Recovery
|
Frame Adv (Block)
|
Frame Adv (Hit)
|
| 50, 40
|
-
|
-
|
-
|
-
|
-
|
-
|
|
5L+S3
Carve
5S+L after TK Sting
|
| Damage
|
Guard
|
Startup
|
Active
|
Recovery
|
Frame Adv (Block)
|
Frame Adv (Hit)
|
| -
|
High/Low/Air
|
-
|
-
|
-
|
-
|
-
|
|
5L+S4
Guillotine
j.5S+L after TK Sting
|
| Damage
|
Guard
|
Startup
|
Active
|
Recovery
|
Frame Adv (Block)
|
Frame Adv (Hit)
|
| -
|
High/Low/Air
|
-
|
-
|
-
|
-
|
-
|
|
Throws
Forward Throw
Forward Throw
5M+H/6M+H
|
| Damage
|
Guard
|
Startup
|
Active
|
Recovery
|
Frame Adv (Block)
|
Frame Adv (Hit)
|
| 50, 50
|
Throw
|
-
|
-
|
-
|
-
|
-
|
|
Back Throw
Back Throw
4M+H
|
| Damage
|
Guard
|
Startup
|
Active
|
Recovery
|
Frame Adv (Block)
|
Frame Adv (Hit)
|
| 50, 50
|
Throw
|
-
|
-
|
-
|
-
|
-
|
|
Super
Super
Serket Breaker
H+S
|
| Damage
|
Guard
|
Startup
|
Active
|
Recovery
|
Frame Adv (Block)
|
Frame Adv (Hit)
|
| -
|
-
|
-
|
-
|
-
|
-
|
-
|
|
Super (Hold)
Serket Breaker EX
H+S (Hold H)
|
| Damage
|
Guard
|
Startup
|
Active
|
Recovery
|
Frame Adv (Block)
|
Frame Adv (Hit)
|
| -
|
-
|
-
|
-
|
-
|
-
|
-
|
|
Tag Actions
Assist
Assist
A1/A2
|
| Damage
|
Guard
|
Startup
|
Active
|
Recovery
|
Frame Adv (Block)
|
Frame Adv (Hit)
|
| -
|
-
|
-
|
-
|
-
|
-
|
-
|
|
Assist
Assist 2
A1/A2 after TK Sting
|
| Damage
|
Guard
|
Startup
|
Active
|
Recovery
|
Frame Adv (Block)
|
Frame Adv (Hit)
|
| -
|
-
|
-
|
-
|
-
|
-
|
-
|
|
Swap Strike
Swap Strike
A1/A2+S
|
| Damage
|
Guard
|
Startup
|
Active
|
Recovery
|
Frame Adv (Block)
|
Frame Adv (Hit)
|
| -
|
-
|
-
|
-
|
-
|
+1
|
-
|
|
Team Synergy
Combos
Solo
2L > 2M > 5HH > 2M > 2H > j.M > j.H > 5MM > 2H > j.M > j.H(2) > j.S > 2L > 5MM > 5HH > EX~S > 669 j.M > 5MM > 5H > 5S > L+S > 2M > 5H > 4[S] > 5L > 2L > 2M > 5HH > EX~S
Slightly more consistent version of the combo seen here. Some characters will fall out of the first 2M > 5H, so on these characters, replace that part with a microwalk into 2L > 5M > 2H.
Assist combos
2L > 2M > 5HH > 2L > 5M > 5H > 5S > 66[9] j.M > 5MM > 2H > j.M > j.H (Eric assist) >
(Eric takeover after assist hits) dash 2H > 6S~M > 2L > 5M > 2M > 5H > 6S~H > 2L > 5M > 2M > 4S > backdash 6S~H > 4H > 6S~H > 5SSSSS > H+S > 5M > 4S > j.H > [5M > 5H > 6H] xN > 5M > EX
Full corner carry into Eric tag for Quantum Power loop.
Videos
Colors
External Links
