Psychic Force 2012/Keith

From Mizuumi Wiki
Jump to navigation Jump to search
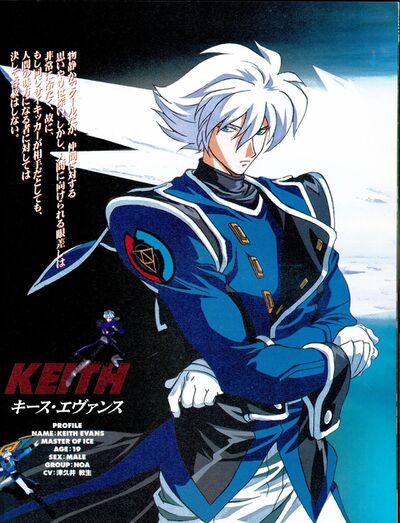
Keith Evans

Introduction

It's anime Magneto! Keith is an advanced level character who can be considered mid-range, but should be played at all ranges to be used effectively. He has a solid toolkit with something for most situations. Keith rewards character knowledge, as he can get fantastic damage and advantage off of good reads. As a result he himself is not all that complicated, but he really needs to thrive in neutral to shine. In turn, if you lack good reads he's very hard to get going with. A character who rewards a deep understanding of Psychic Force 2012's system and characters; if you like to play a read-based control style then Keith is your guy.

Weight Class: Middleweight
Strengths Weaknesses
  • Has a move for just about any situation
  • Very damaging BnB with L,L,S,Blizzard Tooth (466+S)
  • Frigid Lance (Far S/66+S) gives a ton of frame advantage if barrier guarded
  • His damage output in general is fantastic
  • His Frigid Shell install (466+L) completely nullifies projectiles
  • Frigid Spear (46+L) can lead to huge damage
  • That same BnB takes up 90% PSY meter
  • It is pretty easy to dodge his moves
  • Highly dependent on reads to get started
  • Is very meter dependent due to needing multiple PSY moves for good damage in some situations
  • Dealing with his install is as easy as connecting with a barrier guard
  • Good luck hitting Frigid Spear outside of a good read
  • Not beginner friendly, takes a lot of work to use effectively

Moves

Basic Techniques

Light Attack
c.L
c.L
PSY Damage Startup Recovery Travel Speed Duration Guidance Attack Angle
- 30 16f/10f 29f/35f - - - -
Strong Attack
c.S
c.S
PSY Damage Startup Recovery Travel Speed Duration Guidance Attack Angle
- 130 18f/13f 30f/36f - - - -
Weak Shot
L
L
PSY Damage Startup Recovery Travel Speed Duration Guidance Attack Angle
- 100 18f 26f 60 - Y 45
Grab
G+L
G+L
PSY Damage Startup Recovery Travel Speed Duration Guidance Attack Angle
- 180 12f 19f - - - -
Barrier Break
[6]S
[6]S
PSY Damage Startup Recovery Travel Speed Duration Guidance Attack Angle
50% 180 22f 49f - - - -

PSY Moves

Frigid Lance
S/66+S
S/66+S
PSY Damage Startup Recovery Travel Speed Duration Guidance Attack Angle
30% 180 28f 34f 100 - N 25°
Frigid Prison
180°+L
180°+L
PSY Damage Startup Recovery Travel Speed Duration Guidance Attack Angle
45% 0 17f 51f ?? Restraint:120f N 21°
Frigid Spear
46+L
46+L
PSY Damage Startup Recovery Travel Speed Duration Guidance Attack Angle
50% 240 39f 63f 100 - N -
Frigid Spine
46+S
46+S
PSY Damage Startup Recovery Travel Speed Duration Guidance Attack Angle
40% 280 21f 18f 100 - N -
Frigid Shell
466+L
466+L
PSY Damage Startup Recovery Travel Speed Duration Guidance Attack Angle
60% 0 33f 37f - 480f N -
Blizzard Tooth
466+S
466+S
PSY Damage Startup Recovery Travel Speed Duration Guidance Attack Angle
90% 360 13f 96f 90 44f N 28°

Wiki Roadmap

General
FAQ
Controls
HUD
System
Characters
Burn
Carlo
Emilio
Gates
Genshin
Gudeath
Keith
Might
Patty
Regina
Setsuna
Wendy
Wong