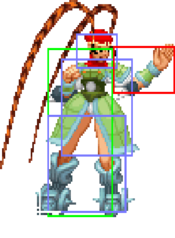
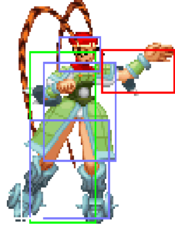
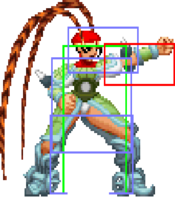
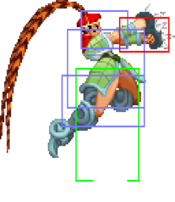
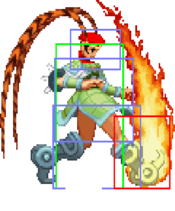
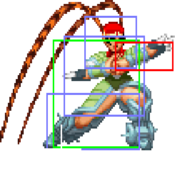
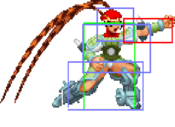
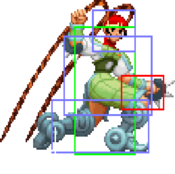
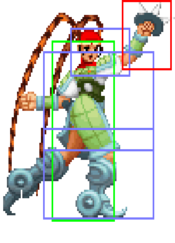
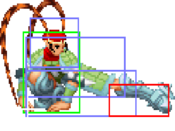
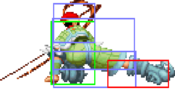
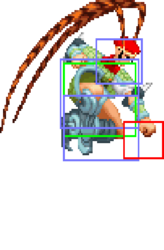
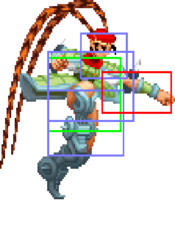
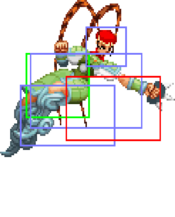
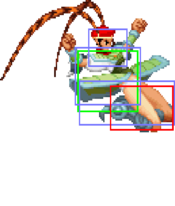
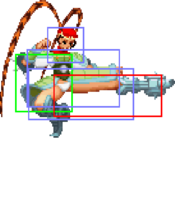
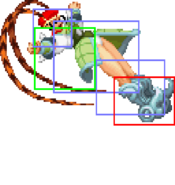
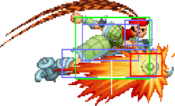
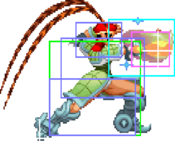
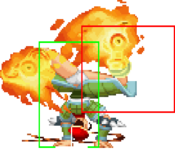
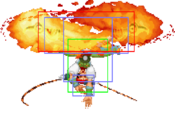
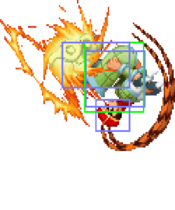
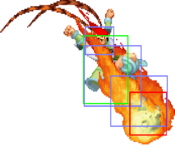
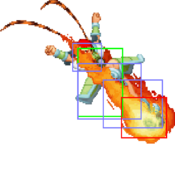
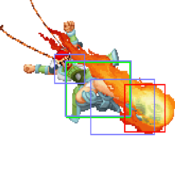
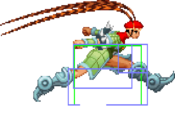
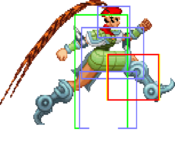
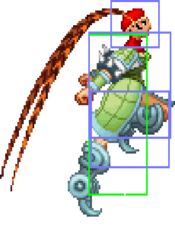
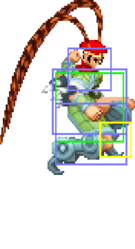
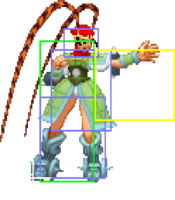
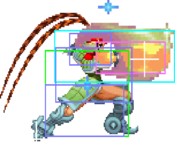
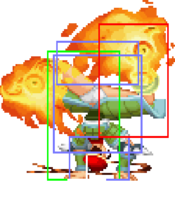
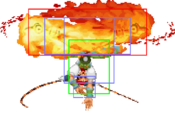
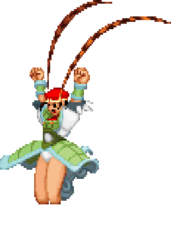
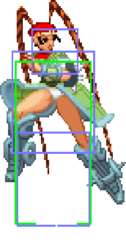
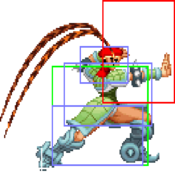
Red Earth/War-Zard/Mai Ling
Background
In the Year of our Lord 13XX, a martial arts tournament was held in a small town... The young martial arts dynamo Mai Ling won, and she hurried home to tell her friends.
" Yeah! I kicked butt again! No competition, as usual. I wonder if my friends will envy me.
What?! My town... it's... It's BURNING! "
Introduction
Mai Ling is THE punisher character. She heavily rewards you for predicting your opponent and adjusting accordingly, whether it’s being all out offense or swiftly evading attacks in order to force your opponent to come close. Her high stun combos can guarantee potential TODs, that even the threat of it can help change the tide of the battle. Despite having stubby normals, they are usually super safe as a result, and her fireball game and air dash can help close the gap. She has access to a solid command grab and has probably the most complex oki game out of the cast. Master her, and your opponents will be afraid of doing anything even slightly risky.
| Strengths | Weaknesses |
|---|---|
|
|
Normal Moves
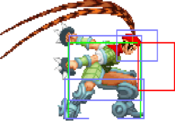
1 1 followup (Fukushou) 1 followup (Fukushou)
|
|---|
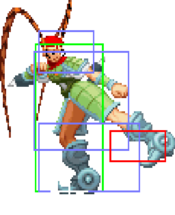
2
|
|---|
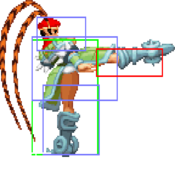
3 Staggers Kenji. Staggers Kenji.
|
|---|
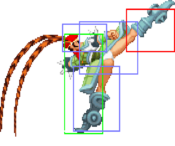
4
|
|---|
5 5 followup (Tou-Ra) 5 followup (Tou-Ra)
|
|---|
6 Staggers Kenji. Staggers Kenji.
|
|---|
cr.1
|
|---|
cr.2
|
|---|
cr.3 Two hits, second hit launches Two hits, second hit launches
|
|---|
cr.4
|
|---|
cr.5
|
|---|
cr.6
|
|---|
j.1
|
|---|
j.2
|
|---|
j.3 Staggers Kenji. Staggers Kenji.
|
|---|
j.4
|
|---|
j.5
|
|---|
j.6 Staggers Kenji. Staggers Kenji.
|
|---|
Command Normals
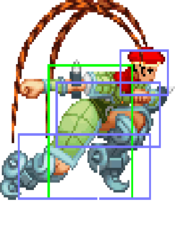
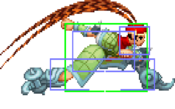
Idaten j.FF LEVEL 10 LEVEL 10 Mai Ling's airdash. Can block again on frame 27. Mai Ling's airdash. Can block again on frame 27.
|
|---|
Special Moves
Kuujin Ken QCF+1/2/3 LEVEL 1 LEVEL 1
|
|---|
Enryuu Kyaku DP+4/5/6 LEVEL 1 LEVEL 1 6 frames of invincibility. 6 frames of invincibility.
|
Mai Ling's uppercut. Without question a move in the game. You’ll be using this in combos, for punishes, and as anti-airs. |
|---|
Koukaku Shuu R.DP+4/5/6 LEVEL 3 LEVEL 3 Mai Ling’s Divekick. Staggers Kenji. Mai Ling’s Divekick. Staggers Kenji. 4 version. 4 version. 5 version. 5 version. 6 version. 6 version.
|
|---|
Koen HCB+4/5/6 LEVEL 19 LEVEL 19
|
|---|
Kuugeki Shou HCB+1/2/3 LEVEL 25 LEVEL 25
|
|---|
Tentsui Ga 360+1/2/3 LEVEL 32 LEVEL 32
|
|---|
Super Moves
Chou Kuujin Ken QCFQCF+1/2/3 LEVEL 1 LEVEL 1 Three hits. Three hits.
|
|---|
Chou Enryuu Kyaku QCFQCF+4/5/6 LEVEL 14 LEVEL 14 Seven hits. Invincible for entire startup. Seven hits. Invincible for entire startup.
|
|---|
Universal Mechanics
Throw F+2/3 or F+5/6 2/3 throw (Sharyuu-Tou). Loopable. Can be teched and softened. 2/3 throw (Sharyuu-Tou). Loopable. Can be teched and softened. 5/6 throw (Rairaku-Tai). Cannot be broken. 5/6 throw (Rairaku-Tai). Cannot be broken.
|
|---|
Dash F, F or B, B Forward dash Forward dash Back dash Back dash
|
|---|
Ultimate Guard (Shougan) P+K Ultimate Guard Ultimate Guard Parry Parry
|
|---|
Ultimate Counter R.QCB+1/2/3 or R.QCB+4/5/6 Punch version (Ou-Kuha). Staggers Kenji. Punch version (Ou-Kuha). Staggers Kenji. Kick version (Kokuu-Ha) Kick version (Kokuu-Ha)
|
|---|
Pursuit
U+4/5/6 |
|---|
General Strategy
Overview
Mai Ling's gampelan is all about making the game as inconvenient as possible for your opponent. Your movement is integral for both avoiding and launching attacks. As said in the intro, Mai Ling is THE punish character. But you can't just go in and flail about or else you'll be eating the dirt. Never be afraid to block aerials or wait your turn. Most of Mai Ling's neutral is character specific but alot of it comes down to not being afraid of forcing your opponent to make risks by stealing the life lead and running with it. Always keep an eye on the timer as it goes down faster than you think.
Okizeme
When your opponent is waking up
Most characters don't have the privilege to be able to control their wake up speed. They either get up normally or roll towards or away from you at a consistent duration. This is very easy to exploit as Mai Ling with her horizontal speed in order to force pressure. For example, if a Leo decides to roll towards you, simply back away and meaty with a 360 command grab. If the Leo decides to block on wakeup, he loses the interaction. What's amusing is that Mai Ling's 360 has the ability to snuff out most supers, so if your opponent goes for a reversal super, e.g. any of Tessa's supers, it will be snuffed. However if your opponent begins to predict your 360 meaty and goes for a regular grab (command grabs are always beaten by regular grabs), simply jump over the whiff or go for a grab yourself. Since Mai Ling's kick grab is untechable, if you go first there is nothing to be worried about. If you use f+6, come a scenario where they still try to block, if whiffed it will still become a fast overhead as st.6. If you use f+5, if grab is whiffed it will become a poke that can be confirmed into knockdown to continue the oki, or into follow up st.5 to confirm into fireball super. Just some of the many scenarios that can come from grab meaties.
Another scenario is if your opponent rolls past you. If you time your light DP, you can create a cross up DP that's not easy to block or substantially punish. Use occasionally, as when your opponent catches on, you might regret it. When you believe your opponent won't roll, one option available to you is to meaty with a light fireball. With it's decent range and surprisingly fast recovery, you can utilize this option at a surprisingly close range, as it is only -1 on hit. If blocked, you can follow it up with a frame trap cr.6 as this will allow you to continue the okizeme chain with its hard knockdown property. Won't work if your opponent decides to commit to a super as a reversal (unless it's an elemental super that does not delete projectiles), but you can remedy this by going for qcfqcf.1/2/3. Be cautious with this option as you too will have to commit to using an orb and if your opponent goes for a block, it is easy to ultimate guard. However, if successful you set your opponent up for potential dizzy into KO if you have the orbs.
When you wake up
It is quite difficult for your opponent to figure out when you are going to wake up, so it is important to be as unpredictable as possible with it. Mai Ling has the ability to get up at anytime, so you can use this fact to pull off some wacky stuff. For example, let's say your opponent loves trying to catch you as you roll past them. One neat trick you can pull is to roll onto them and then grab immediately. Since your grab is frame 0, you will beat out most of your opponent's options. Remember, since you can control your wakeup speed, sometimes the last thing your opponent expects after a few rounds is for you to use the whole duration of your roll, or even none of it. Use this to your advantage.
Anti-Air/Air Control
Mai Ling has a few things going for her in this department. While her DP may not be as outrageous as Tessa's, it provides her solid vertical and horizontal control, which at worst forces your opponent to block, and at best hard knockdowns your opponent. In tight situations, best to use dp.4 or dp.5, and for when your opponent attempts to get around by utilizing super jump or Mai Ling and Kenji with their airdash and double jump likewise, go for dp.6.
Your airdash is good for both mobility and catching your opponent off guard with any attempt to stuff you out with an air normal as it has its own hitbox which causes hard knockdown as well. Otherwise using j.5 is great for winning the aerial game as it's super speedy and hard to punish with its quick recovery. j.6 is a decent jump in, but is also useful as a get-off-me tool with its surprisingly long reach and its downward angle hurtbox. Useful if someone is too far away below you to use j.5. If you're not confident with your timing, j.4 will remain active the entire time you are in the air, but be prepared to commit since unless you super jump, that could come back and bite you if you're too spammy with it. Otherwise, your best bet is to get familiar with your anti-air elemental supers, Ice and Lightning in particular. Other supers can be helpful but a lot more punishable.
Sometimes the best way to control the air is to be in the air, in this scenario you will want to take advantage of the airdash hurtbox. If blocked by your opponent, this can lead to some guard break air juggles. There are many ways to earn guaranteed damage off of this, but the easiest and most consistent is your kick super. Best way to land this is by keeping your opponent in the air with j.5 or j.4 after they've blocked airdash, and if you land before them, go for the super to break their guard and gain the life lead.
"Zoning"
This section is going to go through an often overlooked aspect of Mai Ling: her fireball. Mostly just dismissed as combo fodder, this is actually extremely useful and can be the finishing blow in a game. Your general strat for the fireball is to alternate between 1, 2 and 3. Light is good for baiting people to Ultimate Guard as you would usually expect a long ranged projectile against someone far away. However, with it's fast recovery and short distance, not only can you use this for bait-and-switches, you can also use it to anti-air opponents who like to jump over projectiles in a linear pattern. This strategy will be most prevalent versus Leo. One more thing it's useful for is for a similar scenario, but your opponent has orb, they're a good distance away, and both of you are on low health. If you decide to jump in with an airdash, it will be easily countered with a lightning super, costing you the game. So your best bet is to throw out a fireball. If your opponent decides to go for lightning super in order to chip from a long distance, that fireball will continue to approach and cancel their super, potentially KOing. If they go for block, no harm done, you're just back where you've started and the timer might've run out by then, and if you have the lifelead, victory is guaranteed to you. It is important to note that you should not be using any of the fireball strategies listed above too much as it will most likely cost you the game cause you were playing predictably. Just remember that you have a fireball for a reason.
Sharyuu-Tou
Mai Ling punch gives you alot of mix opportunities in the corner. Let's go over some scenarios.
If your opponent fails to tech your punch grab, you have a few options:
1. You can grab your opponent again with either kick or punch grab. If you are playing against Kenji or Mai Ling you can also loop kick grab a few more times but it is not possible against Leo or Tessa this is not possible.
2. You can confirm into elemental super. Easier done with ice super and is especially devastating against Kenji.
3. You can confirm into fireball super. Obviously a great way to build stun and lead to a potential TOD.
If your opponent fails to tech but manages to soften, the only option left out to you is the option to grab loop, however you now have the option to hit them with DP or kick super as well as everything else, making softening almost just as bad of an idea.
If your opponent succeeds in teching the grab, you end up with a very bizarre situation, as you still have I-frames as long as you dont move or press any buttons. This means you can potentially punish any attempt of mashing on recovery after tech throw, a notable example is Tessa's DP, which can lead to some interesting mind games where you can potentially TOD off whiffed reversal.
Matchup Strategy
Tessa
Both you and Tessa can mess each other up, but you have a few tricks up your sleeve to give you the edge. For one, any attempt to zone you on Tessa's part can be dealt with if you have the timing, her ghosts can be deleted with your own projectiles, and Tessa's fireballs can be dashed under. Tessa's DP can be punished with a TOD (better using the DP combo seen down in the combo section), if you can successfully anticipate them you can dash up to Tessa, and if you punch grab her and she techs it then reversal DPs, if you stand still you are guaranteed a punish. Any attempt on Tessa's part to anti-air you (particularly Tessa's qcfqcf.1/2/3) can be airdashed over if timed correctly. It may sound easy, but Tessa is not so easy to take down. Her bird normal is borderline impossible to directly counter. DO NOT attempt to counter with your own projectile. You will get hit. A good strategy is similar to the Defensive Kenji strat. Gain a life lead and then proceed to avoid Tessa's attempts to zone you out with her projectiles using the methods listed above until she is forced to approach. If you see Tessa super jump she will most likely go for divekick. If you don't see a bird, simply DP her attempt. Otherwise, retreat. It is necessary that you KO Tessa as soon as possible. The longer the game lasts, the harder it may become. But remember, as always, don't be afraid to block her normals like the bird. Dash under her fireballs, delete her ghosts, and hit her with that TOD!
Punishes:
 dp.1/2/3: You will want to use Mai Ling's DP orb combo, starting with st.1. Generally only punishable by dashing in after blocking first hit of DP and not getting hit by second (space-oriented), as well as the punch grab invul strat mentioned above.
 qcf.1/2/3: Can be dashed under and be potentially punished with DP orb combo, however Tessa is most likely to mash DP once you're close enough, leading you to the situation above.
Most mistakes made by Tessa will be punished with the DP orb combo, so it's good to always have at least one orb at the ready.
Leo
This is a close matchup, but it appears that Leo has the advantage in this matchup. On one hand, Mai Ling has the ability to TOD Leo and out prioritize him. On the other hand, Leo has huge buttons and huge bursts of damage. He is also allowed to make more mistakes than you if you are orbless. In short Leo must respect you and you must respect Leo. When approaching from the air, you shouldn't be too worried about Leo throwing out supers, except for possibly ice super. However you must always pay attention to what Leo is doing. Basically if he's just standing still he's probably not waiting for a hug. He is most likely going to anti-air with his big normals or specials. If he goes for the air to air, either snuff him out with j.5 or block. There's no shame in blocking. When it comes to footsies, just be cautious of quick sweeps with Leo's qcf.4/5/6 or his super variant. One more thing to be careful of is not to block too much. Otherwise you'll be introduced to Leo's hugs and his double crossups. Remember everything you can do Leo can do, well, not faster but definitely as devastating if not more. If you're going to avoid Leo's attacks, it's better to run away rather than block. He may be an intimidating juggernaut up close, but he's still big and slow. Use and abuse this fact.
Punishes:
 cr.5: If he is too far away and you can predict it, you can potentially air dash over and punish him with cr.3 orb combo. If up close you can technically dash under this move aswell.
 qcfqcf.1/2/3: On UG, can be punished with cr.6.
 qcf.x: This move is a very interesting case. Against the heavy versions, the rush itself will guard break Mai Ling so she must UG it (sound familiar?). However, there is a considerable gap between the rush and the swing for both qcf.1/2/3 and qcf.4/5/6. During that gap, even after UG’ing the initial rush, Mai Ling has enough time to land st.1, which can lead into cr.3 orb combo or cr.6 orb combo.
In most situations, most of your punishes are going to come from mistimed UGs, since leo can often keep you out of range for you to properly punish.
Mai Ling
This is the worst matchup in the game. Both of you are tiny and fast, so it's almost impossible to pursue the other Mai Ling. The best strategy is to hold your ground, and punish any attempt made by the other Mai Ling to approach. And be prepared to anti air with the elemental supers. It's gonna be a bumpy ride.
Punishes:
 dp.4/5/6: If Mai Ling does this in front of you, you're best to dash up and dp.4 into fireball super. If you do it in front of Mai Ling, she'll try the same.
 cr.6: If you're close enough, you can punish with your own cr.6. Otherwise lightning super is pretty good as she is weak to it.
 r.dp.4/5/6: If it hits you head on it is very punishable with dp.4 into fireball super, however some angles can make it less minus. Be cautious.
 j.ff: Best way to punish is with lightning super. Otherwise try catch her with a DP or even R.DP.
 hcb.4/5/6: On UG you should be able to punish with dp.4 into fireball super.
Kenji
There are two ways this matchup could go down.
1. The Kenji plays aggresively and is attempting to KO you as fast as possible.
This is actually usually a best case scenario. Although Kenji has the ability to TOD you if he desires, he relies heavily on his orbs. Just wait for the Kenji to blow his load and then take him out willy nilly or take him out before he even has the chance. Since most of Kenji's normals are extremely punishable (even on hit!), once he's out of orbs or you've got him in the blender, there is not much he can do. Of course, never underestimate a Kenji's ability to outplay you no matter how much of an advantage you have, because he could decide to change his style to option 2.
2. The Kenji plays hyper defensively and will continue to run away from you.
Sounds laughable, but you must remember that Kenji has a few tricks up his sleeve to deal with you. For one he possesses the ability to teleport and double jump, making him difficult to get your hands on him. And his j.3 has surprisingly wide range that could potentially snuff out any attempt to get in. However, you can take a page out of this type of Kenji's book and just mirror him since you also have the ability to run away with your airdash. The key to victory is orb management and life leads. If you keep all the orbs, deny the Kenji his orbs and avoid jumping too often while he has his, there is not much he can do. Using Ice super to chip him out while the life lead is equal is a great way to deal with him as not only will it guard crush him, he also has an elemental weakness to Ice (Unfortunate for him, joy for you!).
Overall this is still very advantageous for you, especially since you can take out most of his health by confirming into ice super from either of your grabs.
The most important advice for both matchups is this, please do not jump around so often when your boy Kenji has the orb advantage! For this is an opportune time for Kenji to attempt a TOD with his kunai super! And you don't want to be the one that loses a favorable matchup to Kenji just because you got a bit too cocky, do you?
Punishes:
 f+2: Punishable on hit and block. Easy to react to, simply dp.4 into fireball super. Just remember though, it’s not minus if you’re dead, so don’t forget about this move if you’re low on health.
 qcb.4/5/6: You will mainly only see this move if Kenji is trying to stun you. If it fails to, you can punish him with any of your main orb or orbless combos.
Combos
A lot of the metered combos cause stun and will allow you to loop into them, making Mai Ling the easiest TOD character, as she's the only character that can consistently TOD out of her jabs.
Basic Combos
Orb Combos
- j.6, 1, 2 xx dp.4, qcfqcf.1/2/3
Best used on Tessa and Mai Ling but if the timing of qcfqcf.1/2/3 is mastered is the most optimal stun combo.
- j.6, 1, 2, cr.3 xx qcfqcf.1/2/3
Another devastating combo that will guarantee stun. Best used on Leo or Kenji. Is a lot easier as timing does not differ but in succession during stun loops should hope for a corner carry for the next combo.
- j.6, 1, 2, cr.3 xx qcfqcf.1/2/3, cr.4, cr.6
Corner only combo. Best used on Leo or Kenji. A good follow up from the previous combo or if your opponent is already in the corner.
- cr.4, cr.5, cr.6, qcfqcf.1/2/3
Being able to combo off a low sweep into super is a very powerful option to have, even if it doesn't work on Tessa. Best used on Leo. Forcing your opponent to crouch low can be useful for mix especially if you swap it up with st.6. Mind the spacing, for if you hit cr.6 at the max range, the super can drop. Keep in mind that cr.6 into fireball super is a link.
Orbless Combos
- j.6, 1, 2, cr.3 xx qcf.1
Highest damage for no meter and has the potential of causing stun.
- j.6, 1, 2 xx dp.5/6
Decent damage but returns opponent to neutral state. Use dp.5 when midscreen and dp.6 when in the corner.
- airdash j.5, cr.4, cr.6
Simple conversion from an airdash.
- Any magic string finished with cr.6
Decent knockdown combo. Sets up into Mai Ling's okizeme game.
Tick Grabs
- (On block) cr.[3] 360+]3[
- (On block) st.[2] 360+]2[
Negative edge input. Guaranteed on block unless opponent jumps.
- (On hit or block) st.[1] 360+]1[
This is really funny.
- j.x (360.1/2/3 or f+5/6)
360 for block happy opponents and grab for opponents who like to attack. Distance is key.
Advanced Combos
Flashy combos you may get some use from.
Trivia
- Mai Ling's Japanese name is Tao.
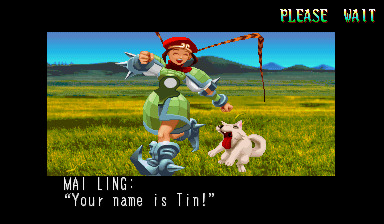
- Mai Ling has a dog. His name is Tin.
