| Australia
|
|
|
| Course Name |
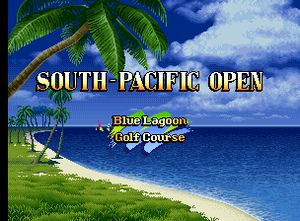
Blue Lagoon Golf Course
|
| Event Name |
South-Pacific Open
|
| Trees |
Broadleaf
|
Introduction
Surrounded by water, Australia is the aquatic course and a distance golfer's best friend. In match play, the course offers a distinct advantage for any distance golfers, as they have many more opportunities for eagles than the rest of the cast. The course features broadleaf trees, with thick bodies.
Holes
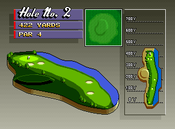
Hole 2
|
| Par
|
Distance
|
| 4
|
422Y
|
- Make sure you can carry over the bunkers for front pins
|
|
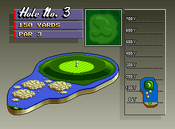
Hole 3
|
| Par
|
Distance
|
| 3
|
150Y
|
- Short uphill Par 3
- Hills are strong on this green
|
|
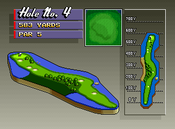
Hole 4
|
| Par
|
Distance
|
| 5
|
585Y
|
- First Par 5 of the course
- Every character except Veteran and Technician has an on in two Eagle putt opportunity for this hole.
|
|
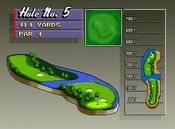
Hole 5
|
| Par
|
Distance
|
| 4
|
414Y
|
- River on this par 4 can be crossed by some characters, risky
- If you don't cross the river, you are left with a blind approach over trees and heavy rough
|
|
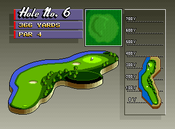
Hole 6
|
| Par
|
Distance
|
| 4
|
366Y
|
- Short par 4, distance golfers can get on in one with wind, Power Golfer can without wind
|
|
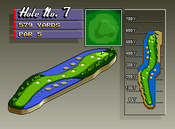
Hole 7
|
| Par
|
Distance
|
| 5
|
579Y
|
- Everyone except Technician can get on in two eagle putts, Veteran needs to do a cheeky rock bounce though on his tee shot
|
|
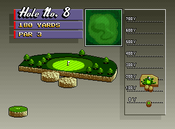
Hole 8
|
| Par
|
Distance
|
| 3
|
180Y
|
- Make sure you can carry over the gap
|
|
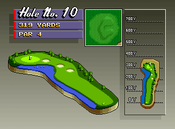
Hole 10
|
| Par
|
Distance
|
| 4
|
319Y
|
- Power Golfer can go for a very consistent on in one for an eagle putt here
|
|
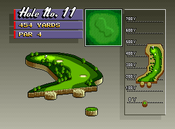
Hole 11
|
| Par
|
Distance
|
| 4
|
454Y
|
- Get it as far right as you can on your first shot to avoid needing to navigate trees on your second shot
|
|
Hole 12
|
| Par
|
Distance
|
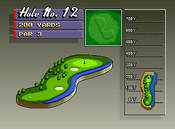
| 3
|
200Y
|
- Getting around the bunker in front can be hard sometimes
- Hills on this green are extremely strong
|
|
Hole 13
|
| Par
|
Distance
|
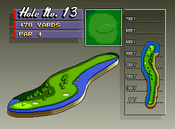
| 4
|
478Y
|
- Bunker and heavy rough flank the front and right side of the green
|
|
Hole 14 Do the rock skip coward Do the rock skip coward
|
| Par
|
Distance
|
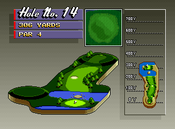
| 4
|
306Y
|
- Distance golfers can go for an on in one with a rock skip, extremely risky
- Big powerful hill
|
|
Hole 15
|
| Par
|
Distance
|
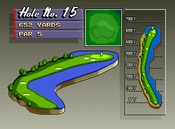
| 5
|
652Y
|
- Long narrow par 5
- It's easy to get your first shot in the bunker, laying it up is advisable
|
|
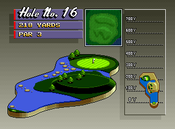
Hole 16 AUS 16 AUS 16 AUS 16 AUS 16 AUS 16 AUS 16
|
| Par
|
Distance
|
| 3
|
461Y
|
- Widely considered the hardest hole in the game
- Completely blind par 3
- Very easy to get it into the water in front of the green or shoot it over the back of the green OB
|
|
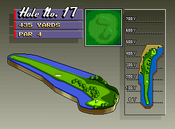
Hole 17
|
| Par
|
Distance
|
| 4
|
435Y
|
- There's a nice corridor in the middle of the trees where you can get a clear look at the green on your second shot
|
|
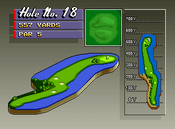
Hole 18
|
| Par
|
Distance
|
| 5
|
557Y
|
- Everyone can get it on in two for an eagle putt
- Navigating trees coming onto the green can be tricky
- Cart path on left side can be used to extend drives for shorter drive characters
|
|
