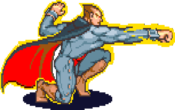
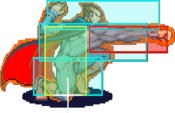
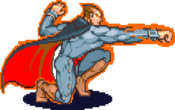
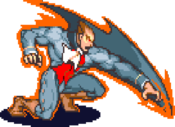
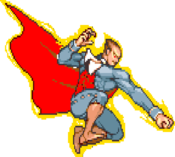
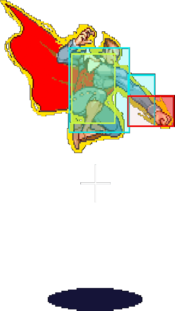
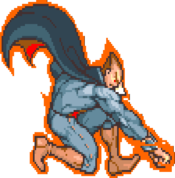
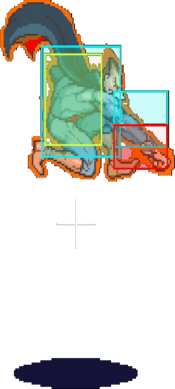
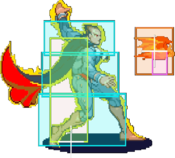
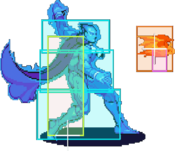
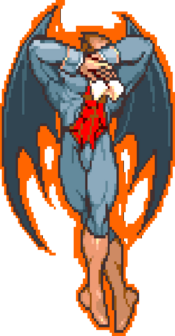
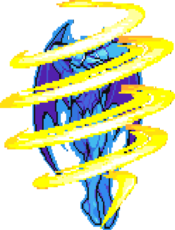
Vampire Savior/Demitri
Introduction
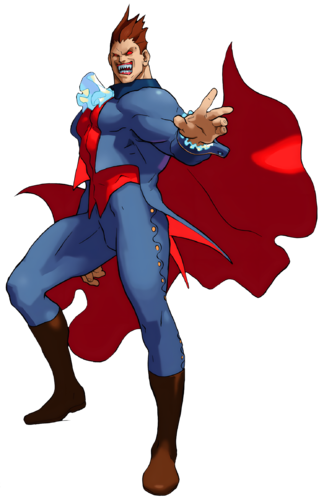
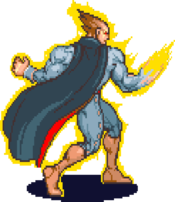
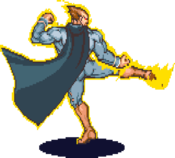
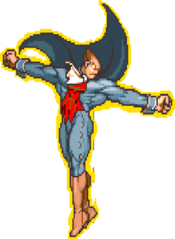
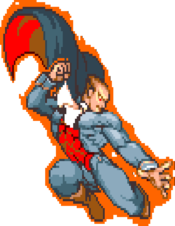
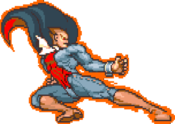
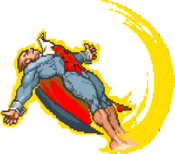
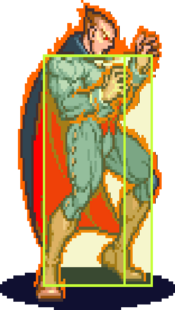
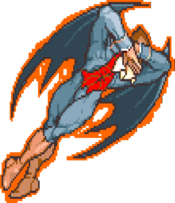
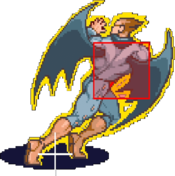
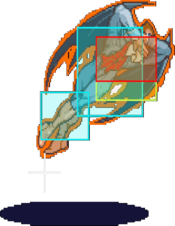
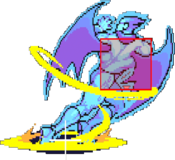
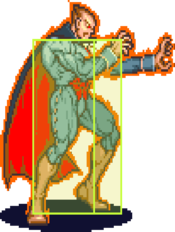
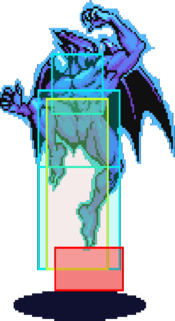
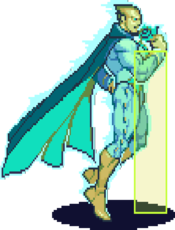
Demitri Maximoff (デミトリ), the Vampire.
A villainous and power-hungry vampire who, like Dracula, sees humanity as an inferior race and only cares for their blood. Following his defeat at the hands of Belial Aensland, Demitri is forced to reside amongst humans while he recovers his strength. Demitri would receive a second chance at ruling Makai with the arrival of the alien, Pyron. After defeating Pyron and absorbing his power, Demitri sets his sights on the new heir to the throne of Makai - Belial's daughter: Morrigan Aensland.
Demitri is a shoto-character at face value, due to his fireball & DP toolkit. He does have shoto tactics, so legacy skills will allow Street Fighter veterans to excel with this character. However, Demitri is much more than that in VSAV. Demitri is recommended for players who like to set the pace of the match, rely on DP meta & abuse his incredible strike/throw game plan.
Gameplay
Primary objectives:
- Play a defensive neutral & gain meter
- Connect one of your numerous anti-air options
- Run an okizeme game after a knockdown or an anti-air
- Condition the opponent by abusing Demon Cradle & OS Throw
- Avoid being cornered by utilizing Bat Spin
| Strengths | Weaknesses |
|---|---|
|
|
Movement
Walk: Walking is pretty common with Demitri. His dash distance is long and can be unsafe, so walking is more precise. Walking forward is Demitri's safest way to get in to an opponent. His walk speed is average.
Dash:
Startup: 3 | Vul/On screen: 9 | Invul/Off screen: 12 | Vul/On screen: 8
1-3 4-12 13-24 25-32
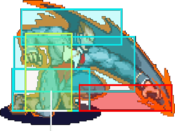
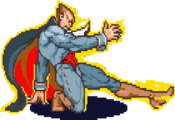
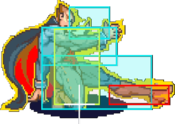
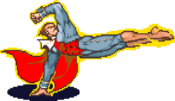
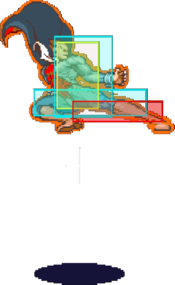
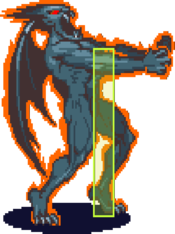
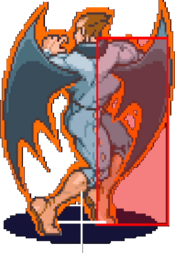
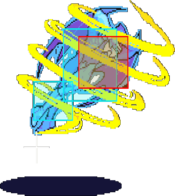
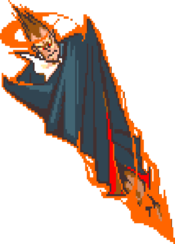
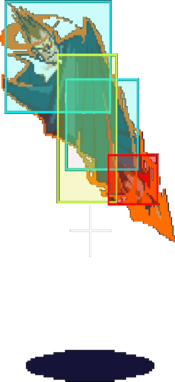
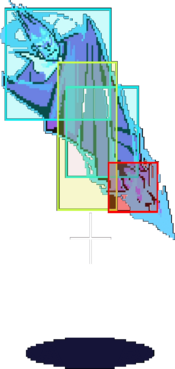
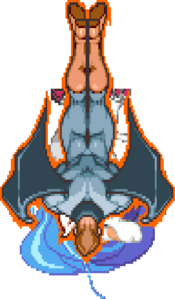
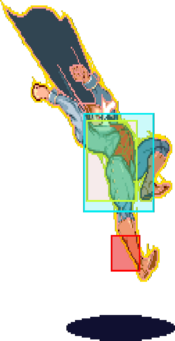
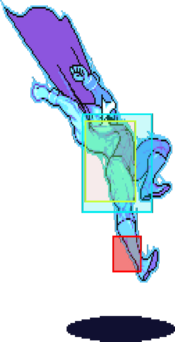
Demitri has a unique dash in that he disappears for a second and then reappears. As soon as the dash ends you can use any move. This leads into a bit of mixup for Demitri, as afterwards you can use a Demon Cradle to punish pokes, Midnight Bliss or Midnight Pleasure to punish them blocking to anticipate an attack, Chaos Flare if you want to use an attack that's slow to mess with their reactions, or you can wait a split second and use normals. This is also your primary tool for playing defensively. Backdashing and then turtling is hard to punish and allows you to let Demitri turtle to the max. If you backdash you can still gain forward momentum if you use a Demon Cradle, which can help if they catch on to you backdashing and try to punish it. If you cancel your dash into Midnight Pleasure any time after reappearing on screen (F25-32), you can auto-correct the demon. This can lead to nasty mixups for whiff punishing or on oki where you pass the opponent and make them think they're safe to go for a punish, and then turn around and grab them. You have to do this close to the opponent and input the 6 in the cmd in the same direction you inputted it to dash, but it will work with some practice. It will catch people off guard.
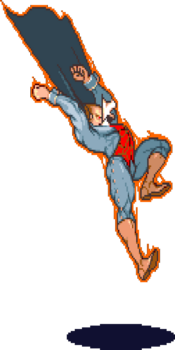
Jump: Besides the usual aerial options of blocking or attacking, you can use a Chaos Flare or a Bat Spin to alter your trajectory. Chaos Flare stops you and then brings you down at different angles, while a Bat Spin will work as usual.
Normal Moves
Standing Normals
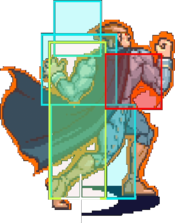
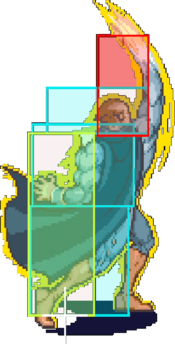
5LP
• This move will only hit crouching: Bishamon, Victor.
| Startup | Active | Recovery | Hit Adv. | Block Adv. | Renda Bonus |
|---|---|---|---|---|---|
| 4 | 3 | 7 | 6 | 5 | H: 9 G: 8 |
| Guard | Cancel | Invuln | Red Damage | White Damage | Gauge |
| mid | yes | - | 8 | 3 | H: 6 G: 3 W: 0 |
5MP
• This move will not hit crouching: Bulleta, Gallon, Lilith, Morrigan, Q-Bee
| Startup | Active | Recovery | Hit Adv. | Block Adv. | Renda Bonus |
|---|---|---|---|---|---|
| 7 | 3 | 20 | 1 | 0 | N/A |
| Guard | Cancel | Invuln | Red Damage | White Damage | Gauge |
| mid | no | - | 16 | 6 | H: 15 G: 9 W: 3 |
5HP
• This move will not hit crouching: Bulleta, Gallon, Lilith, Morrigan, Q-Bee
| Startup | Active | Recovery | Hit Adv. | Block Adv. | Renda Bonus |
|---|---|---|---|---|---|
| 9 | 3 | 26 | -1 | -2 | N/A |
| Guard | Cancel | Invuln | Red Damage | White Damage | Gauge |
| mid | no | - | 20 | 7 | H: 24 G: 15 W: 6 |
5LK
| Startup | Active | Recovery | Hit Adv. | Block Adv. | Renda Bonus |
|---|---|---|---|---|---|
| 5 | 3 | 8 | 5 | 4 | H: 8 G: 7 |
| Guard | Cancel | Invuln | Red Damage | White Damage | Gauge |
| mid | yes | - | 8 | 3 | H: 6 G: 3 W: 0 |
5MK
On hit, the air reset will place the opponent far away. After a midscreen anti-air, it's not practical to do much of a meaty outside of 2HK. With ideal spacing & resources, this can lead to a dash Bite or Dash DP offense for Demitri.
• This move will only hit crouching: Anakaris, Bishamon, Jedah, Victor
| Startup | Active | Recovery | Hit Adv. | Block Adv. | Renda Bonus |
|---|---|---|---|---|---|
| 7 | 4 | 24 | -3 | -4 | N/A |
| Guard | Cancel | Invuln | Red Damage | White Damage | Gauge |
| mid | no | - | 19 | 7 | H: 15 G: 9 W: 3 |
5HK
| Startup | Active | Recovery | Hit Adv. | Block Adv. | Renda Bonus |
|---|---|---|---|---|---|
| 10 | 3 | 28 | -3 | -4 | N/A |
| Guard | Cancel | Invuln | Red Damage | White Damage | Gauge |
| mid | no | - | 22 | 8 | H: 24 G: 15 W: 6 |
Close Normals
CL.5MP
- At 32 pixels away from the opponent this turns into Far 5MP.
- This move will not hit crouching: Q-Bee.
| Startup | Active | Recovery | Hit Adv. | Block Adv. | Renda Bonus |
|---|---|---|---|---|---|
| 6 | 3 | 19 | 2 | 1 | N/A |
| Guard | Cancel | Invuln | Red Damage | White Damage | Gauge |
| mid | yes | - | 17 | 6 | H: 15 G: 9 W: 3 |
CL.5HP
When an opponent on the ground is hit by or blocks this, cancel into a 2HK due to Close 5HP's negative frames. When an opponent in the air is hit by this, do not cancel in into 2HK, as Demitri can be punished near the corner if you anti-aired them low to the ground and then whiff a 2HK. You can chain cancel Close 5HP relatively late, to the point where it's possible to do it on reaction after you've confirmed this has hit a grounded or jumping opponent.
It's important to capitalize on the air reset if this happens to hit an opponent jumping out. When hitting an airborne opponent midscreen, the air reset will MAYBE give you enough time to inch forward and meaty with a 2~3 hit chain, but you can also attempt to dash forward into a Midnight Pleasure or Demon Cradle. After anti-airing an opponent in the corner you have time to set up nearly whatever pressure you want. On certain characters a cross under mix-up in the corner is possible if anti-aired when high up: Bulleta, Demitri, Jedah, Lilith(Hard~ish), Morrigan(Hard~ish) and Q-Bee.
This move does special cancel, so you can sometimes see it in combos.
- At 36 pixels away from the opponent this turns into Far 5HP.
- This move will not hit crouching Q-Bee.
| Startup | Active | Recovery | Hit Adv. | Block Adv. | Renda Bonus |
|---|---|---|---|---|---|
| 8 | 5 | 26 | -6 | -7 | N/A |
| Guard | Cancel | Invuln | Red Damage | White Damage | Gauge |
| mid | first | - | 21 | 7 | H: 24 G: 15 W: 6 |
CL.5MK
If, for some reason, you want to use Demitri's kick throw, this is a better button to attempt with than 5HK.
Due to the input of Midnight Pleasure, you occasionally see players use 5MK as a tick throw, since it comes out with the input anyways.
- At 52 pixels away from the opponent this turns into Far 5MK.
| Startup | Active | Recovery | Hit Adv. | Block Adv. | Renda Bonus |
|---|---|---|---|---|---|
| 6 | 3 | 22 | -1 | -2 | N/A |
| Guard | Cancel | Invuln | Red Damage | White Damage | Gauge |
| mid | yes | - | 18 | 6 | H: 15 G: 9 W: 3 |
Crouching Normals
2LP
| Startup | Active | Recovery | Hit Adv. | Block Adv. | Renda Bonus |
|---|---|---|---|---|---|
| 5 | 3 | 7 | 6 | 5 | H: 9 G: 8 |
| Guard | Cancel | Invuln | Red Damage | White Damage | Gauge |
| mid | yes | - | 8 | 4 | H: 6 G: 3 W: 0 |
2MP
| Startup | Active | Recovery | Hit Adv. | Block Adv. | Renda Bonus |
|---|---|---|---|---|---|
| 7 | 3 | 18 | 3 | 2 | N/A |
| Guard | Cancel | Invuln | Red Damage | White Damage | Gauge |
| mid | yes | - | 16 | 7 | H: 15 G: 9 W: 3 |
2HP
| Startup | Active | Recovery | Hit Adv. | Block Adv. | Renda Bonus |
|---|---|---|---|---|---|
| 8 | 4 | 30 | -9 | -10 | N/A |
| Guard | Cancel | Invuln | Red Damage | White Damage | Gauge |
| low | no | - | 21 | 8 | H: 24 G: 15 W: 6 |
2LK
Staggering this on block can open up the opponent if they try to jump away, mistime a throw tech or mess up a push block/guard cancel.
Against Gallon, you can do 2LK, Renda 2LK xx Chaos Flare to unlock fun combos
This is an amazing tick throw into Midnight Pleasure
| Startup | Active | Recovery | Hit Adv. | Block Adv. | Renda Bonus |
|---|---|---|---|---|---|
| 5 | 3 | 8 | 5 | 4 | H: 8 G: 7 |
| Guard | Cancel | Invuln | Red Damage | White Damage | Gauge |
| low | yes | - | 8 | 4 | H: 6 G: 3 W: 0 |
2MK
This is an amazing tick throw into Midnight Pleasure
| Startup | Active | Recovery | Hit Adv. | Block Adv. | Renda Bonus |
|---|---|---|---|---|---|
| 8 | 3 | 22 | -4 | -5 | N/A |
| Guard | Cancel | Invuln | Red Damage | White Damage | Gauge |
| low | yes | - | 16 | 7 | H: 15 G: 9 W: 3 |
2HK
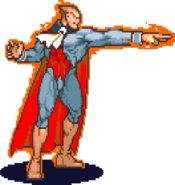
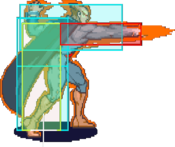
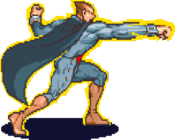
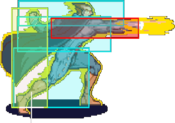
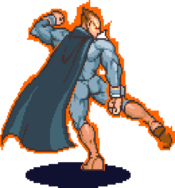
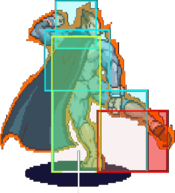
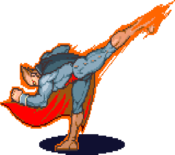
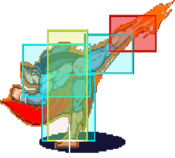
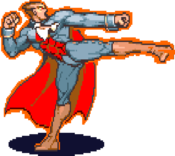
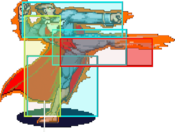
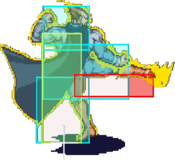
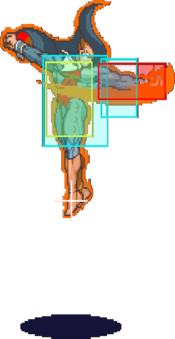
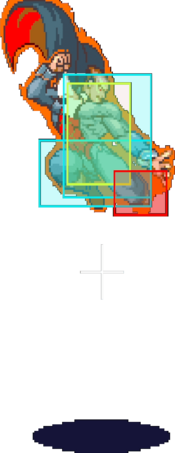
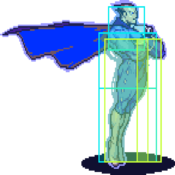
As a poke, the range is ridiculous. It's not something to spam as the whiff may get you killed, but with good reads you can catch all sorts of things with this; it works pretty well at catching an overly aggressive opponent ground dashing at you. Use it for any long range punishes as well - blocked DI, LI or Rolling Buckler, the opponent whiffs an move from far away or whatever else it may be, just make sure you get that knock down.
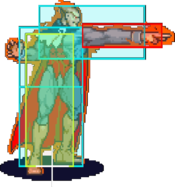
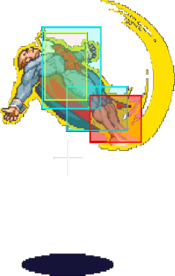
This works surprisingly well as a super long range anti-air in certain matchups. The hitbox of the move extends at the same point the hurtboxes appear, so if used with the proper positioning, the most the opponent can do is force a trade, which is just fine as long as you've scored the knockdown.
| Startup | Active | Recovery | Hit Adv. | Block Adv. | Renda Bonus |
|---|---|---|---|---|---|
| 10 | 4 | 25 | - | -1 | N/A |
| Guard | Cancel | Invuln | Red Damage | White Damage | Gauge |
| mid | no | - | 18 | 8 | H: 24 G: 15 W: 6 |
Jumping Normals
J.LP
| Startup | Active | Recovery | Hit Adv. | Block Adv. | Renda Bonus |
|---|---|---|---|---|---|
| 5 | 6 | 3 | - | - | N/A |
| Guard | Cancel | Invuln | Red Damage | White Damage | Gauge |
| overhead | yes | - | 9 | 4 | H: 6 G: 3 W: 0 |
J.MP
Demitri's primary air throw button. It's generally safer than using j.HP since if you miss the air throw and the opponent blocks j.MP, you have decent jump normals to chain into afterwards.
As an air-to-ground attack the hitbox is positioned downward almost as far as his j.LK while the hurtbox is higher making it a little harder to beat. For jump-ins, the hurtbox position is even a little better than the amazing j.MK, but the the lack of range and fewer active frames make j.MP a little harder to use.
As an air-to-air, the hurtbox placement isn't great, but the hitbox hits a little higher up than j.MK does, giving it some (limited) potential against the mid-high range of jumpers.
If the opponent is equal to your elevation, you may find chicken block to J.MP an effective solution.
| Startup | Active | Recovery | Hit Adv. | Block Adv. | Renda Bonus |
|---|---|---|---|---|---|
| 8 | 6 | 6 | - | - | N/A |
| Guard | Cancel | Invuln | Red Damage | White Damage | Gauge |
| overhead | yes | - | 17 | 6 | H: 15 G: 9 W: 3 |
J.HP
When used as the ender of a 2-hit jump-in chain, after blocking the first hit most of the cast can crouch early to duck under the j.HP, potentially leaving Demitri vulnerable. Be aware of this and switch to using j.HK as the second hit instead when applicable. However, if you know your jump-in will not be blocked j.HP's faster startup and better range makes it more consistent and easier to use in combos.
This can be used to build meter, with ascending J.HP< falling J.HK, Kara Cancel Air Chaos Flare.
If the opponent is above you, you may find chicken block to J.HP an effective solution.
• This move will only hit crouching: Anakaris, Bishamon, Jedah, Victor.
| Startup | Active | Recovery | Hit Adv. | Block Adv. | Renda Bonus |
|---|---|---|---|---|---|
| 7 | 3 | 11 | - | - | N/A |
| Guard | Cancel | Invuln | Red Damage | White Damage | Gauge |
| overhead | no | - | 23 | 9 | H: 24 G: 15 W: 6 |
J.LK
| Startup | Active | Recovery | Hit Adv. | Block Adv. | Renda Bonus |
|---|---|---|---|---|---|
| 5 | 6 | 3 | - | - | N/A |
| Guard | Cancel | Invuln | Red Damage | White Damage | Gauge |
| overhead | yes | - | 9 | 4 | H: 6 G: 3 W: 0 |
J.MK
| Startup | Active | Recovery | Hit Adv. | Block Adv. | Renda Bonus |
|---|---|---|---|---|---|
| 8 | 8 | 5 | - | - | N/A |
| Guard | Cancel | Invuln | Red Damage | White Damage | Gauge |
| overhead | yes | - | 16 | 6 | H: 15 G: 9 W: 3 |
J.HK
It is often used as a jump-in chain combos against standing opponents (j.Mx > j.HK), but due to the slow startup it does not come out before landing when used on characters of below-average standing height.
Another use of j.HK is to "kara" it into his air Chaos Flare to build extra meter. The input for that is ascend with an attack like J.HP, then descend into 236HK~P, as in press HK and then a split second later hit any punch button. This technique cancels the first few frames of j.HK into a fireball, giving you meter from both attacks.
| Startup | Active | Recovery | Hit Adv. | Block Adv. | Renda Bonus |
|---|---|---|---|---|---|
| 10 | 3 | 7 | - | - | N/A |
| Guard | Cancel | Invuln | Red Damage | White Damage | Gauge |
| overhead | no | - | 21 | 8 | H: 24 G: 15 W: 6 |
Normal Throws
6MP or 6HP
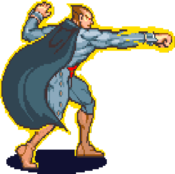
Demitri's Punch Throw would normally give enough time to land a pursuit afterwards, but it causes a special type of knockdown that does not allow pursuits to connect. For whatever reason Q-Bee does not follow this rule and can be hit with a pursuit here, but only if she does not tech roll; if she rolls she cannot be hit.
| Startup | Active | Recovery | Hit Adv. | Block Adv. | Renda Bonus |
|---|---|---|---|---|---|
| 1 | - | 87 | - | - | N/A |
| Guard | Cancel | Invuln | Red Damage | White Damage | Gauge |
| throw | no | 1-86 whole body | 22 (11) | 8 (4) | H: 9 G: 0 W: 0 |
6MK or 6HK
| Startup | Active | Recovery | Hit Adv. | Block Adv. | Renda Bonus |
|---|---|---|---|---|---|
| 1 | - | 178 | - | - | N/A |
| Guard | Cancel | Invuln | Red Damage | White Damage | Gauge |
| throw | no | 1-176 whole body | 4x(3~12) (2x(3~12)) | 4+2 (2+1) | H: 9 G: 0 W: 0 |
J.6P or J.4P
| Startup | Active | Recovery | Hit Adv. | Block Adv. | Renda Bonus |
|---|---|---|---|---|---|
| 1 | - | 60 + landing 1 | - | - | N/A |
| Guard | Cancel | Invuln | Red Damage | White Damage | Gauge |
| throw | no | 1-60 whole body | 22 (11) | 8 (4) | H: 9 G: 0 W: 0 |
Special Moves
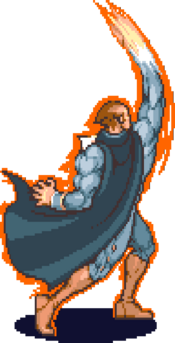
Chaos Flare
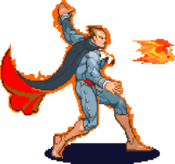
236P
| Startup | Active | Recovery | Hit Adv. | Block Adv. | Renda Bonus |
|---|---|---|---|---|---|
| 15 | 80 | 43 | 3 | -17 | N/A |
| Guard | Cancel | Invuln | Red Damage | White Damage | Gauge |
| mid | no | - | 18 | 6 | H: 21 G: 16 W: 12 |
| Startup | Active | Recovery | Hit Adv. | Block Adv. | Renda Bonus |
|---|---|---|---|---|---|
| 15 | 60 | 43 | 23 | -17 | N/A |
| Guard | Cancel | Invuln | Red Damage | White Damage | Gauge |
| mid | no | - | 24 | 9 | H: 0 G: 0 W: 0 |
- (LP Version) Slowest speed, mashable on hit
- (MP Version) Mid speed, mashable on hit
- (HP Version) Fast speed, mashable on hit
- (ES Version) Moves the fastest and causes a bit more hitstun, mashable on hit
Demon Cradle
623P
| Startup | Active | Recovery | Hit Adv. | Block Adv. | Renda Bonus |
|---|---|---|---|---|---|
| 5 | 23 | 18 + landing 1 | - | -18 | N/A |
| Guard | Cancel | Invuln | Red Damage | White Damage | Gauge |
| mid | no | 1-6 whole body 8 feet | 24,18 | 6,4 | H: 31 G: 26 W: 22 |
| Startup | Active | Recovery | Hit Adv. | Block Adv. | Renda Bonus |
|---|---|---|---|---|---|
| 5 | 26 | 21 + landing 1 | - | -24 | N/A |
| Guard | Cancel | Invuln | Red Damage | White Damage | Gauge |
| mid | no | 1-6 whole body 8 feet | 26,19 | 7,4 | H: 31 G: 26 W: 22 |
| Startup | Active | Recovery | Hit Adv. | Block Adv. | Renda Bonus |
|---|---|---|---|---|---|
| 4 | 29 | 24 + landing 1 | - | -30 | N/A |
| Guard | Cancel | Invuln | Red Damage | White Damage | Gauge |
| mid | no | 1-6 whole body 8 feet | 28,20 | 8,4 | H: 31 G: 26 W: 22 |
| Startup | Active | Recovery | Hit Adv. | Block Adv. | Renda Bonus |
|---|---|---|---|---|---|
| 5 | 3x9,2 | 24 + landing 1 | - | -24 | N/A |
| Guard | Cancel | Invuln | Red Damage | White Damage | Gauge |
| mid | no | 1-8 whole body | 8x10 | 2x10 | H: 0 G: 0 W: 0 |
- (LP Version)
This version has the least recovery and is what you want to be using most often.
- (MP Version)
Demitri spins a bit higher than in the LP version, can occasionally be used to throw off the punish timing.
- (HP Version)
Demitri spins a bit higher than in the MP version, can occasionally be used to throw off the punish timing.
- (ES Version)
Dashing Demon Cradle
66,623P
| Startup | Active | Recovery | Hit Adv. | Block Adv. | Renda Bonus |
|---|---|---|---|---|---|
| 4 | 23 | 18 + landing 1 | - | -18 | N/A |
| Guard | Cancel | Invuln | Red Damage | White Damage | Gauge |
| mid | no | - | 24,18 | 6,4 | H: 31 G: 26 W: 22 |
| Startup | Active | Recovery | Hit Adv. | Block Adv. | Renda Bonus |
|---|---|---|---|---|---|
| 4 | 25 | 20 + landing 1 | - | -22 | N/A |
| Guard | Cancel | Invuln | Red Damage | White Damage | Gauge |
| mid | no | - | 26,19 | 7,4 | H: 31 G: 26 W: 22 |
| Startup | Active | Recovery | Hit Adv. | Block Adv. | Renda Bonus |
|---|---|---|---|---|---|
| 4 | 27 | 22 + landing 1 | - | -26 | N/A |
| Guard | Cancel | Invuln | Red Damage | White Damage | Gauge |
| mid | no | - | 28,20 | 8,4 | H: 31 G: 26 W: 22 |
| Startup | Active | Recovery | Hit Adv. | Block Adv. | Renda Bonus |
|---|---|---|---|---|---|
| 4 | 3x9 | 22 + landing 1 | - | -20 | N/A |
| Guard | Cancel | Invuln | Red Damage | White Damage | Gauge |
| mid | no | - | 8x9 | 2x9 | H: 0 G: 0 W: 0 |
Guard Cancel
623LP
| Startup | Active | Recovery | Hit Adv. | Block Adv. | Renda Bonus |
|---|---|---|---|---|---|
| 5 | 23 | 18 + landing 1 | - | -18 | N/A |
| Guard | Cancel | Invuln | Red Damage | White Damage | Gauge |
| mid | no | 1-6 whole body 8 feet | 24,18 | 6,4 | H: 31 G: 26 W: 22 |
| Startup | Active | Recovery | Hit Adv. | Block Adv. | Renda Bonus |
|---|---|---|---|---|---|
| 5 | 26 | 21 + landing 1 | - | -24 | N/A |
| Guard | Cancel | Invuln | Red Damage | White Damage | Gauge |
| mid | no | 1-6 whole body 8 feet | 26,19 | 7,4 | H: 31 G: 26 W: 22 |
| Startup | Active | Recovery | Hit Adv. | Block Adv. | Renda Bonus |
|---|---|---|---|---|---|
| 4 | 29 | 24 + landing 1 | - | -30 | N/A |
| Guard | Cancel | Invuln | Red Damage | White Damage | Gauge |
| mid | no | 1-6 whole body 8 feet | 28,20 | 8,4 | H: 31 G: 26 W: 22 |
| Startup | Active | Recovery | Hit Adv. | Block Adv. | Renda Bonus |
|---|---|---|---|---|---|
| 5 | 3x9,2 | 24 + landing 1 | - | -24 | N/A |
| Guard | Cancel | Invuln | Red Damage | White Damage | Gauge |
| mid | no | 1-8 whole body | 8x10 | 2x10 | H: 0 G: 0 W: 0 |
Bat Spin
214K
| Startup | Active | Recovery | Hit Adv. | Block Adv. | Renda Bonus |
|---|---|---|---|---|---|
| 30 | 2x10,1 | landing 1 | 14 | 13 | N/A |
| Guard | Cancel | Invuln | Red Damage | White Damage | Gauge |
| mid | no | 1-18 feet | 9x3 | 2x3 | H: 21+3+3 G: 19+1+1 W: 18 |
| Startup | Active | Recovery | Hit Adv. | Block Adv. | Renda Bonus |
|---|---|---|---|---|---|
| 30 | 2x10,1 | landing 1 | 14 | 13 | N/A |
| Guard | Cancel | Invuln | Red Damage | White Damage | Gauge |
| mid | no | 1-18 feet | 6x11 | 2x11 | H: 0 G: 0 W: 0 |
- (LK Version) Travels the shortest distance.
- (MK Version) Travels a mid distance.
- (HK Version) Travels about full-screen.
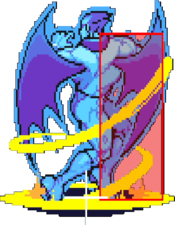
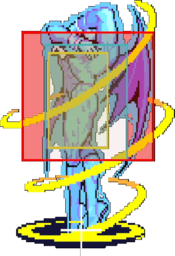
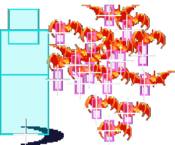
- (ES Version) Travels about mid distance but continues hitting until Demitri lands on the ground. On block is safe & leads into more blockstrings, or if pushblocked you're safe. On hit, you can followup with a free combo. Stronger players will Guard Cancel to beat this tool
Negative Stolen
360+P
| Startup | Active | Recovery | Hit Adv. | Block Adv. | Renda Bonus |
|---|---|---|---|---|---|
| 6 | 1 | 42 | - | - | N/A |
| Guard | Cancel | Invuln | Red Damage | White Damage | Gauge |
| throw | no | - | 29 | 8 | H: 21 G: 0 W: 12 |
Pursuit
8P or 8K
| Startup | Active | Recovery | Hit Adv. | Block Adv. | Renda Bonus |
|---|---|---|---|---|---|
| 37 | 6 | landing 1 | - | - | N/A |
| Guard | Cancel | Invuln | Red Damage | White Damage | Gauge |
| mid | no | 8-10 feet | 6 | 6 | H: 24 G: 0 W: 6 |
| Startup | Active | Recovery | Hit Adv. | Block Adv. | Renda Bonus |
|---|---|---|---|---|---|
| 37 | 6 | landing 1 | - | - | N/A |
| Guard | Cancel | Invuln | Red Damage | White Damage | Gauge |
| mid | no | 8-10 feet | 8+1x4 | 6+1x4 | H: 0 G: 0 W: 0 |
Ex Moves
263KK
| Startup | Active | Recovery | Hit Adv. | Block Adv. | Renda Bonus |
|---|---|---|---|---|---|
| 27 | 50 | 39 | -46 | - | N/A |
| Guard | Cancel | Invuln | Red Damage | White Damage | Gauge |
| mid | no | 1-25 whole body 26-81 throw | 4x16 | 1x16 | H: 0 G: 0 W: 0 |
263PP
| Startup | Active | Recovery | Hit Adv. | Block Adv. | Renda Bonus |
|---|---|---|---|---|---|
| 12 | 29 | 17 | - | - | N/A |
| Guard | Cancel | Invuln | Red Damage | White Damage | Gauge |
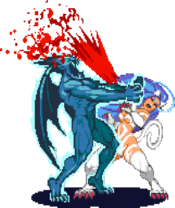
| throw | no | - | 1x17+25 | 9 | H: 0 G: 0 W: 0 |
LP,MP,Towards,MK,MK
- 2LK x Midnight Pleasure
- 2MK x Midnight Pleasure
- 2LP x Midnight Pleasure
- J.MK, Land, Midnight Pleasure
- Cross-Up J.MK, Land, Midnight Pleasure
- Dash, Midnight Pleasure
- Dash-Split, Midnight Pleasure
- 2HK Whiff, Midnight Pleasure
- Demon Cradle Whiff Midnight Pleasure or Bat Spin whiff Midnight Pleasure
| Startup | Active | Recovery | Hit Adv. | Block Adv. | Renda Bonus |
|---|---|---|---|---|---|
| 2 | 29 | 1 | - | - | N/A |
| Guard | Cancel | Invuln | Red Damage | White Damage | Gauge |
| throw | no | - | 2x8+6+13+6+16 | 2+4+2+6 | H: 0 G: 0 W: 0 |
Dark Force
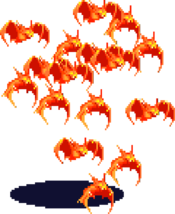
Bat Summoning: Darkside Master
Same strength P + K |
|---|
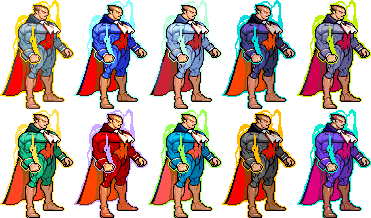
Colors
Notable Players
Japan
Japanese Player Index: http://www21.atwiki.jp/vsplayer/pages/13.html
| Name (English) | Name (Japanese) | Color | Location | Contact | Notes |
|---|---|---|---|---|---|
| Azuwan (or Az-One) |
アズワン | LK |
Nagoya | http://twitter.com/azone48106 | |
| Dara | だら | KK |
Kantou region (Formerly Kansai) | http://twitter.com/Dara_Demitri http://blog.livedoor.jp/darablog/ |
https://www.youtube.com/channel/UCfqP7vw_8NrAzbOMh4-LEtQ |
| Hagure (Stray) | はぐれ | MP |
Not to be confused with the Californian Gallon player. | ||
| Leila | レイラ | MP |
|||
| Sai | さい | MP |
https://twitter.com/s_a_i_x | https://youtu.be/C8wM_IYDSKA | |
| Sakai | サカイ | LP |
North America
| Name (English) | Name (Japanese) | Color | Location | Contact | Notes |
|---|---|---|---|---|---|
| Pockets | ポケッツ | PP |
Illinois, USA | ??? | Longtime FightCade player. |
| VMP MBD | MBD | KK |
Cincy, USA | https://twitter.com/VMP_MBD | Legacy player who grew with Vampire Arcadia. Competitive player with consistent results. Loves smashing stacks |
| WafflesWithKetchup | ワッフルスウィスケチャップ | HK |
New York, USA | ??? | Long time player that formerly was known as Bonclyde. A man of many names. |
| Hipuru | ヒプル | MK |
New Jersey, USA (formerly) | https://twitter.com/Hipururin | Fightcade Demitri that once lived in the US, and now lives in the Netherlands. No Demitri can Zero Demon like he can. |
| La Rosa | ラロサー | LK |
Unknown, USA | https://twitter.com/LaRosaFGC | Recent Demitri player that has been finding notable success. Will be great in no time. |
South America
| Name (English) | Name (Japanese) | Color | Location | Contact | Notes |
|---|---|---|---|---|---|
| Naldinho OSTMan | ナルディンニョー | MK |
Brazil | https://twitter.com/LilOstguy | Now lives in Portugal. |
| Bdalui | ベダルイ | HP |
São Paulo, Brazil | https://twitter.com/Bdalui_DE | Outstanding rising star from Brazil, blowing everyone out of the water in less than a year. Es insuportable com el DP, El Señor DPitri! |
