Theatre of Light/Samurai
Overview
| Samurai | |
| Archetype: | All-rounder |
| Health Defense Multiplier: |
|
| Stagger Defense Multiplier: |
|
| Walk Speed: | 17 |
| Max Light: | 3 |
Samurai is a well-rounded character that functions comfortably at all ranges but excels particularly at keeping the opponent at the mid range, where he can land his Overthrow sweetspot for good combos that leave him with potentially large amounts of Strength buffs. With a simple gameplan and the tools to run it, Samurai is a good option for any player.
| Strengths | Weaknesses |
|---|---|
|
|
Move List
Normal moves
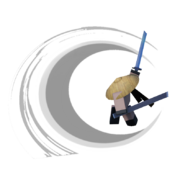
Draw of the Sword ATK Grounded Grounded Air Air
|
|---|
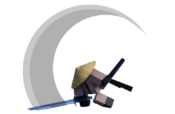
Slay ATK~ATK Inconsistent my ass Inconsistent my ass
|
|---|
Overthrow S1 Shares the same startup animation as ATK Shares the same startup animation as ATK IIIII SEE THE CIIIRCLE IIIII SEE THE CIIIRCLE
|
|---|
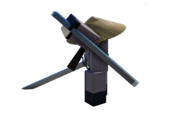
Deflect
S1 (hold) |
|---|
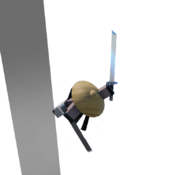
Rising Blade S2 Evade on startup Evade on startup Send 'em skyhigh Send 'em skyhigh
|
|---|
Gleaming Step
SP |
|---|
Psyches
To Claim Their Bones S1~ATK Yield My Flesh to Claim Their Bones Yield My Flesh to Claim Their Bones
|
|---|
Wrathful Rave S2 (hold), ATK>S2>ATK>S1>ATK>S1>S1 "How do I input Wrathful Rave?" "How do I input Wrathful Rave?"
|
|---|
Strategy
Recommended Decks
Kim
EL1: Cardless
EL2: Cardless
EL3: N/A
The best way to play Samurai.
Combos
| Combo Notation Help | |
|---|---|
| Disclaimer: Combos are written by various writers, so the actual notation used in pages can differ from the standard one. For more information, see Glossary. | |
| X > Y | X input is cancelled into Y. |
| dl.X | Wait for a short period before inputting X. |
| X, Y | X input is linked into Y, meaning Y is done after X's recovery period. |
| [X] | X input must be held down. |
| X~Y | Use attack X with follow-up Y. |
| j.X | X input is done in the air. Only used by characters with moves that put them in the air and air variants of moves (currently only applies to Ranger, Samurai and Vigilante) |
| X(info) | Used for when you would like to specify how a move is done. e.g. X(N) meaning X should hit N times, X(whiff), etc. |
| (XYZ)xN | XYZ string must be performed N times. Combos using this notation are usually referred to as loops. |
| (XYZ^) | A pre-existing combo labelled XYZ is inserted here for shortening purposes. |
| dash or (direction)dash | Performs a dash, directions are notated as f for forward, b for back, s for side. If there is not direction specified assume it is a forward dash. |
| cl. | Clean Hit, almost exclusively used for Brawler but can be used for Samurai's sweetspot attacks as well. |
Gameplan
Samurai's gameplan revolves around landing an ATK > S2 to lead to a combo. However, getting there requires some gamesense, reaction and aim, and how the opponent plays. Below are some general playstyles:
Kiting: Involves using Samurai's fluid movement to dodge around the opponent and get in the correct range for sweetspot S1. This is the most consistent playstyle, which can also trick defensive opponents by using ATK>SP to feint a S1, which may force a block/evade. Despite this, this playstyle can still be very predictable and you can get caught by fast attacks between your dashes.
Aggressive: Involves rushing at your opponent and using ATK to pressure, S1 to catch their escapes and S2 to counter attacks. Can be very effective against passive opponents as they don't expect an aggressive Samurai, but once they adapt, Samurai's attacks are too slow to consistently pressure and may get you countered.
Defensive: The most infamous playstyle, involves mainly using Samurai's parries and S2. Relies a lot on your reads and reactions, but can lead to free combos. Most opponents will try feinting a lot more after getting parried once or twice, but this means you can attack them while they try to whiff you. Use this playstyle sparingly.
Keep in mind that you can and should switch up your playstyle often to adapt to how your opponent is playing.
While in the air after using S2, you can use ATK>SP cancel to stay in the air longer and potentially bait out block/evade.
At EL2, you get To Claim Their Bones. While flashy, it has even longer recovery time than a normal S1 parry, and usually results in less damage than a regular parry combo, unless it is used on strong single hit classes like Assasin, Brawler, Samurai and Charger.
At EL3, you can use Wrathful Rave, which is the highest damage move in the game provided you perform the move successfully. It is not recommended to use most of the time, as the startup is too long to hit on anyone that knows how to dodge. However, if you get a stagger from parry or single Atk, it can do 80+ damage, which can instantly kill any Gluttony reliant character.


