Jingi Storm: The Arcade/Asuka: Difference between revisions
Jump to navigation
Jump to search
Blobbentein (talk | contribs) No edit summary |
Blobbentein (talk | contribs) No edit summary |
||
| Line 62: | Line 62: | ||
|onhit= | |onhit= | ||
|onblock= | |onblock= | ||
|description= | |description=Unremarkable high sting, PK is a wee bit better. | ||
}} | }} | ||
{{AttackData-JSTA | {{AttackData-JSTA | ||
| Line 74: | Line 74: | ||
|onhit= | |onhit= | ||
|onblock= | |onblock= | ||
|description= | |description=Mid extension, extremely fast and good for checking opponents who like to duck jabs. | ||
}} | }} | ||
{{AttackData-JSTA | {{AttackData-JSTA | ||
| Line 86: | Line 86: | ||
|onhit= | |onhit= | ||
|onblock= | |onblock= | ||
|description= | |description=A high elbow, gives a counterhit launch. | ||
}} | }} | ||
{{AttackData-JSTA | {{AttackData-JSTA | ||
| Line 98: | Line 98: | ||
|onhit= | |onhit= | ||
|onblock= | |onblock= | ||
|description= | |description=Low ender, somewhat slow and low damage, not much utility. | ||
}} | }} | ||
}} | }} | ||
| Line 131: | Line 131: | ||
|onhit= | |onhit= | ||
|onblock= | |onblock= | ||
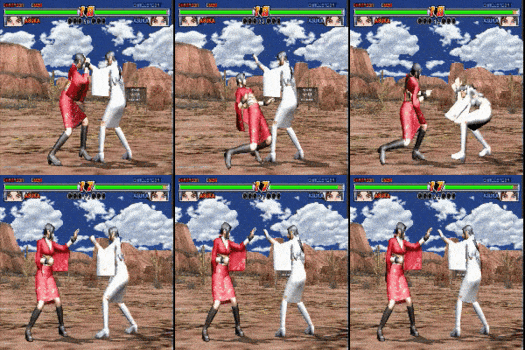
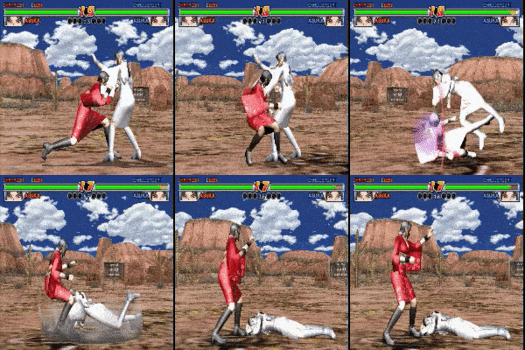
|description= | |description=Very difficult to input. Naturally comboing 3-hit string that sends the opponent fullscreen, yellow guard break on third hit but high recovery means no followups are possible. Theoretically a great tool but the input holds it back significantly. | ||
}} | }} | ||
}} | }} | ||
| Line 175: | Line 175: | ||
|onhit= | |onhit= | ||
|onblock= | |onblock= | ||
|description= | |description=Extremely fast middle jab. | ||
}} | }} | ||
{{AttackData-JSTA | {{AttackData-JSTA | ||
| Line 187: | Line 187: | ||
|onhit= | |onhit= | ||
|onblock= | |onblock= | ||
|description= | |description=Second jab, forces the opponent into a small mixup with this string's two enders. Good for closing out rounds. | ||
}} | }} | ||
{{AttackData-JSTA | {{AttackData-JSTA | ||
| Line 199: | Line 199: | ||
|onhit= | |onhit= | ||
|onblock= | |onblock= | ||
|description=Minus on hit. | |description=Low ender with middling reward. Minus on hit, though not unsafe. | ||
}} | }} | ||
{{AttackData-JSTA | {{AttackData-JSTA | ||
| Line 211: | Line 211: | ||
|onhit= | |onhit= | ||
|onblock= | |onblock= | ||
|description= | |description=Excellent mid to compliment the 6PPP low ender. | ||
}} | }} | ||
}} | }} | ||
| Line 232: | Line 232: | ||
|onhit= | |onhit= | ||
|onblock= | |onblock= | ||
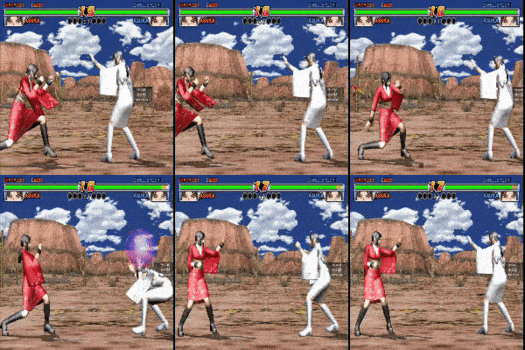
|description= | |description=Super quick high launcher, good for checking opponents pressing buttons. Deals massive damage on counter-hit. | ||
}} | }} | ||
}} | }} | ||
| Line 253: | Line 253: | ||
|onhit= | |onhit= | ||
|onblock= | |onblock= | ||
|description=High frame advantage on block and hit, | |description=High frame advantage on block and hit, a valuable approach and pressure tool, can encourage the opponent to duck into Asuka's strong mids. | ||
}} | }} | ||
}} | }} | ||
| Line 274: | Line 274: | ||
|onhit= | |onhit= | ||
|onblock= | |onblock= | ||
|description= | |description=Low damage mid with near instant high crush properties. Not usually worth using as Asuka can often get much higher damage options, but good for interrupting strings. | ||
}} | }} | ||
}} | }} | ||
| Line 295: | Line 295: | ||
|onhit= | |onhit= | ||
|onblock= | |onblock= | ||
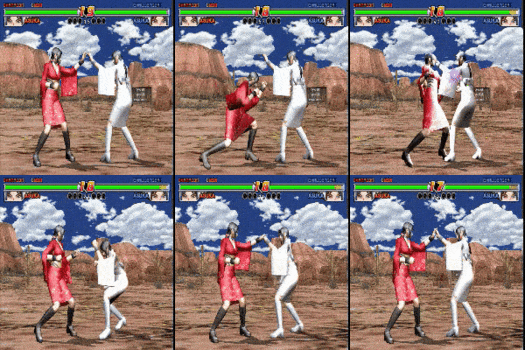
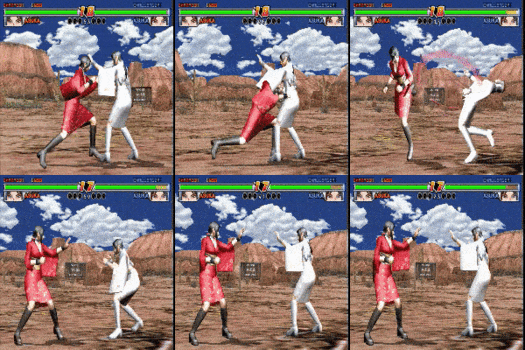
|description= | |description=Asuka performs a lightning-fast Tetsuzanko shoulder attack. Incredible frametrap tool to fish for counter-hits, massive damage if you can land a counter-hit. Unsafe on block though, so be careful. | ||
}} | }} | ||
{{AttackData-JSTA | {{AttackData-JSTA | ||
| Line 307: | Line 307: | ||
|onhit= | |onhit= | ||
|onblock= | |onblock= | ||
|description= | |description=Makes Asuka perform a unique stepdash after 421P. Allows her to combo into 2K or 93P for a tiny bit of extra damage. | ||
}} | }} | ||
}} | }} | ||
| Line 349: | Line 349: | ||
|onhit= | |onhit= | ||
|onblock= | |onblock= | ||
|description=Evasive red guard break with no follow ups. High damage, knocks down, and sends fullscreen on counter-hit. | |description=Evasive red guard break with no follow ups. High damage, knocks down, and sends fullscreen on counter-hit. Gets the same OTG followups as 421P6. | ||
}} | }} | ||
}} | }} | ||
| Line 370: | Line 370: | ||
|onhit= | |onhit= | ||
|onblock= | |onblock= | ||
|description= | |description=A strange retreating mid punch. Not much use on its own. | ||
}} | }} | ||
{{AttackData-JSTA | {{AttackData-JSTA | ||
| Line 382: | Line 382: | ||
|onhit= | |onhit= | ||
|onblock= | |onblock= | ||
|description= | |description=Surprisingly, gives a launch on normal hit. Allows a full conversion into 6KK. | ||
}} | }} | ||
}} | }} | ||
| Line 424: | Line 424: | ||
|onhit= | |onhit= | ||
|onblock= | |onblock= | ||
|description= | |description=A unique sidestep p which hits a bit quicker than average. Gives a somewhat low launch, but still enough for Asuka's essential routes. | ||
}} | }} | ||
}} | }} | ||
| Line 445: | Line 445: | ||
|onhit= | |onhit= | ||
|onblock= | |onblock= | ||
|description= | |description=Generic running slide. Unremarkable, but good to have. | ||
}} | }} | ||
}} | }} | ||
| Line 466: | Line 466: | ||
|onhit= | |onhit= | ||
|onblock= | |onblock= | ||
|description=Huge range, low recovery and startup, and easily spammable. | |description=Huge range, low recovery and startup, and easily spammable. Hits high, despite appearances. | ||
}} | }} | ||
}} | }} | ||
| Line 487: | Line 487: | ||
|onhit= | |onhit= | ||
|onblock= | |onblock= | ||
|description= | |description=A middle knee. Long range, but minus on hit and Asuka generally has better options. | ||
}} | }} | ||
{{AttackData-JSTA | {{AttackData-JSTA | ||
| Line 499: | Line 499: | ||
|onhit= | |onhit= | ||
|onblock= | |onblock= | ||
|description= | |description=Long-range kick string, good for juggles but doesn't combo on normal hit and should generally be avoided in neutral. | ||
}} | }} | ||
}} | }} | ||
| Line 520: | Line 520: | ||
|onhit= | |onhit= | ||
|onblock= | |onblock= | ||
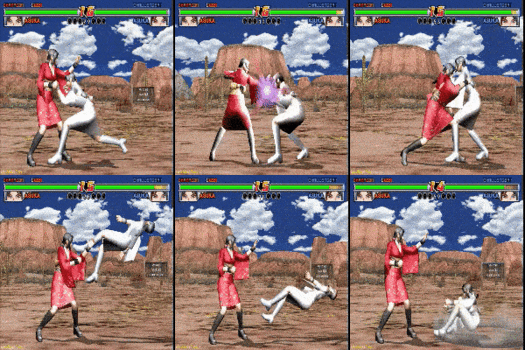
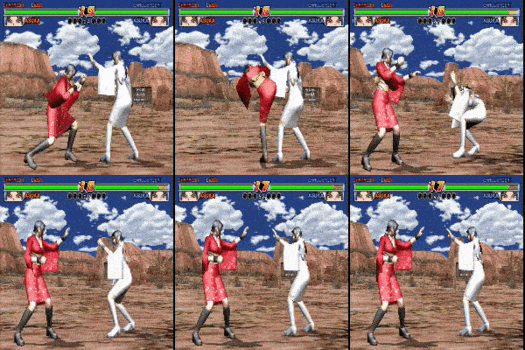
|description=Yellow guard break, gives | |description=Yellow guard break. A large and fairly quick roundhouse kick. Hits mid and has good range, and gives a 623P launch on successful guard break. Generally a great tool for opening up your opponent. | ||
}} | }} | ||
}} | }} | ||
| Line 543: | Line 543: | ||
|onhit= | |onhit= | ||
|onblock= | |onblock= | ||
|description= | |description=Very quick, unseeable low poke. | ||
}} | }} | ||
{{AttackData-JSTA | {{AttackData-JSTA | ||
| Line 555: | Line 555: | ||
|onhit= | |onhit= | ||
|onblock= | |onblock= | ||
|description= | |description=Mid ender, gives a tiny launch on normal hit. A cheeky bit of grounded mix and a useful combo tool, especially for lighter characters. Has a slight stagger animation on block, leaving Asuka unsafe. | ||
}} | }} | ||
{{AttackData-JSTA | {{AttackData-JSTA | ||
| Line 567: | Line 567: | ||
|onhit= | |onhit= | ||
|onblock= | |onblock= | ||
|description= | |description=Middle kick ender. Will not come out on block, decent damage on hit. | ||
}} | }} | ||
{{AttackData-JSTA | {{AttackData-JSTA | ||
| Line 579: | Line 579: | ||
|onhit= | |onhit= | ||
|onblock= | |onblock= | ||
|description= | |description=Low ender, your opponent will likely be more wary of 2KP so you can chip them away with this. | ||
}} | }} | ||
}} | }} | ||
| Line 647: | Line 647: | ||
|onhit= | |onhit= | ||
|onblock= | |onblock= | ||
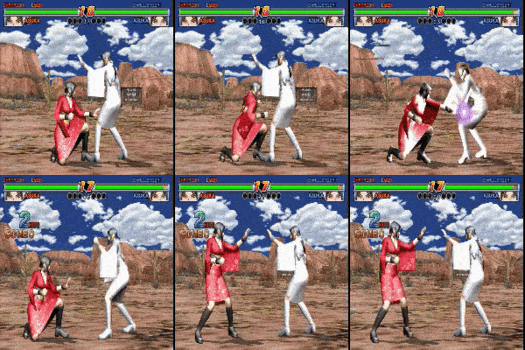
|description=Mid ender, launches fullscreen on counterhit. | |description=Mid ender, launches fullscreen on counterhit. Interestingly, this will only combo when it hits the opponent crouching. | ||
}} | }} | ||
}} | }} | ||
| Line 689: | Line 689: | ||
|onhit= | |onhit= | ||
|onblock= | |onblock= | ||
|description=A launching knee which ducks highs | |description=A launching knee which ducks highs during its startup. Use as a slightly slower but more consistent alternative to Sidestep P. | ||
}} | }} | ||
}} | }} | ||
| Line 710: | Line 710: | ||
|onhit= | |onhit= | ||
|onblock= | |onblock= | ||
|description= | |description=Running P's mid counterpart. No knockdown, but plus on hit and safe on block so a solid tool all around. | ||
}} | }} | ||
}} | }} | ||
| Line 731: | Line 731: | ||
|onhit= | |onhit= | ||
|onblock= | |onblock= | ||
|description= | |description=Quick mid poke with massive reach, and is + on hit. Good move all around. | ||
}} | }} | ||
}} | }} | ||
| Line 806: | Line 806: | ||
|onhit= | |onhit= | ||
|onblock= | |onblock= | ||
|description=Generic | |description=Generic girl stomp, combos into itself. Not much use. | ||
}} | }} | ||
}} | }} | ||
Revision as of 16:06, 28 March 2024
| Asuka | |
|---|---|
| Full name | Asuka |
| Health | 318 |
| Play-style | Blank |
| Weight | Lightweight (4/12) |
| B/W/H | 87/59/85 |
Introduction
| Strengths | Weaknesses |
|---|---|
|
|
Attacks
PP normal normal 6pp 6pp 6pk 6pk
|
|---|
P421P214P
|
|---|
PK
|
|---|
6PPP normal normal k ender k ender
|
|---|
623P
|
|---|
66P
|
|---|
4P
|
|---|
421P6
|
|---|
3P
|
|---|
31P
|
|---|
1PP
|
|---|
93P
|
|---|
Sidestep P
|
|---|
Running P
|
|---|
K
|
|---|
6KK
|
|---|
66K
|
|---|
2KPK normal normal low ender low ender
|
|---|
3K
|
|---|
1KK normal normal 5k ender 5k ender
|
|---|
9K
|
|---|
Sidestep K
|
|---|
Running K
|
|---|
6P+K
|
|---|
2K+G
|
|---|
Crouching Attacks
Crouching PP
|
|---|
Aerial Attacks
Air 2K
|
|---|
Throws
P+G
|
|---|
3P+G
|
|---|
66P+G
|
|---|
Super Attacks
41236 P+K P+K P+K
|
|---|


