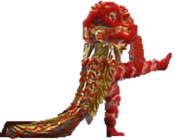
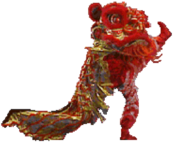
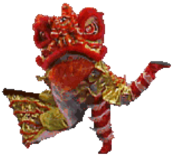
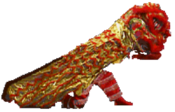
Jackie Chan in Fists of Fire/Mysterious Lion/KFM
| “ |
YUUUUUUU |
” |
Intro
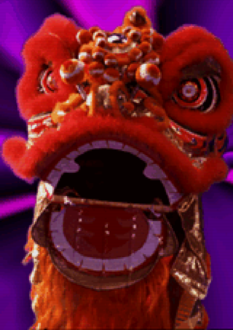
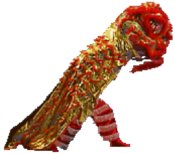
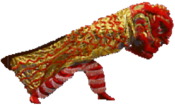
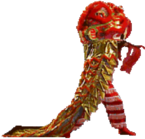
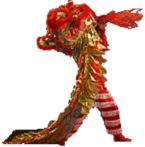
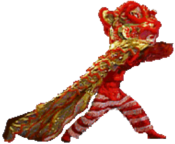
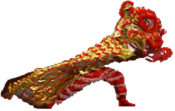
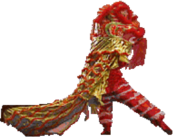
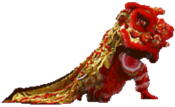
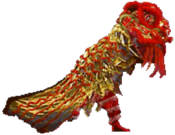
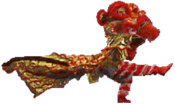
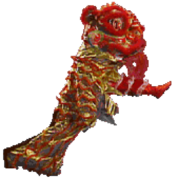
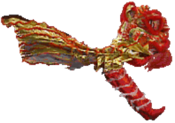
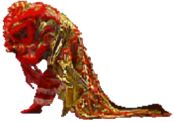
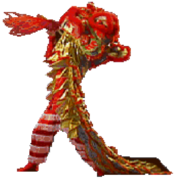
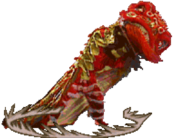
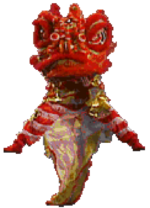
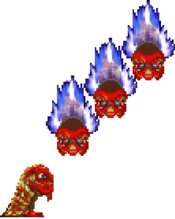
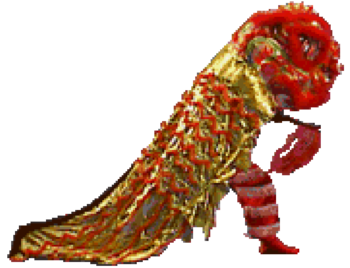
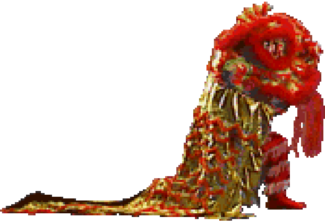
Mysterious Lion (or M. Lion for short) is an original character to the game. Played by Sam Wong in disguise, Lion fights with magic by summoning bombs, flying across the screen, and using a shrinking transformation. He doesn't speak, opting instead to communicate through dance and strange squeaking noises.
M. Lion's bombs can move slowly or quickly, only exploding when they are near the opponent. This can be a powerful tool to lock down the opponent with chip damage, but most characters can also threaten Lion with a jumpin to punish this. His Lion Crusher is very fast and can punish some moves that are normally safe, but because it doesn't knock down, it can be tricky to use this safely. Because his special moves have so many drawbacks, Lion tends to spent most of the game poking with normals instead, which is effective but not especially rewarding compared to stronger characters.
| Strengths | Weaknesses |
|---|---|
|
|
Character Stats
Prejump Frames: 5
Jump Frames: 42
Backdash Frames: 18 (all invincible)
| Frame Data Info (click to expand) | |
|---|---|
| Damage | Base Damage of the attack, not accounting for scaling or opponent's defense value. Damage for each hit is separated by an asterisk (*) If there are several hits in a row with identical damage, it will be listed as A x B to save space --Example: 4*5x3*8 = 4 damage + 5 damage (3 hits) + 8 damage |
| Stun | Stun damage of the attack, not accounting for any scaling (light normals do not have any stun scaling). Throws never deal stun. Stun damage for each hit is separated by an asterisk (*) If there are several hits in a row with identical stun, it will be listed as A x B to save space --Example: 256*128x3*512 = 256 stun + 128 stun (x3 hits) + 512 stun |
| Guard | The way a move must be guarded against. Throw = Cannot be blocked Overhead = Must be blocked standing Low = Must be blocked crouching. Mid = Can be blocked both standing and crouching. High = Can be blocked standing, whiffs against crouching.
|
| Startup | The number of frames it takes for a move to become active. If this value is lower than the opponent's Hit Adv or Block Adv, it can be used to punish that move if it is in range. If a second value is listed in (parentheses), the move hits later during its active frames (i.e. a 2-hit High attack where the first hit whiffs vs. crouching). |
| Active | The number of frames that an attack's hitbox remains active. The first active frame overlaps with the final startup frame. Attacks with multiple hits are separated by an asterisk (*) if there is no gap between hits, or by a number in (parentheses) denoting the number of frames between active hitboxes. --Example 1: 3*5 = 3 active frames (1st hit), 5 active frames (2nd hit) --Example 2: 2(5)4 = 2 active frames, 5f gap, 4 active frames For attacks with long, complex sets of active frames, the description will explain the details and the Active column will simply display the total number of active frames. Attacks with more active frames are more effective as pokes and anti-airs. |
| Recovery | The number of frames that a character cannot act after startup and active frames have passed. For airborne attacks, recovery may be listed as 'X + Y land', where X+Y is the total recovery and Y is the number of grounded recovery frames (which allows the character to be thrown or punished with a grounded combo). |
| Hit Adv | The frame advantage of an attack on hit. 0 means the attacker and defender recover at the same time. A positive number means the attacker recovers before the defender. --Example: A move listed as +4 on Hit may link into a move with 4f Startup. A negative number means the defender recovers before the attacker, and the attack may be punishable. --Example: A move listed as -6 on Hit may be punished by a move with 6f Startup, if it is in range. May also be displayed as a range of values for attacks with significantly different frame advantage when used at different spacing. --Example: A move with '-5 to 3' advantage on hit can be anywhere from -5 to +3 depending on which active frame hits the opponent. HKD = Hard Knockdown (opponent lies on the ground for a couple seconds, allowing ample time to set up positioning) SKD = Soft Knockdown (opponent rises shortly after landing) |
| Block Adv | The frame advantage of an attack on block. This includes the final Guard Cancel frame (see the 'reversal' section of the Basic System page for more details) 0 means the attacker and defender recover at the same time. A positive number means the attacker recovers before the defender. A negative number means the defender recovers before the attacker, and the attack may be punishable. --Example: A move listed as -6 on Block may be punished by a move with 6f Startup, if it is in range. Throws cannot be blocked, so the column is left empty in this case. May also be displayed as a range of values for attacks with significantly different frame advantage when used at different spacing. --Example: A move with '-5 to 3' advantage on block can be anywhere from -5 to +3 depending on which active frame hits the opponent. |
| Special Cancel | The ability to cancel the animation of a normal attack into a special/super move. Specials cannot be cancelled into supers like in some other games. Command normals can also never be special cancelled. |
| Attribute | Self-chain = Light normal that can be rapidly chained into itself on hit, block, or whiff. By default, self chains can be input very quickly (after the first active frame, and after hitstop/blockstop if it connects)
No-Chain = Normal attack that cannot be chained into another normal |
| Hitstun Type | This property is noted in the move description when applicable. Against standing opponents, attacks can inflict two types of reeling animations. They are referred to as High and Mid hitstun because it usually (but not always) correlates with High attacks vs. Mid/Low attacks. The hitstun reeling animation can affect combo routes due to different hurtbox widths. Crouching opponents always have the same reeling animation regardless of attack. |
Damage/Stun is currently unavailable until a training lua script is made.
When describing hitbox interactions, "crouching" means holding down or down/forward, while "crouch blocking" means holding down back.
Hitting a crouching button may further alter a character's hurtbox, but this is not taken into consideration.
Normals
Standing Normals
Close Stand LP cl.5LP
cl.5LP
|
|---|
Far Stand LP far.5LP
far.5LP
|
|---|
Close Stand HP cl.5HP
cl.5HP
|
|---|
Far Stand HP far.5HP
far.5HP
|
|---|
Close Stand LK cl.5LK
cl.5LK
|
|---|
Far Stand LK far.5LK
far.5LK
|
|---|
Close Stand HK cl.5HK
cl.5HK
|
|---|
Far Stand HK far.5HK
far.5HK
|
|---|
Crouching Normals
Crouch LP 2LP
2LP
|
|---|
Crouch HP 2HP
2HP
|
|---|
Crouch LK 2LK
2LK
|
|---|
Crouch HK 2HK
2HK
|
|---|
Air Normals
Jump LP 8LP
8LP
|
|---|
Jump HP 8HP
8HP
|
|---|
Jump LK 8LK
8LK
|
|---|
Jump HK 8HK
8HK
|
|---|
Command Normals
Mighty Cape 6HP/4HP
6HP/4HP
|
|---|
Throws
HP Throw
HP Throw
close 6HP/4HP
|
|---|
Special Moves
Lion Crusher
646P
646P
|
|---|
Priority: above 236P
Lion Bomb 236P
236P
|
|---|
Priority: below 646P
Desperation
Mini-Lion Transformation
41236LP+HP
41236LP+HP
|
|---|
Self-Destruct P
P
|
|---|
Lion Force (Drone Assist) K
K
|
|---|
Combos
Note: M. Lion's light normals are a bit slower than average, which causes them to have more pushback. To maximize hitconfirm time, alternating between his LP and LK buttons will generally give the fastest chains (i.e. 2LK > 2LP > 2LK > 2LP > 5LK > 5LP)
2LK > 2LP > 5LP, link 646HP (stun); j.HK > j.HP, dash 2LK > 5LP, link 646HP (stun), KO with anything
- Cool and practical double-stun combo
- Against M. Lion, you must be close enough to the corner for an extra hit of 646HP to connect
- Linking into 646HP is not strictly necessary, but it gives more hitconfirm time and the extra pushback may allow more hits of Lion Crusher to connect
instant air HK Drone Assist, land + Self-Destruct (stun); jump forward x2, repeat
- Powerful Chibi-Lion combo that works if the opponent tries to dash in after a drone call
- If there is enough time, you can call another set of drones after the 2nd combo
- Alternatively, you may be able to combo after the drones if the transformation ends at the right time
- Jumping forward is Chibi-Lion's fastest method of movement; walking is too slow to reach the opponent
Strategy
M. Lion's goal is to frustrate the opponent into making mistakes using his ranged options. He has several good pokes like 5LP, 2HK, and 6HP, plus a lockdown proximity projectile that allows him to quickly transition to close range offense. He lacks the powerful close-range presence of characters like Lau and Sam, but can win a round instantly off a clean hit if he manages to get one.
Bombs (236P) are fairly effective at controlling space; rather than detonating at a fixed distance, they explode when in close proximity to the opponent. The slow (LP) one will force the opponent to either take chip damage or attempt to avoid it, giving Lion time to position himself for an anti-air or whiff punish. The faster HP version is generally less useful, but at some ranges its speed might cause the opponent to make a mistake while trying to avoid it, or it could punish a fireball if used predictively. Be careful not to use bombs while in the opponent's jump-in range, as Lion's anti-airs are weak at that spot and the opponent can punish the startup. Ticking a light normal into bomb can work, but this too can be punished if done too predictably.
HP Lion Crusher (646HP) is your main combo ender, and it will almost always stun when properly comboed into, allowing for a touch of death. Be careful not to throw the move out randomly, as it is usually punishable unless you start at closer range with a full screen behind the opponent. The LP version is nearly useless, as it can't knock down and it is unsafe on hit or block. There are no additional mashed hits like in Fists of Fire.
Desperation (41236PP) is surprisingly strong in Kung-Fu Master if set up properly. By doing a short hop into Drone Assist, the opponent will have very little time to react. If they charge in recklessly, using HK Drones into immediate Self-Destruct can lead to an instant stun combo. Also note that Drones can force a draw near the end of a round even if Lion gets knocked out after calling them. Depending on screen position and the attack that was used to KO chibi-Lion, the double KO may be unavoidable for the opponent if they don't hit him before he calls the drones.
Anti-Airs
- 6HP/4HP - strong disjointed hitbox makes it excellent at mid-long range, which is where Lion should try to be any time he's not pressuring the opponent
- 2HP - Loses or trades often, but it can work in a pinch if Lion doesn't have time to reposition. Not recommended against strong jumps like Kim-Maree j.HP.
- cl.5HP/far.5HP - both hit directly above Lion, but are very unreliable in most scenarios. cl.5HP in particular doesn't hit nearly as high as the animation suggests.
Reversals
M. Lion's defense is fairly weak if the opponent gets close. His fastest normals are 4f, and he has no true invincibility to make the opponent hesitate. Your best best is to simply backdash or attempt a reversal throw, but your other options include:
- 646HP (Lion Crusher) - Not invincible, but fast enough that it can occasionally work. Don't make a habit out of using this, and be aware of whether you will recover at a safe distance from the opponent
- 41236PP (Desperation) - Has some startup invincibility, but Chibi-Lion can be hit on the way down. Once transformed, Self-Destruct (P) can also trade consistently as a reversal (but will end the Desperation if knocked down).
Matchup Notes
Lau
- 2HK can slide under fireballs, but the spacing is precise and is likely to trade
- A preemptive Bomb can also work; it likely won't punish, but it can lock him down while you block or avoid his projectile
- Chibi-Lion can simply walk under Lau's fireballs, but he has to be careful against random LP uppercuts as there's not much Chibi can do to punish them (and they knock down on hit)
Yeung
Sam
- 2HK reliably punishes his Desperation, so play more defensively once he has it and get the free punish
- Sam's jumpins can be awkward to AA, but his jump arc is so high you can usually dash under him for a punish
- Dashing 5LP pressure can be hard to escape, but option selecting a slightly delayed back throw is a fairly low-risk defensive option
- If he chains into 2LK to punish your stand block, you'll take way less damage than if you get thrown or hit by an infinite
Thorsten
Kim-Maree
- Long-range LP Bomb is hard for Kim to deal with, since she can't easily chase Lion down
- Her jumpins are very strong, so don't take any risks if she is close enough for j.HP to hit. Your AAs won't work from that range.
- Always be ready to 6HP/4HP anti-air if she jumps from longer range (dash first if she neutral jumps)
M. Lion
Dragonball Jackie
Drunk Jackie
Admiral Jackie
 |
|
External Links
- Kung Fu Master frame data sheet--Mysterious Lion by Spabobin
