Glove on Fight 2: Gleam of Force/Ashita Tokugawa: Difference between revisions
Jump to navigation
Jump to search
(→Unique) |
Seaklabroom (talk | contribs) m (cutting down on blurb) |
||
| (12 intermediate revisions by 2 users not shown) | |||
| Line 4: | Line 4: | ||
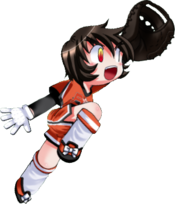
|overview=A previously ordinary girl who happened to be near the car crash Kanae was involved in several years ago. At the brink of the explosion she received a nearly-fatal injury, but survived miraculously. Although her eyesight has suffered horribly, it's not so bad that she can't manage her daily life. She competes in GoF to draft teammates for her softball team. | |overview=A previously ordinary girl who happened to be near the car crash Kanae was involved in several years ago. At the brink of the explosion she received a nearly-fatal injury, but survived miraculously. Although her eyesight has suffered horribly, it's not so bad that she can't manage her daily life. She competes in GoF to draft teammates for her softball team. | ||
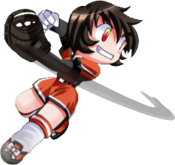
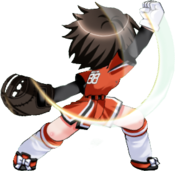
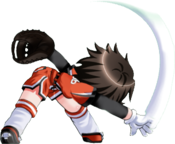
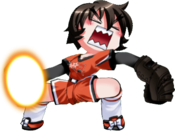
|intro=[[File:GOF2_Ashita_Icon.png|30px]] '''Ashita Tokugawa''' is a darling and you should join her softball team. | |intro=[[File:GOF2_Ashita_Icon.png|30px]] '''Ashita Tokugawa''' is a darling and you should join her softball team. One of Gleam’s weaker characters, she struggles in neutral but doesn’t make up for it with obscene damage like Makoto and Minami. | ||
|pros= | |pros= | ||
* | * Decent zoning tools in the form of 7B66 and 2B66 | ||
* Fast | * Fast running dash allows her to get '''INFIGHT'''s reliably. | ||
* Strong (and stylish) reversal in the form of 3B | * Strong (and stylish) reversal in the form of 3B | ||
* Decent overall damage when she gets in | |||
* 4AB comes out extremely quickly, is easy to work into combos, and easy to combo off of | |||
* 2AB provides decent metered setplay | |||
|cons= | |cons= | ||
* Extremely reliant on '''INFIGHT''' to | * Extremely reliant on '''INFIGHT''' to do anything. | ||
* Has a very predictable neutral as a result of her extreme '''INFIGHT''' reliance | |||
* 6AB effectively requires a 2nd bar to get decent damage out of it | * 6AB effectively requires a 2nd bar to get decent damage out of it without dying | ||
* 236B is not a move. | * 236B is not a move. | ||
| Line 41: | Line 50: | ||
{{AttackData-GOF2 | {{AttackData-GOF2 | ||
|damage= | |damage= | ||
|hits= | |hits= Mid | ||
|startup= | |startup= | ||
|active= | |active= | ||
|recovery= | |recovery= | ||
|advantage= | |advantage= | ||
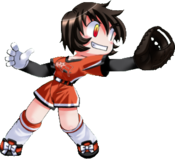
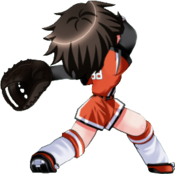
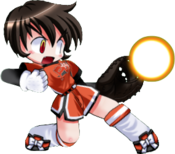
|description= | |description= Ashita extends her arm out and whacks you with her baseball glove. | ||
}} | }} | ||
}} | }} | ||
| Line 55: | Line 64: | ||
{{AttackData-GOF2 | {{AttackData-GOF2 | ||
|damage= | |damage= | ||
|hits= | |hits= Low | ||
|startup= | |startup= | ||
|active= | |active= | ||
|recovery= | |recovery= | ||
|advantage= | |advantage= | ||
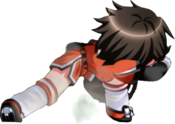
|description= | |description= Ashita crouches down and does much of the same as 5A. | ||
}} | }} | ||
}} | }} | ||
| Line 69: | Line 78: | ||
{{AttackData-GOF2 | {{AttackData-GOF2 | ||
|damage= | |damage= | ||
|hits= | |hits=Mid | ||
|startup= | |startup= | ||
|active= | |active= | ||
|recovery= | |recovery= | ||
|advantage= | |advantage= | ||
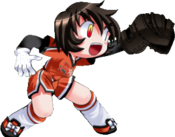
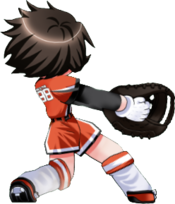
|description=- | |description= Ashita swings her glove-arm in an upwards arc. | ||
}} | }} | ||
}} | }} | ||
| Line 83: | Line 92: | ||
{{AttackData-GOF2 | {{AttackData-GOF2 | ||
|damage= | |damage= | ||
|hits= | |hits= Mid | ||
|startup= | |startup= | ||
|active= | |active= | ||
|recovery= | |recovery= | ||
|advantage= | |advantage= | ||
|description= | |description= Ashita pimp slaps you with her baseball glove. | ||
}} | }} | ||
}} | }} | ||
| Line 125: | Line 134: | ||
|input=9A | |input=9A | ||
|image=GOF2_Ashita_9A.png | |image=GOF2_Ashita_9A.png | ||
|caption= Don’t cancel this from 3A if you know what’s good for you. | |||
|data= | |data= | ||
{{AttackData-GOF2 | {{AttackData-GOF2 | ||
| Line 136: | Line 146: | ||
}} | }} | ||
}} | }} | ||
== Heavy Normals == | == Heavy Normals == | ||
=== <span class="invisible-header">Universal</span> === | === <span class="invisible-header">Universal</span> === | ||
| Line 248: | Line 259: | ||
|recovery= | |recovery= | ||
|advantage= | |advantage= | ||
|description= | |description= Ashita throws a quick uppercut. | ||
}} | }} | ||
{{AttackData-GOF2 | {{AttackData-GOF2 | ||
| Line 259: | Line 270: | ||
|recovery= | |recovery= | ||
|advantage= | |advantage= | ||
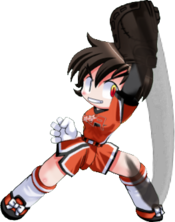
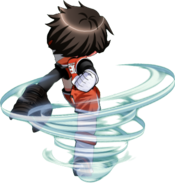
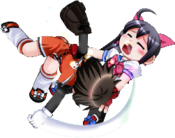
|description=- | |description= Ashita prepares a wind-up punch. At full charge, this turns into a command grab that throws enemies directly upwards. | ||
}} | }} | ||
}} | }} | ||
| Line 265: | Line 276: | ||
|input=3B | |input=3B | ||
|image=GOF2_Ashita_3B.png | |image=GOF2_Ashita_3B.png | ||
|image2=GOF2_Ashita_3B2.png | |||
|caption2=Counter Version | |||
|data= | |data= | ||
{{AttackData-GOF2 | {{AttackData-GOF2 | ||
|version=3B | |||
|damage= | |||
|hits= | |||
|startup= | |||
|active= | |||
|recovery= | |||
|advantage= | |||
|description=- | |||
}} | |||
{{AttackData-GOF2 | |||
|version=3B (Counter) | |||
|header=no | |||
|damage= | |damage= | ||
|hits= | |hits= | ||
| Line 281: | Line 306: | ||
|image2=GOF2_Ashita_7B2.png | |image2=GOF2_Ashita_7B2.png | ||
|caption2=7[B] | |caption2=7[B] | ||
|image3= | |image3=GOF2_Ashita_7B66.png | ||
|caption3= | |caption3=7[B]66 | ||
|data= | |data= | ||
{{AttackData-GOF2 | {{AttackData-GOF2 | ||
| Line 305: | Line 330: | ||
}} | }} | ||
{{AttackData-GOF2 | {{AttackData-GOF2 | ||
|version= | |version=7[B]~66 | ||
|header=no | |header=no | ||
|damage= | |damage= | ||
| Line 313: | Line 338: | ||
|recovery= | |recovery= | ||
|advantage= | |advantage= | ||
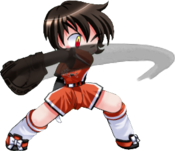
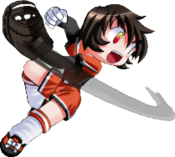
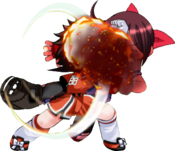
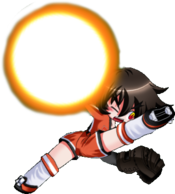
|description=''' | |description='''Ashita hurls a fastball straight at the opponent's face.''' | ||
* | *You can only do this move while holding the B button! | ||
* | *Ashita must be off the ground. | ||
}} | }} | ||
}} | }} | ||
| Line 322: | Line 347: | ||
|image=GOF2_Ashita_9B.png | |image=GOF2_Ashita_9B.png | ||
|image2=GOF2_Ashita_9B2.png | |image2=GOF2_Ashita_9B2.png | ||
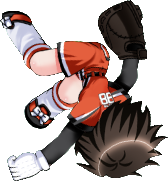
|caption2= Ashita often wonders why her command grab doesn't catch many jump-ins. | |||
|data= | |data= | ||
{{AttackData-GOF2 | {{AttackData-GOF2 | ||
| Line 330: | Line 356: | ||
|recovery= | |recovery= | ||
|advantage= | |advantage= | ||
|description= | |description= Ashita leaps into the air. If she grabs an airborne opponent, she'll slam them onto the ground. | ||
* This move can link into her air buttons. | |||
* Because the grab causes groundslam, any followup is not a true combo. | |||
}} | }} | ||
}} | }} | ||
| Line 469: | Line 497: | ||
|input=6AB | |input=6AB | ||
|image=GOF2_Ashita_6AB.png | |image=GOF2_Ashita_6AB.png | ||
|image2=GOF2_Ashita_6AB2.png | |||
|caption2=This is the last thing you'd want to see | |||
|data= | |data= | ||
{{AttackData-GOF2 | {{AttackData-GOF2 | ||
| Line 477: | Line 507: | ||
|recovery= | |recovery= | ||
|advantage= | |advantage= | ||
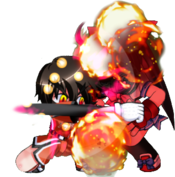
|description= | |description=Hold AB and Ashita does a flurry of punches. | ||
*If you hold it for too long, Ashita's muscles strain and she will be left vulnerable for a long time. | |||
*You can Assault '''INFIGHT''' to cancel this animation and continue your combo. | |||
}} | }} | ||
}} | }} | ||
=== <span class="invisible-header">2AB</span> === | === <span class="invisible-header">2AB</span> === | ||
{{MoveData | {{MoveData | ||
Latest revision as of 13:07, 11 December 2022
Overview
A previously ordinary girl who happened to be near the car crash Kanae was involved in several years ago. At the brink of the explosion she received a nearly-fatal injury, but survived miraculously. Although her eyesight has suffered horribly, it's not so bad that she can't manage her daily life. She competes in GoF to draft teammates for her softball team.
Playstyle
Light Normals
Universal
5A
|
|---|
2A
|
|---|
4A
|
|---|
6A
|
|---|
Unique
3A
|
|---|
7A
|
|---|
9A Don’t cancel this from 3A if you know what’s good for you. Don’t cancel this from 3A if you know what’s good for you.
|
|---|
Heavy Normals
Universal
5B
|
|---|
2B
|
|---|
4B
|
|---|
6B
|
|---|
8B
|
|---|
Unique
1B
|
|---|
3B Counter Version Counter Version
|
|---|
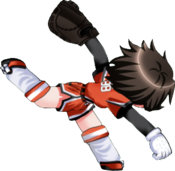
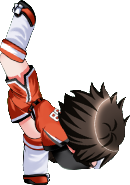
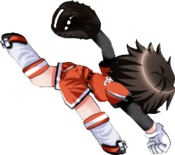
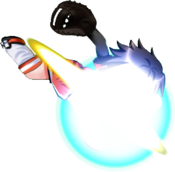
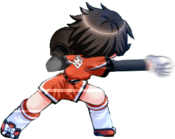
7B 7[B] 7[B] 7[B]66 7[B]66
|
|---|
9B Ashita often wonders why her command grab doesn't catch many jump-ins. Ashita often wonders why her command grab doesn't catch many jump-ins.
|
|---|
Air Normals
j.A
|
|---|
j.B
|
|---|
Special Moves
236X
236X
|
|---|
Parries
High Parry
8C |
|---|
Low Parry
2C |
|---|
Super Arts
4AB
4AB
|
|---|
6AB
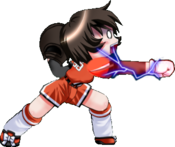
6AB This is the last thing you'd want to see This is the last thing you'd want to see
|
|---|
2AB
2AB
|
|---|

