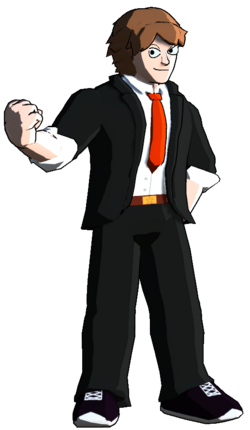
Duels of Fortune/Clyde: Difference between revisions
m (→Overview) |
|||
| Line 53: | Line 53: | ||
{{2 Column Flex | {{2 Column Flex | ||
|content1= | |content1= | ||
{{Content Box|header=Move | {{Content Box|header=Move List|content= | ||
;Command Normals | ;Command Normals | ||
:4H - '' | :4H - ''Rushing Upper'': Low profile, even lower than his dash, forward moving upper cut. Launcher that's good for combos, pressure, and defense. | ||
:4L While Dashing - ''Fake Out'': Invincible back dash out of forward dash. | |||
:6M While Dashing - ''Rushing Straight'': Large and fast normal exclusive to his dash. Uncancellable on block. | |||
;Special Moves | ;Special Moves | ||
:5S - '' | :5S - ''Heat Rush'': A short ranged but high damage baarrage of strikes ending in a jump cancelable uppercut. Combo filler. | ||
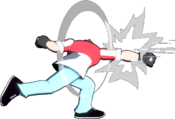
:4S - '' | :4S (Air OK) - ''Blazing Dash'': Dash punch with three hits. Good for combos and occasionally for rushing in. | ||
:2S - '' | :2S - ''Inferno Upper'': Fast and high reward anti-air with invuln to air attacks, has an unfortunate tendency to trade. | ||
:j.S - '' | :j.S - ''Meteor Slam'': Dive punch. Primary combo ender but also a fast overhead that wallbounces in the corner. | ||
;Supers | ;Supers | ||
:5SP - '' | :5SP - ''Eruption Fist'': Fast super with a large anti-air hitbox. Air unblockable. Good combo ender and anti-air. | ||
:2SP - '' | :2SP - ''Brightstar Barrage'': Clyde teleports behind the opponent to do an invincible strike. Somewhat slow. | ||
:2[SP] - ''Frontal Assault'': Clyde teleports in front of the opponent without doing a strike. | |||
}} | }} | ||
|content2= | |content2= | ||
{{Content Box|header=Quick combo reference|content= | {{Content Box|header=Quick combo reference|content= | ||
'''5L > 5M > | '''5L > 5M > 4H > 9jc j.H, land 2M > 2S, land 2M > 5S > 9jc j.S''': Easy corner to corner combo. <br> | ||
'''5L > 5M > 4H > 9jc j.H > j.4S, land 2M > 5S > 9jc j.4S, land 2M > 5H > 5SP''': Corner bnb combo. | |||
}} | }} | ||
}} | }} | ||
Revision as of 20:01, 5 January 2024
Give an overview of the char.
| Clyde *briefly describe playstyle*. | |
| Pros | Cons |
|
|
If a character has a unique mechanic write about it here. If there's nothing like that then delete this section.
Section Header
- If there's more details to talk about and whatnot add new sections.
Section Header
- F.
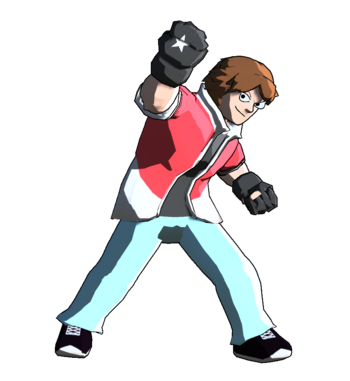
Character Summary
- Command Normals
- 4H - Rushing Upper: Low profile, even lower than his dash, forward moving upper cut. Launcher that's good for combos, pressure, and defense.
- 4L While Dashing - Fake Out: Invincible back dash out of forward dash.
- 6M While Dashing - Rushing Straight: Large and fast normal exclusive to his dash. Uncancellable on block.
- Special Moves
- 5S - Heat Rush: A short ranged but high damage baarrage of strikes ending in a jump cancelable uppercut. Combo filler.
- 4S (Air OK) - Blazing Dash: Dash punch with three hits. Good for combos and occasionally for rushing in.
- 2S - Inferno Upper: Fast and high reward anti-air with invuln to air attacks, has an unfortunate tendency to trade.
- j.S - Meteor Slam: Dive punch. Primary combo ender but also a fast overhead that wallbounces in the corner.
- Supers
- 5SP - Eruption Fist: Fast super with a large anti-air hitbox. Air unblockable. Good combo ender and anti-air.
- 2SP - Brightstar Barrage: Clyde teleports behind the opponent to do an invincible strike. Somewhat slow.
- 2[SP] - Frontal Assault: Clyde teleports in front of the opponent without doing a strike.
5L > 5M > 4H > 9jc j.H, land 2M > 2S, land 2M > 5S > 9jc j.S: Easy corner to corner combo.
5L > 5M > 4H > 9jc j.H > j.4S, land 2M > 5S > 9jc j.4S, land 2M > 5H > 5SP: Corner bnb combo.
Normal Moves
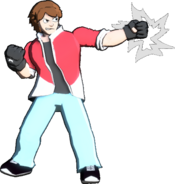
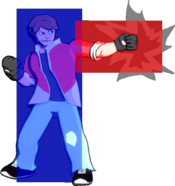
5L
|
|
|---|---|
Toggle Hitboxes Toggle Hitboxes
|
5M Caption Caption
|
|
|---|---|
Toggle Hitboxes Toggle Hitboxes
|
5H
|
|
|---|---|
Toggle Hitboxes Toggle Hitboxes
|
2L
|
|
|---|---|
Toggle Hitboxes Toggle Hitboxes
|
2M
|
|
|---|---|
Toggle Hitboxes Toggle Hitboxes
|
2H
|
|
|---|---|
Toggle Hitboxes Toggle Hitboxes
|
j.L
|
|
|---|---|
Toggle Hitboxes Toggle Hitboxes
|
j.M
|
|
|---|---|
Toggle Hitboxes Toggle Hitboxes
|
j.H
|
|
|---|---|
Toggle Hitboxes Toggle Hitboxes
|
Command Normals
Command Normal Name
4H |
|
|---|---|
Toggle Hitboxes Toggle Hitboxes
|
Fake Out
(While Dashing) 4L |
|
|---|---|
Toggle Hitboxes Toggle Hitboxes
|
Command Normal Name
(While Dashing) 6M |
|
|---|---|
Toggle Hitboxes Toggle Hitboxes
|
Universal Mechanics
Throw
Throw
6H |
|
|---|---|
Toggle Hitboxes Toggle Hitboxes
|
Reversals
Reversal
5R |
|
|---|---|
Toggle Hitboxes Toggle Hitboxes
|
Wakeup Reversal
5R on Wakeup |
|
|---|---|
Toggle Hitboxes Toggle Hitboxes
|
Burst
Burst
5B |
|
|---|---|
Toggle Hitboxes Toggle Hitboxes
|
Taunt
Only add this section if a character has a taunt with a hitbox or some other unique effect like Sylvan's cheat. Otherwise remove it.
Taunt
5T |
|
|---|---|
Toggle Hitboxes Toggle Hitboxes
|
Down Taunt
2T |
|
|---|---|
Toggle Hitboxes Toggle Hitboxes
|
Special Moves
Special Name
5S |
|
|---|---|
Toggle Hitboxes Toggle Hitboxes
|
Special Name
4S |
|
|---|---|
Toggle Hitboxes Toggle Hitboxes
|
Special Name
2S |
|
|---|---|
Toggle Hitboxes Toggle Hitboxes
|
Special Name
j.S |
|
|---|---|
Toggle Hitboxes Toggle Hitboxes
|
Super Move
Super Name 5SP Informative and maybe funny caption Informative and maybe funny caption
|
|
|---|---|
Toggle Hitboxes Toggle Hitboxes
|
Super Name 2SP Informative and maybe funny caption Informative and maybe funny caption
|
|
|---|---|
Toggle Hitboxes Toggle Hitboxes
|
Strategy
Neutral
Describe how a character plays the neutral game. Add sub-categories if necessary, these should usually be on how you use a specific move.
Offense
Describe how a character runs their offense.
Defense
Describe how a character defends themselves when they're on the receiving end.
Additional Resources
Links to any additional resources like a tutorial video, delete category if there are none. If there aren't any but one gets made later, then re-add the category.
Additional Categories
Add any further categories as needed, just make sure they're worth a whole section.
Combos
General info on a character's combos, such as if they can always end a combo with a super as an ender rather than usual listed enders.
Combo Legend
| ||||||||||||||||||||||||||||||||||||||||||
| ||||||||||||||||||||||||||||||||||||||||||
Basic Combos
Easy combos for starting.
| Combo | Damage | Difficulty | Meter Spent | Position | Notes |
|---|---|---|---|---|---|
| 5L > 5M > 5H > 5S, Ender | X | Very Easy/Easy/Medium/Hard/Very Hard | 0/50/100 | Midscreen/Corner/Near Corner/From Corner |
Description of the combo. |
| Combo | Damage | Difficulty | Meter Spent | Position | Notes |
| 2L > 2M > 2H > 2S, Ender | X | Very Easy/Easy/Medium/Hard/Very Hard | 0/50/100 | Midscreen/Corner/Near Corner/From Corner |
Description of the combo. |
Advanced Combos
Harder combos that deal more damage or provide some other benefit.
| Combo | Damage | Difficulty | Meter Spent | Position | Notes |
|---|---|---|---|---|---|
| 5L > 5M > 5H > 5S, Ender | X | Very Easy/Easy/Medium/Hard/Very Hard | 0/50/100 | Midscreen/Corner/Near Corner/From Corner |
Description of the combo. |
| Combo | Damage | Difficulty | Meter Spent | Position | Notes |
| 2L > 2M > 2H > 2S, Ender | X | Very Easy/Easy/Medium/Hard/Very Hard | 0/50/100 | Midscreen/Corner/Near Corner/From Corner |
Description of the combo. |
X Combo Category
If a character has a specific kind of combo they do that has multiple variants, then you can make a new category for it. If they don't delete this.
| Combo | Damage | Difficulty | Meter Spent | Position | Notes |
|---|---|---|---|---|---|
| 5L > 5M > 5H > 5S, Ender | X | Very Easy/Easy/Medium/Hard/Very Hard | 0/50/100 | Midscreen/Corner/Near Corner/From Corner |
Description of the combo. |
| Combo | Damage | Difficulty | Meter Spent | Position | Notes |
| 2L > 2M > 2H > 2S, Ender | X | Very Easy/Easy/Medium/Hard/Very Hard | 0/50/100 | Midscreen/Corner/Near Corner/From Corner |
Description of the combo. |
Enders
List of combo enders a character has when there's multiple enders they can pick between, such as sacrificing oki for damage and vice-versa.
| Combo | Damage | Difficulty | Meter Spent | Position | Notes |
|---|---|---|---|---|---|
| 2H > 2S | X | Very Easy/Easy/Medium/Hard/Very Hard | 0/50/100 | Midscreen/Corner/Near Corner/From Corner |
Description of the ender. |
| Combo | Damage | Difficulty | Meter Spent | Position | Notes |
| 2H > 2SP | X | Very Easy/Easy/Medium/Hard/Very Hard | 0/50/100 | Midscreen/Corner/Near Corner/From Corner |
Description of the ender. |
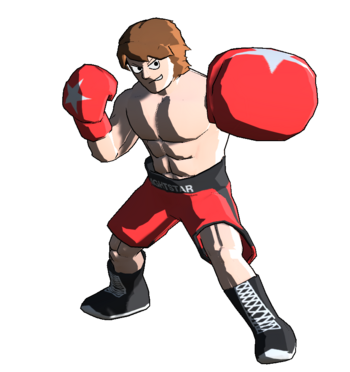
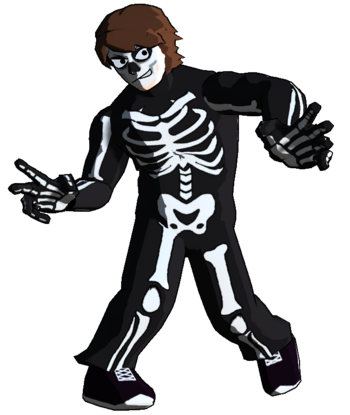
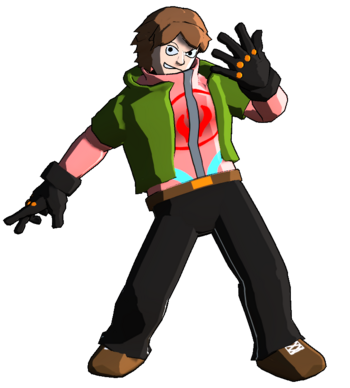
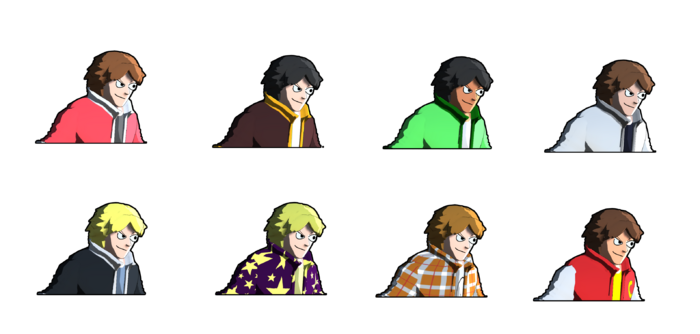
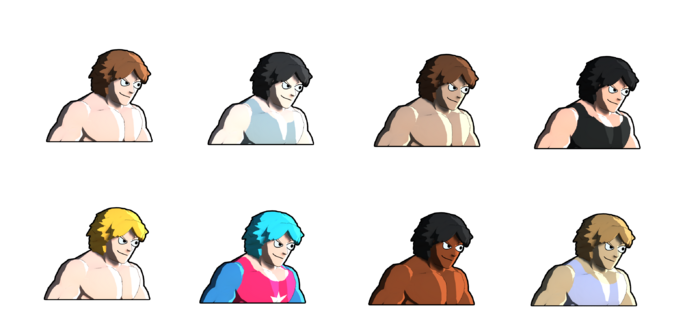
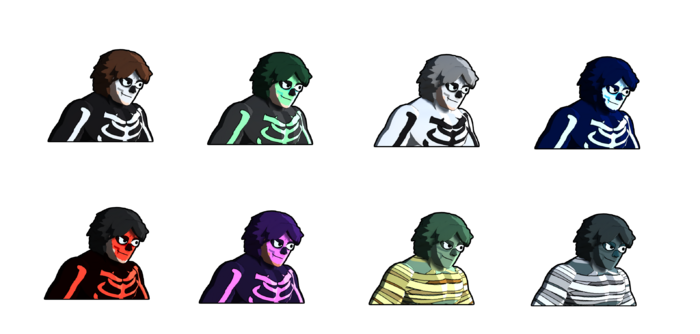
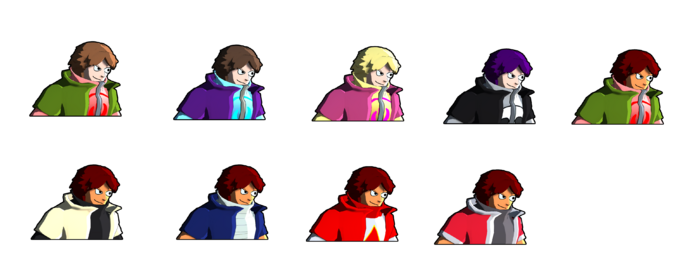
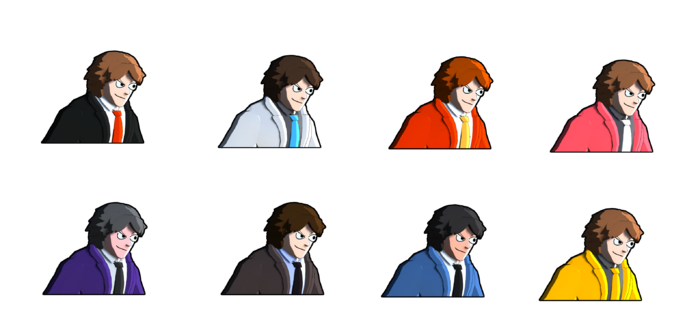
Colors
Trivia
- Fun facts about the character. If it isn't redundant with something else said on the page, these can be pulled directly from the game.
Clyde Wiki Roadmap
| 100% complete | |
|
|
| Page | Completed | To-do | Score |
|---|---|---|---|
| 25/25 | |||
| Move List | 25/25 | ||
| Strategy | 25/25 | ||
| Combos | 25/25 |
