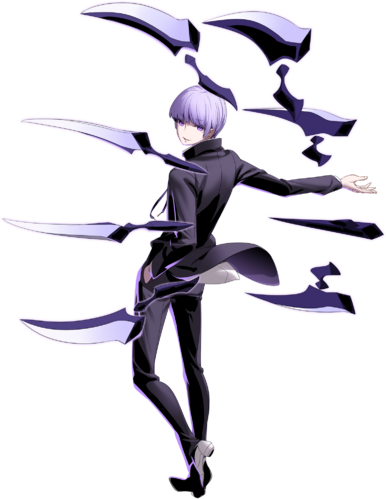
Under Night In-Birth/UNI2/Byakuya/Strategy
Under Construction
|
Disclaimer: This is a community written page and may contain opinions that not all players may agree with. Use at your own discretion.
General Gameplan
basic idea of how to play this character
Neutral
how to play neutral
Approach
tools and plans to approach
Keep Away
tools and plans to keep opponent away
Offense
how to keep the advantage
Pressure
tools to frame trap, blockstring,
Okizeme
lead up enders and tools to help in keeping pressure on opponents waking up
Gimmicks
tools that have situational, limited, or questionable usage
Defense
how to defend against, break, or escape pressure
Reversal Tools
tools that are invincible, strong, or fast at getting out of pressure/okizeme
Option Selects
inputs that cover multiple situations
Counter Strategies
Learn what pressure is fake, and what air normals to shield
Byakuya can be a visually intimidating character at first glance, but on block his normals and their large cancel windows are the problem not his specials. Common fake pressure would include:
- 236X is often fake without CS. 236A is -6 on block and 236B is -7, if Byakuya extends with 6X he finishes at even greater frame disadvantage. Alternatively Byakuya can use 236X-4X, however a universal punish to this option is to dash block during the web set and then punish.
- Make sure to shield air web normals (214A~A~A/B/C) not only are his only options Mid or High, shielding these normals stops Byakuya from inputting another normal until he lands and can allow you to punish him. The A and C normal can only be punished by 5f or faster options.
- Both j.2C and j.2[C] will lose out to shield. Shield the second to last hit of j.2C, take note that j.2C is only plus if the last hit connects late. j.2[C] is a telegraphed move, whilst only one of its hits need to land to potentially reward Byakuya with advantage, shielding only one of the hits will give Byakuya additional landing recovery. If Byakuya relies on j.2[C] to start pressure, play patient and shield it to shut it down.
- j.C is -5 on shield when done instantly from an Assault, be wary that it's +6 on block however.
Force neutral to play out where Byakuya is uncomfortable
- Patience is a strong tool for a Byakuya player, a large part of his approach involves building grd and dashblocking until he's in midrange and his normals are at their strongest. Whilst normals like 2B are powerful tools at the right range their large recovery windows make them easier to whiff punish. Where possible avoid playing Byakuya at his strongest range, an example technique is to shimmy at the tiprange of his normals to try and bait him into whiffing a poke however don't overuse this as Byakuya could instead use 66B to catch you out.
- Don't give Byakuya air control, letting him jump in on you succesfully gives an insane amount of mileage to him. Practice anti-airing his air normals, and make sure your aware of what air normals you should be shielding.
- Guard thrust (214D) can be effective in this matchup, in general resetting to neutral where possible is powerful agaisnt Byakuya as he thrives during blockstrings especially as a strong Byakuya can turn any hitconfirm into a web setup with the meter.
- Byakuya's air to airs lack horizontal hitboxes, and his 3C anti-air suffers from it's 13f startup and late invulnerability. Alternatively 5B is another of Byakuya's anti-air options however it lacks head invuln and is only an AA due to it's good hitbox. If your opponent has a weak anti-air game your jump-ins can gain you a lot of mileage. Byakuya alternatively can try to anti-air with 236C, however it's quite a linear reversal and can be jumped or assaulted over if Byakuya mistimes the input.
- Generally experimenting with different jump arcs and using assaults can cause issues for Byakuya as he often needs to be pre-emptive to make his anti-airs work, use this to your advantage as it can cause a Byakuya player to have a harder time implementing moves like 66B or 66C as Byakuya will have to play more defensive to handle your jump-ins.
- Characters with good range and/or projectiles can be a nightmare for Byakuya, however don't get overly cocky. 66C is a fairly strong anti-zoner tool with 15f of startup, and it can easily catch players who throw out fireballs or pokes too recklessly. If Byakuya whiffs a 66C or gets it blocked he can commit to CS to keep himself safe. It's also important with some characters, like Hyde, to not constantly throw out fireballs as it can result in feeding GRD to Byakuya.
Don't be too scared of web pressure
Whilst Byakuya's post 623C web setups can seem obscenely oppresive, every character in the cast has options to handle them. Researching web pressure is critical to understanding the matchup and a good portion of your lab time for this MU should be focused on finding options to deal with webs. A strong byakuya will pay attention to what counterplay you pick and try to play around it. It's important to remember that the situation still favours byakuya, especially when in the corner, but you being in a web setup does not gaurentee a free hit for Byakuya.
- Check the combo section to find some common Web oki for both midscreen and corner situations so you can recreate them in the lab.
- Remember that webs only dissapear if Byakuya is hit or either player techs a throw, if Byakuya blocks a move pay attention to any webs still on screen as they can hit you during a blockstring.
- Webs cannot Meaty on your wakeup. A 'meaty' web has effectively 14f startup as a result. This is because when you come into contact with a web, it does not immediately connect.
