Yomi 2/Grave
Overview
Lore
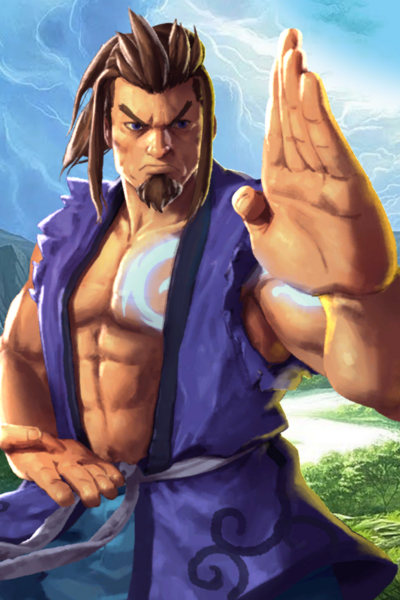
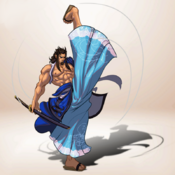
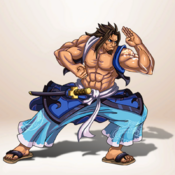
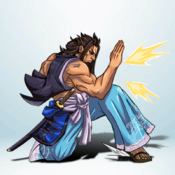
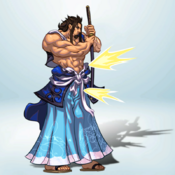
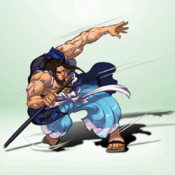
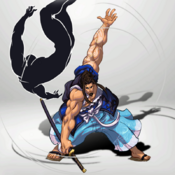
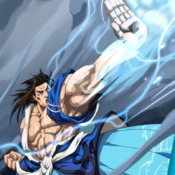
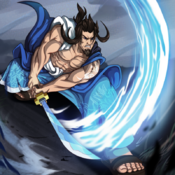
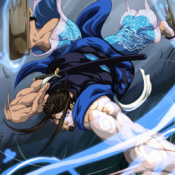
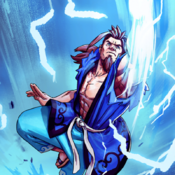
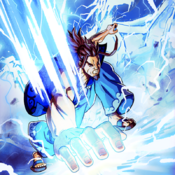
Grave Stormborne had the misfortune as a child of seeing his father killed in battle. He was killed by a young commander who would later be known as General Onimaru. Onimaru took the Stormborne family sword as a war prize, but Persephone intervened. She returned the heirloom to Grave, but warned him not to use it unless it was absolutely necessary.
Grave was scarred by this event and became obsessed with training. He now trains alongside his sister Jaina under Master Midori at his dojo in Dragon Tail Vale. Grave cares little about politics, and instead focuses on individual power. Many expect him to win the Fantasy Strike tournament against the previously undefeated Rook. He mostly uses a style of open hand attacks and trains to execute each one as well as he can. He strives for a balance of moves so that he can take on anyone of any style who would threaten him or his family again, and yet his life is not one of balance. It's a life of intense training and self improvement. Rook and DeGrey try to show him that that's a rather selfish choice when the world needs his skills for a purpose higher than winning for the sake of winning.
Character Stats
| Health | Character Type | Maximum Combo Points | Unique Trait |
|---|---|---|---|
| 90 | Zoning | 4 | Versatile Style. During your main phase, you may exchange cards twice (rather than the usual once). |
| Strengths | Weaknesses |
|---|---|
|
|
Moves
Normal Moves
A. Quick Low Attack
|
|---|
B. Light Low Attack
|
|---|
C. Medium Attack
|
|---|
D. Heavy High Attack
|
|---|
E. Power High Attack
|
|---|
Low Block
|
|---|
High Block
|
|---|
Dodge
|
|---|
Throw
|
|---|
Special Moves
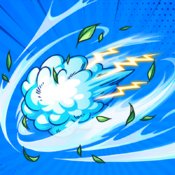
X. Lightning Cloud
|
|---|
Y. Stormborne Sword
|
|---|
Z. Whirlwind
|
|---|
Super Moves
S1. Dragonheart
|
|---|
S2. True Power of Storms
|
|---|
Ability Card
Wind Summon
|
|---|
Combos
Basic
Super Confirm. A > S1 = 23 Damage.
Throw Confirm. Throw > D > E = 20 Damage + 1 Meter. (Any slow normal chain combo works well here)
During Knockdown
Low Mix-Up Confirm. B > Z > X = 19 Damage / 27 Damage with Pump.
High Mix-Up Confirm. E > Z > X = 22 Damage / 30 Damage with Pump.
During Wind Summon
1 Meter Confirm. A > B > S1 = 27 Damage.
Throw Confirm. Throw > S1 = 27 Damage.
Z Confirm. Z > S1 = 27 Damage / 35 Damage with Pump.
Strategy
Basic Game Plan
At the start of the game, your primary goal will usually be to get S1 online so you can start to threaten bigger damage off your pokes. You will want to look for opportunities to build your hand and land a chain combo for more efficient meter gain. Build your hand by blocking and using your fireball special X; build meter by trying to land a chain combo with your pokes, such as A >B, or confirm a chain combo off a throw. If possible, avoid using Z too early in the game, as this special offers you a high reward off mix-ups once you have more resources. Grave's knockdown mix-up is weaker if he lacks S1, so trying taking risks to land a knockdown is usually not a priority at this point in the game.
Once you have S1 available, you can begin threatening to confirm into it with pokes. Your A and B normal are the safest option to confirm into this, but you can also make a bigger read on a throw or low block to try and land a high normal like D or E. Opponents expecting your A normal will block, and this is what will give you the opportunity to land a throw. Once you have S1, going for a knockdown into a mix-up is a strong strategy. Grave's basic strategy at this point in the game is to try and threaten A / Throw, until he either confirms into S1 or lands a knockdown. Many characters can force their way through this mix-up using their superior speed or armored attacks, so mix in blocks and dodges to protect yourself.
Wind Summon
Wind Summon is a very open-ended ability, but essentially improves Grave's mix-up potential and damage output quite a bit. The most rewarding part of this ability is reducing S1's combo point cost to 2 - this allows Grave to confirm into S1 from throw and Z. This means his basic mix-up of A / Throw now threatens S1 on both sides, opponents lose the ability to avoid S1 by taking the throw. On top of this, Grave can now confirm into S1 from with a fast high / low attack mix-up, confirm off either A or Z - if you know your opponent does not have an attack faster than 7, you can force this mix-up in neutral (or surprise them for trying to low block A if they don't know about Z)!
Wind Summon can be very valuable so it is important to refrain from using it until you are somewhat confident your opponent does not have a good way to avoid the mix-up (such as a fast attack). The easiest way to do this is landing a knockdown on your opponent's turn or on the first turn of Wind Summon.
The fireball buff on Wind Summon is a good option if you expect your opponent might have a way to beat your mix-up. Once you use Wind Summon, you won't get an opportunity to exchange back for a normal or throw that missed. You can bait out a dodge, reversal, or fast attack with your fireball and potentially land damage even if you guessed wrong. This is your lower risk, lower reward option during Wind Summon. If your fireball loses to a reversal or fast attack on the first turn, you can threaten your improved mix-up on the second turn of Wind Summon. One special note is to avoid using this strategy if your opponent has a way to land a knockdown off an attack (primarily Menelker can threaten this with his Y).
Super Meter
Grave generally has a very straight forward game plan when building super meter that focuses on being able to use S1 as efficiently as possible. You will usually spend your first power-up fetching S1; even if you draw the second copy of S1 from your deck very early, consider still fetching for S1 as Grave can reasonably build enough meter through chain combos to use both. Grave really likes to land a two hit chain combo early game, allowing him to play S1 after only a single power-up. If you land a throw with less than 2 meter, consider foregoing the knockdown if you have a good chain in hand such as C>D or D>E. As you enter the mid to late game, managing super meter will become more situational and decisions will generally focus on if you have opportunities to land chain combos. The main principle to keep in mind at this stage of the game is that Grave does not need to get 3 meter, 2 meter is enough and the extra meter may not come into play before the game ends; do not weaken your hand by powering up for more meter than you need.
If you are able to play Wind Summon with 1 super meter and a chain combo in hand, it is possible to chain into S1 for a very efficient confirm. Wind Summon is a very versatile ability, so you do not need to refrain from playing it until this situation arises, but this is an excellent situation to play it in.
Grave's S2 is very situational and you will rarely want to power-up for it. Powering up for it to threaten it against the opponent is not usually worth the cost of momentum due to the big rewards you get off confirming into S1. Instead, if you happen to build 3 super meter as the game goes on consider playing the second copy of S2 drawn from your deck. Many characters have strong ways to pressure Grave AND play around S2, so you cannot threaten it the same way that Rook can threaten landing his S2 super grab. In short, don't plan on using S2, but if the opportunity arises, a hidden copy in hand can be a strong comeback opportunity.
When you are choosing cards to power-up with, good cards to consider are - C, D, and Dodge. The primary special you may consider powering up with is X, but if Y's are drawn in the late game and your health total is low enough to make their unsafe nature potentially game losing, they may also be a good choice. In general, don't power-up too often with Grave's specials as they are very versatile. His ability is also great and buffs the use of S1, so avoid powering up with that if possible as well. Grave can more easily build chain combos in hand using his unique trait, so don't focus too much on powering up for meter, and instead use this as an opportunity to fetch S1.
Matchups
| Grave[No Data] |
|---|
| Jaina[No Data] |
|---|
| Argagarg[No Data] |
|---|
| Geiger |
|---|
| Something about gears. |
| Setsuki[No Data] |
|---|
| Valerie[No Data] |
|---|
| Rook[No Data] |
|---|
| Midori[No Data] |
|---|
| Bigby[No Data] |
|---|
| Troq[No Data] |
|---|
| Onimaru[No Data] |
|---|
| River[No Data] |
|---|
| Lum[No Data] |
|---|
| DeGrey[No Data] |
|---|
| Menelker[No Data] |
|---|
