Acceleration of Suguri 2/Nanako
Credits to Nyu-13 for allowing us to transcribe their Nanako guide to populate this page.
Introduction
Extremely aggravating keepaway queen. Nanako flat out denies quite a few characters of their normal gameplans because of how dense her spam is and how amazing her anti-rushdown melee bits are. For characters who cannot deal with her beam sniping behind her ballistic density, frequently the only option is to attempt to get close to her to hit her. Her melee bits make this difficult.
Overview
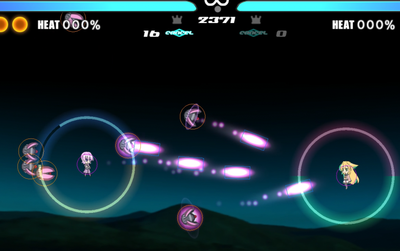
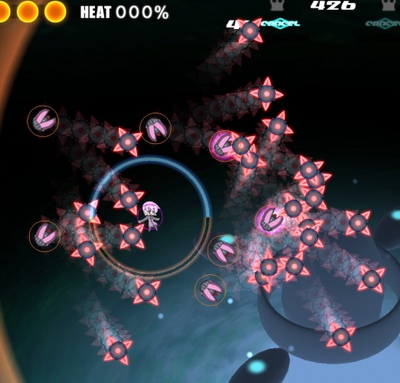
Nanako is basically this games puppet character, having none of her attacks come actually from her but instead from her 7 bits. Nanako has insane pressure and combo power on top of good meter gain and speed.
Nanako relies on her pressure to make the opponent heat up, as her damage is somewhat low without doing so. Thanks to her bits, she can essentially pressure the opponent from practically anywhere on the map, and even serve as your defense should the opponent come close to you thanks to SPWB and Tap WA.
Nanako's main gimmick is her bits, which give her the amazing pressure power and indirect attacks she has.
Difficulty: Hard
While she isn't a top or bottom tier, the nature of her bits and the necessity of knowing where they are at all times makes her without a doubt one of the hardest characters to learn. While learning how her combos and pressure game work, you must also be able to call back your bits closer to you via dashing should your opponent begin to close in on you, while also knowing when and where you can perform your hypers. Though hard to master, a good Nanako can be a menace in matches.
Gameplan
Farming Meter
Nanako essentially just gains meter for what she's supposed to do, being applying pressure and preparing setups with essentially all her attacks except for Hold wB and dwA. That being said, dwA can actually be used if you ever need a quick burst of meter for a shield, its gain is actually very high though be mindful that it will eat your entire wA ammo and feed quite harshly should someone graze it.
Offense
For a more aggressive playstyle you want to basically just pressure, use SPwB, Dash Cancel and then chain either: Tap wa, Hold wA or Tap wB into it, Dash Cancel again and repeat. This is your basic pressure combo. Be sure to stay mindful of both your ammo and heat, and take small breaks should your ammo run out or your heat get too high.
The choice of Tap wA versus Hold wA really just comes down to situations, with Tap wA holding your bits longer in place but being slower and potentially consuming less ammo and Hold wA being faster but consuming more ammo.
In some matchups you can also work with Hold wB to occasionally set up some hits though it should be used sparingly due to having no meter gain and feeding quite a bit.
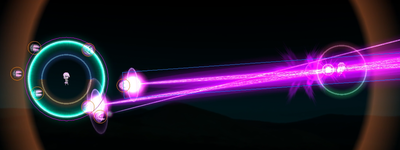
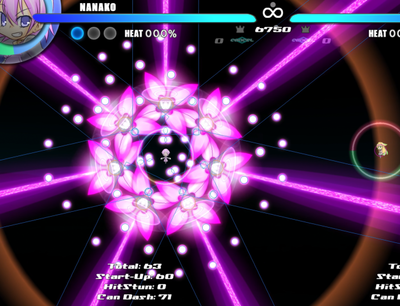
If your opponent has no meter you can try and set up some hypers, the easiest way to do this is to call your bits back to you(the quickest way to have them return is to just dash), press Special and use D.Hyper. The area Dash Hyper covers this way is huge and extremely difficult to avoid without the usage of meter.
Defense
If you need to be more defensive it's advisable to keep your bits a bit closer to you and not have them move too far away with SPwB. Using Hold wB and Tap wA more often to deny engages.
You should mindful off when to use Hold wB and when not though, due to its non-existent meter gain you want to still use it sparingly and not be too spammy with it so you don’t end up having a meter disadvantage.
If people jump you a lot you can also use neutral hypers shield and long duration to get them off you, alternatively B.Hyper also works but has less punish potential on confirm. It's important to keep in mind that all of your hypers have rather huge shield break windows so be sure to not be too obvious with them and try to dash cancel out of them asap.
Normal Moves
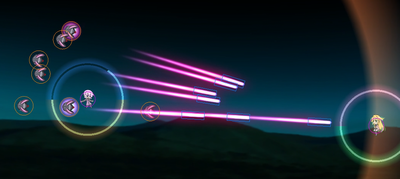
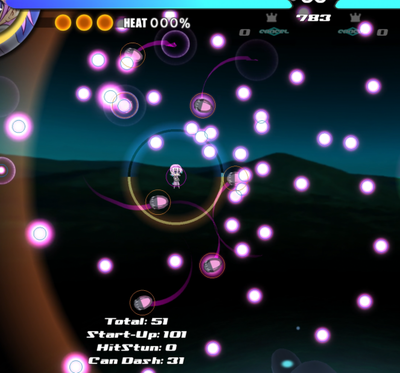
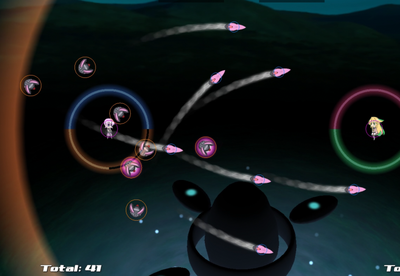
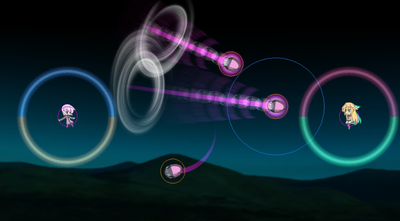
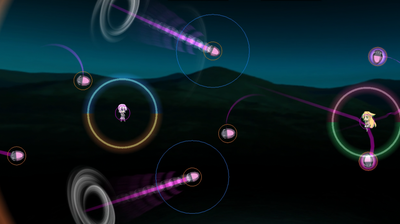
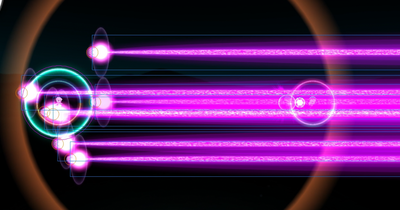
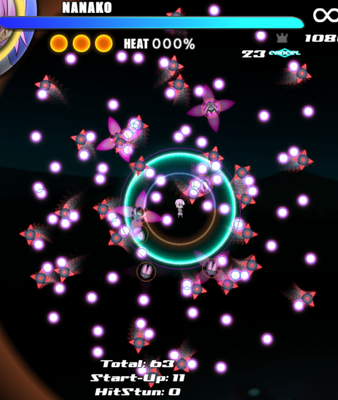
- Bit order starts with the bit furthest away from the opponent at the start, then goes counter-clockwise. See image to the right for a better demonstration.
- Holding SP causes the bits to spread out and dashing causes them to move faster.
- If you don't have enough Energy for an attack, then bits towards the end of the order won't fire. This is the same even for moves that fire simultaneously.
Weapon A
Weapon B
Hypers
Combos
Nanako's entire combo game is essentially her pressure, so there isn't too much to talk about here but let's go over what there is.
Meterless
- SPwB(Hold) > Dash Cancel > Tap wB > Dash Cancel > SPwB(Hold) > Dash Cancel > Hold wA
- This is basically your bnb off any confirm from SPwB
- Hold wB > SPwB(Hold) > Dash Cancel > Tap wA > Dash Cancel > SPwB(Hold) > Dash Cancel > Tap wB
- Simple setup to try and push people into mines or capitalize of their hits, not the most practical thing but can be good in matchups where you rely more on mine usage
Meter
- Nanako really only has some setups to chain hypers together with all of the ones from normal attacks being rather unreliable.
- D.Hyper > N.Hyper
- Fairly simple hyper follow up from dash hyper, requires you to hit Neutral Hyper the second Dash Hyper confirms (2 meter)
- Hold wA > N.Hyper
- Very inconsistent and position dependant, can sometimes help you line something up but don't expect it to
- Hold wB > N.Hyper/D.Hyper
- Using mines to help you confirm into hyper, also not very consistent


