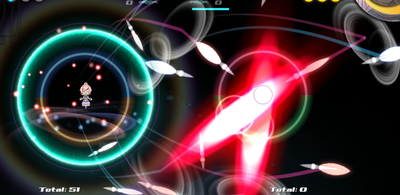
Credits to Nyu-13 for allowing us to transcribe their Sumika guide to populate this page.
Introduction
The boss of AoS2.
Overview
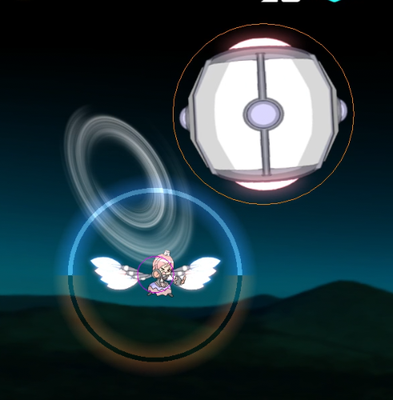
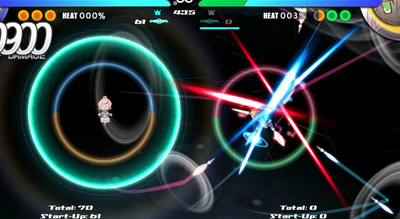
Sumika is the final boss character of AoS2, her gimmick is a mix of both Star Breaker and Himes. Having standard projectiles that follow the same color rules as Himes and her feathers which apply debuffs following the color rules of Star Breaker.
Sumika has a huge combo game with potentially very big damage but needs a lot of commitment to pull any of these due to having some of the longest attack animations in the game. This mixed with her relying on sitting at least at midrange to be any sort of actual threat to her opponent can cause her quite a bit of trouble against characters with quick attacks.
Similarly to Hime Sumika also has very lackluster ways to deal with ballistics which can cause her to also struggle quite a bit with characters who have a strong ballistic game going for them.
Difficulty: Hard
Sumika's difficulty mainly just stems from learning her combos and knowing when and how to engage, she isn't the most difficult character to get behind but also not the easiest putting her somewhere in the middle.
Gameplan
Farming Meter
Sumika’s best meter farming tools are her Tap wb, Hold wB, SPwB and SPwA.
Tap wB is decent melee denial and doesn't usually feed anything due to its short range, it's only ever so slightly better than SPwB in gain but has the added bonus of being frontal cover, which is pretty valuable when someone is going more aggressive.
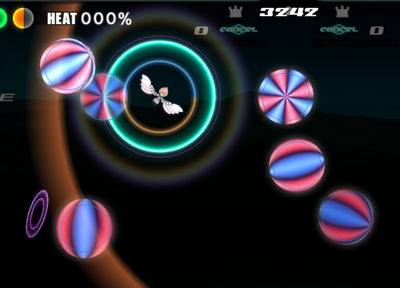
Hold wB is mediocre clear but also works as great poke, its gain is outmatched by SPwB and Tap wB though this attack does not eat as much ammo allowing you to spam it more liberally, its advised to use this more against chars who struggles to clear your marbles or when you need some sort of clear yourself.
SPwB can also act as mediocre clear but unlike Tap wB and Hold wB doesn't actually protect you all that well, it can help you zone people into your attacks or on confirm allows you to follow up with some easy damage. it's what you usually want to go for more often when taking a more aggressive approach.
SPwA locks you in place but shoots out feathers while doing so, it does cover you though not from long range laser kind of attacks so be aware of who you are against when using this and dash cancel out when you notice someone trying to hit you out of it with a laser or any other type of attack.
Offense
For an aggressive approach on Sumika you usually want to hug your opponent, get as close and personal as you can get and work with wA and throw out some feathers with SPwA, you usually want to create a tunnel where you force people into a dead end thats leads to death by feathers either way.
Using wA you can also try to set up a barrel(SPwB) from which you can essentially throw a bunch of moves at them for free or use B.Hyper(Barrel)/D.Hyper(Overlimit) depending on if they have meter to shield out and you having D.Hyper up or not. You can also work with barrels to zone people into your knives and set up feather combos that way.
Talking about D.Hyper should you go for a more aggro approach you should probably get this up at some point simply bc it boosts your potential damage output by a ton and improves your pressure game by quite a bit.
You can also work with B.Hyper in matchups where your opponent lacks the clear to properly or quickly deal with it, it works as pretty great confirm assist and deal decent damage to boot.
Defense
For a more defensive approach you usually want to sit more at midrange and throw out more of your poke'ish attacks such as Tap wB/Hold wB, wA and use SPwA feathers purely as denial and additional poke.
Part of what makes Sumika offense great is also what makes her defense great, being her wA. Due to its long animation to finally ark in you can usually shoot it out and have it deny someone from meleeing you even they already hit you, as long as you shot it out before their hit confirmed you're essentially safe.
When playing a more defensive game you usually want to be more preservative of your meter setting up D.Hyper only when you have the excess meter for it and concentrating more on landing N.Hypers for poke and SP.Hyper to punish potential melee approaches.
You should use SPwA more as a way to deny and also make use of its lingering hitbox to keep someone from jumping on you for a while.
Normal Moves
Note: Sumika has 8 feathers at start, and only red attacks scale with Heat.
Weapon A
Sumika Pretty Sword
|

|
| Type
|
Energy
|
Shots
|
| Direct
|
Primary: 20% per pair
|
2, 4, 6
|
| Damage
|
Meter Gain
|
Grazed Meter Gain
|
| 150x
|
~41 pairs
|
?
|
| Startup
|
Canceled Recovery
|
Full Recovery
|
| 13, 18, 23
|
5
|
25
|
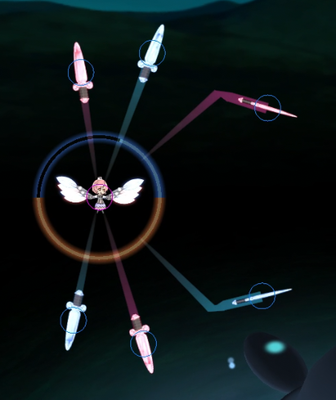
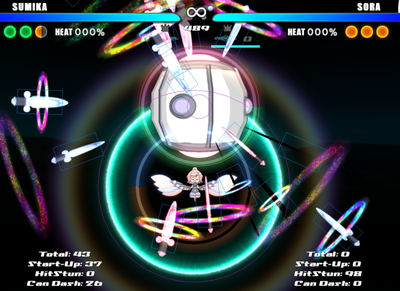
| Fires up to three pairs of swords, half red and half blue, depending on the length the button is held. Each wave is placed further from Sumika's front. Ignores other projectiles. Similar to Hime WA.
|
Sumika Fantastic Feather
|

|
| Type
|
Energy
|
Shots
|
| Direct (Blue), Beam (Red)
|
Primary: 0%
|
1+
|
| Damage
|
Meter Gain
|
Grazed Meter Gain
|
| 150x (Blue), 100x (Red)
|
~72 beams
|
?
|
| Startup
|
Canceled Recovery
|
Full Recovery
|
| 16 +9 for each additional feather, 72 for the first beam
|
10
|
20
|
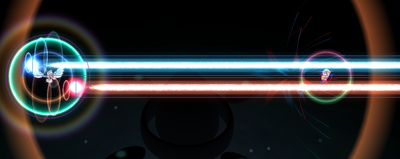
| Consumes no ammo. Sumika fires feathers from her wings toward the opponent, which then fire a single laser before returning to Sumika. Oddly enough, a single laser will not cause hitstun; two or more laser hits are required to stun an opponent. This probably exists to lessen its usefulness as a defensive move, as feathers can easily shoot the opponent midcombo.
|
Sumika Shiny Feather
|

|
| Type
|
Energy
|
Shots
|
| Direct
|
Primary: 0%
|
-
|
| Damage
|
Meter Gain
|
Grazed Meter Gain
|
| 150x
|
~56 uses
|
?
|
| Startup
|
Canceled Recovery
|
Full Recovery
|
| 11 +10 for each additional feather, ~36 for the first hitbox
|
12
|
20
|
| Consumes no ammo. Sumika's feathers fly from her wings and stab at the opponent. On hit, blue feathers drain meter (~10%) and remove red health, red feathers add heat. If a feather misses, it will stay on the field momentarily before returning to Sumika. Can go up to 2/3 the arena diameter as the hitbox stays out as long as the feather is still traveling forward.
|
Weapon B
Sumika Heartful Arrow (Tap)
|

|
| Type
|
Energy
|
Shots
|
| Direct
|
Sub: 80%
|
17
|
| Damage
|
Meter Gain
|
Grazed Meter Gain
|
| 120x
|
~6 uses
|
?
|
| Startup
|
Canceled Recovery
|
Full Recovery
|
| 13
|
18
|
38
|
| Spawns numerous bows behind Sumika, which fire arrows. Nearly identical to Hime's tap WB. Interestingly, will not stun unless three or more arrows hit. Less arrows fire with less ammo.
|
Sumika Marble Ball (Hold)
|

|
| Type
|
Energy
|
Shots
|
| Ballistic
|
Sub: 40%
|
8
|
| Damage
|
Meter Gain
|
Grazed Meter Gain
|
| 55x - 200x (Top of arc and later)
|
~13 uses
|
?
|
| Startup
|
Canceled Recovery
|
Full Recovery
|
| 22
|
4
|
29
|
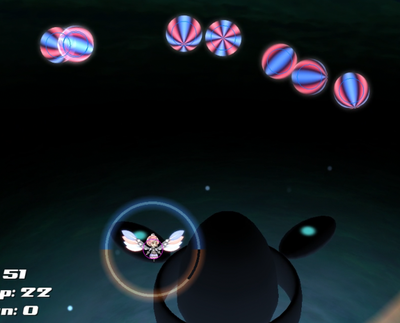
| Sumika tosses upwards eight marbles in a random spread. Marbles start falling back down after a short distance, and continue down until hitting the arena wall. Fairly similar to Saki's Maracas Napalm. Damages scales according to distance until the marbles hit the top of their arcs where they reach max damage for all the way down.
|
Sumika Happy Barrel
|

|
| Type
|
Energy
|
Shots
|
| Ballistic
|
Sub: 100%
|
1
|
| Damage
|
Meter Gain
|
Grazed Meter Gain
|
| 0 (On contact), 300 (Explosion, scales with Heat)
|
~7 uses
|
?
|
| Startup
|
Canceled Recovery
|
Full Recovery
|
| 16
|
10
|
25
|
| Barrel~! Sumika tosses a large barrel in an arc until it hits the opponent or the arena wall. If the opponent comes in contact with it, they are trapped inside for 90 frames before the barrel explodes. Holding Up or Down during input will influence the trajectory of the barrel. Very durable. Hitbox is actually a little smaller than shown. The displayed circle needs to cover halfway to the center of the character's hurtbox to hit.
|
Hypers
Sumika Mystic Blast
|

|
| Type
|
Energy
|
Shots
|
| Direct
|
-
|
1
|
| Damage
|
Meter Gain
|
Grazed Meter Gain
|
| 50x
|
0
|
0
|
| Startup
|
Canceled Recovery
|
Full Recovery
|
| 19
|
42
|
62
|
| Two orbs of light appear in front of Sumika and fire lasers while spiraling outward. Sumika can move slowly while the lasers are firing, though she can't redirect the attack. All damage scales with Heat. Typically 600 damage, but can be less.
|
Sumika Over Limit
|

|
| Type
|
Energy
|
Shots
|
| -
|
-
|
-
|
| Damage
|
Meter Gain
|
Grazed Meter Gain
|
| -
|
0
|
0
|
| Startup
|
Canceled Recovery
|
Full Recovery
|
| 35(?)
|
26
|
46
|
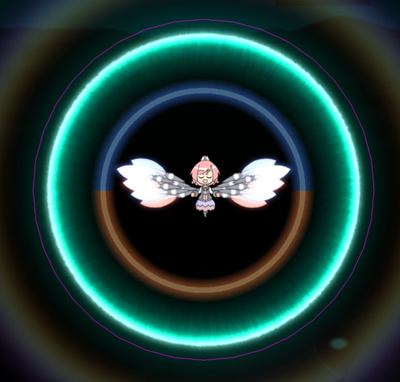
| Sumika sprouts a second set of wings, providing her with twice as many feathers to use. The additional feathers each will disappear after being used for attacking five times. The feathers are not on a timer and so will not despawn outside of being used. Changes Dash-Hyper and Accel Hyper while at least one additional feather is present.
|
(With Over Limit) Sumika Heaven's Feather
|

|
| Type
|
Energy
|
Shots
|
| Beam, Direct
|
-
|
-
|
| Damage
|
Meter Gain
|
Grazed Meter Gain
|
| 100x, 150x
|
0
|
0
|
| Startup
|
Canceled Recovery
|
Full Recovery
|
| 40
|
21
|
|
| Sumika instantly deploys all her feathers from every wing in a flurry of beams and stabs. Can do very high damage (2000+).
|
Sumika Tropical Ball
|

|
| Type
|
Energy
|
Shots
|
| Ballistic
|
-
|
6
|
| Damage
|
Meter Gain
|
Grazed Meter Gain
|
| 55 - 300x
|
0
|
?
|
| Startup
|
Canceled Recovery
|
Full Recovery
|
| 11
|
40
|
60
|
| Summons 6 beach balls, beach balls bounce around the walls of the arena always readjusting to fly towards the opponent after a bounce. Beach balls have lower damage on startup and gain more as they are out for longer, reaching their highest damage roughly after ~1 second. If they haven't hit anything or have not been destroyed; beach balls can bounce up to 6 times before they explode on their own.
|
(During Barrel) Sumika Coquettish Sword
|

|
| Type
|
Energy
|
Shots
|
| Direct
|
-
|
21
|
| Damage
|
Meter Gain
|
Grazed Meter Gain
|
| 60x
|
0
|
?
|
| Startup
|
Canceled Recovery
|
Full Recovery
|
| 23 (hits opponent on 39)
|
43
|
43
|
| Only available if someone is trapped in a Barrel. Summons 21 knives around the barrel even at fullscreen, 11 of these being red and 10 blue. 1260 damage total. Pauses the barrel explosion timer.
|
Sumika Angel Wing
|

|
| Type
|
Energy
|
Shots
|
| Direct
|
-
|
2
|
| Damage
|
Meter Gain
|
Grazed Meter Gain
|
| 130x
|
0
|
0
|
| Startup
|
Canceled Recovery
|
Full Recovery
|
| 15
|
41
|
66
|
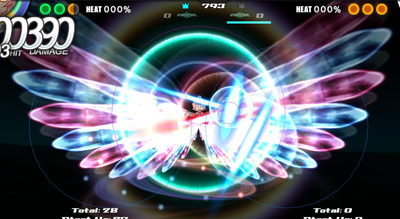
| Summons 2 wings, has a knockback effect before the hyper ends, can tick up to 6 times on each wing, this attack ignores the usual red and blue rule and entirely scales with heat. Can hit with both wings for major damage.
|
Accel Hyper: Sumika Pretty Justice
|

|
| Type
|
Energy
|
Shots
|
| Direct
|
-
|
-
|
| Damage
|
Meter Gain
|
Grazed Meter Gain
|
| 90x
|
0
|
0
|
| Startup
|
Canceled Recovery
|
Full Recovery
|
| 33
|
91
|
121
|
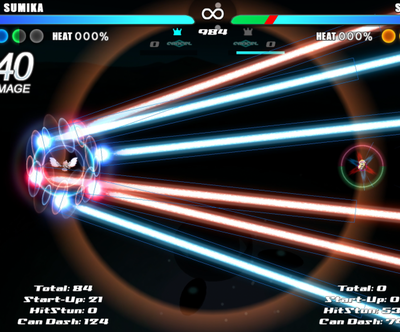
| Shoots 6 giant lasers in an ever-increasing spread. This attack ignores the usual red and blue rule and entirely scales with Heat. Can move slowly during the attack. 540 damage at fullscreen, but by moving up/down the damage can go up to 1080. 1170 close up and moving can cause it to go up to 1350.
|
(With Over Limit) Accel Hyper: Sumika Eternal Feather
|

|
| Type
|
Energy
|
Shots
|
| Beam, Direct
|
-
|
-
|
| Damage
|
Meter Gain
|
Grazed Meter Gain
|
| 100x (Red beams), 150x (Everything else)
|
0
|
?
|
| Startup
|
Canceled Recovery
|
Full Recovery
|
| 40
|
21
|
41
|
| Sends in 9-16 (based on current feathers) giant feathers to surround the opponent even at fullscreen that perform a melee and beam combo. 1800 damage or more up to 2560.
|
Combos
Meterless
- Basic confirm into feathers from knives, requires you to be rather close
- wA(3 Sets) > Dash Cancel/Underneath(if you aren't already) > SPwB
- Basic Barrel set up
Meter
- Simple hyper follow up after feather flock
- N.Hyper > D.Hyper(Feathers)
- Very easy way to land D.Hyper, with big damage and good follow up potential with SPwB, only use this if your opponent has no meter to shield out (2 meter)

