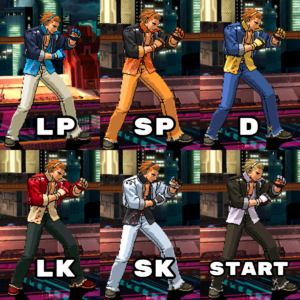
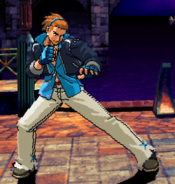
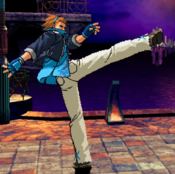
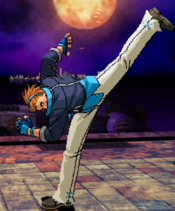
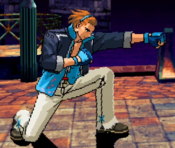
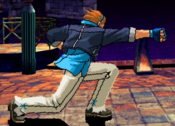
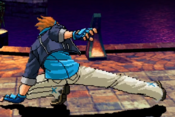
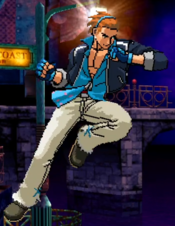
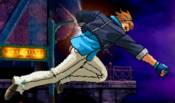
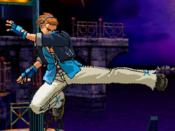
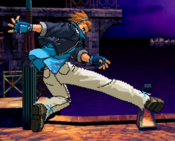
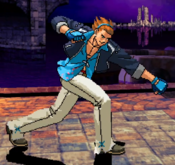
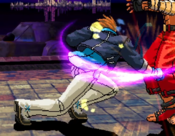
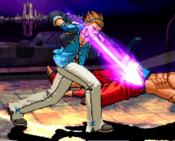
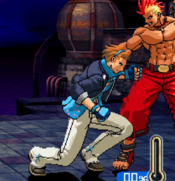
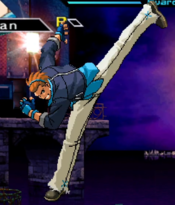
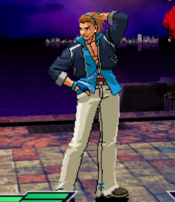
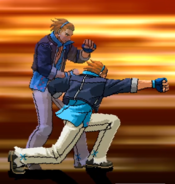
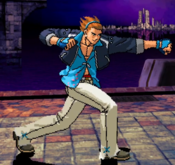
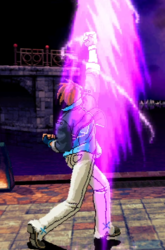
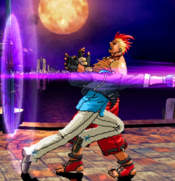
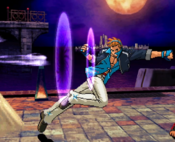
The Rumble Fish 2/Aran
Jump to navigation
Jump to search
Introduction
| Gender | Male | Blood type | B(Rh+) | Birthday | April 12th | Fighting Style | Martial Arts | Birthplace | Italian | Height | 181cm | Weight | 76kg | Voice Actor | Shikase Hajime |
|---|
Fun fact: Can free dive deeper than 100m and perform most sports accurately. He makes his own original cocktails (Although it doesn’t seem like they’re popular?) as a hobby.
Gameplay
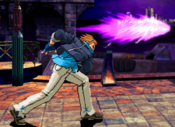
Aran is one of the best and easiest characters to pick up, as his fireballs are great for zoning and oki, his rekkas destroy lifebars and guard gauges, and he even has a dp! He takes the spot as the scrub killer AND scrub enabler of the game.
| Pros | Cons |
|---|---|
| Extremely solid all-rounder | Straight-forward offense. Can be easily IB'd |
| High guard crush capabilities | Lacks jumping moves that punish G.Dodge |
| 5 | 6 |
Version Differences
Removed a special invincibility check in the second half of ground recovery (v1.1)
Move Set
Standing Normals
5LP
|
|---|
5SP
|
|---|
cl.SP
|
|---|
5LK
|
|---|
5SK
|
|---|
cl.SK
|
|---|
Crouching Normals
2LP
|
|---|
2SP
|
|---|
2LK
|
|---|
2SK
|
|---|
Jumping Normals
j.LP
|
|---|
j.SP
|
|---|
j.LK
|
|---|
j.SK
|
|---|
Command Normal
Blow Lancer
6P |
|---|
Special Moves
Vanishing Strike
236P |
|---|
Vanishing Strike Low
236K |
|---|
Accelerator Strike
41236P |
|---|
Vanguard Strike 214P ==First Strike== 214P ==First Strike== 214P ==Second Strike== 214P-214P ==Second Strike== 214P-214P ==Third Strike (Middle)== 214P-214P-6P ==Third Strike (Middle)== 214P-214P-6P ==Third Strike (Low)== 214P-214P-2P ==Third Strike (Low)== 214P-214P-2P ==Third Strike (High)== 214P-214P-4P ==Third Strike (High)== 214P-214P-4P ==Phantom Phase== 214P-214P-214K ==Phantom Phase==
214P-214P-214K |
|---|
Vertical Strike
623K |
|---|
Phantom Phase
214K |
|---|
Vanishing Strike (Feint)
22K |
|---|
Universal Mechanics
Throw
4/6SP |
|---|
Phantom Shift
LK+SP/LP+SK |
|---|
Jolt Attack (air OK)
LP+LK |
|---|
Advancing Attack
SP+SK |
|---|
Super Arts
Strike Burst 236236P Offensive Arts Offensive Arts
|
|---|
Strike Back -Cross- Offensive Arts Offensive Arts
|
|---|
Strike Back -Double- Offensive Arts Offensive Arts
|
|---|
Strike Edge 41236P While Guarding Defensive Arts Defensive Arts
|
|---|
Infinity Strike 2363214P Critical Arts Critical Arts
|
|---|
Combos
General Combos
- 2SP > 5SK > 214LP > 214P > 2P or 6P
- Aran's bread and butter. Can be started from jump-ins and light attacks, though lights should be avoided due to proration. Delay the 5SK slightly, or else you'll get cl.5SK, which will whiff.
- 2SP > 5SK > 214LP > 214P or 41236P > 236236P
- Offensive Art flavored bread and butter. Can follow up with Accelerator Strike for okizeme. The 41236P route is better if you can do it. If Second Strike gets IB'd, cancelling as fast as possible into the OA can catch the opponent.
- 2SK > 2SP, 214LP > 214P (> 236236P)
- Low starter. Good for calling out IBs, or stopping Viren, Kaya, and Bazoo's DAs. While difficult, if you delay all of the attacks, you can get a hard knockdown, and even follow up with an OTG 2SK. Outside of the corner, you can do OTG 2SK and slightly delay into Accelerator Strike to put pressure on ground recoveries. In the corner, you have to mess with the timing and spacing. The damage is a bit low due to air combo scaling, and if you mess up the timing, the opponent can Quick Recover out.
- 2SK > AA > 2SP > 214LP > 214P or 41236P
- Useful if you're too far way to do 2SP after 2SK directly, or if you went into 2SK from 2SP. Best to cancel into 214P without much delay. 41236P reaches farther than 214P so it's a bit more reliable.
- Third Strike (High) > 236236P
- Can be landed anywhere on the screen, but you need to cancel quickly when outside of the corner. Third Strike (High) can be hard to land, so make sure you cancel into super to take all the damage you can get.
- (2 Hits or Less) > Third Strike (Low) > 236236P
- Useful if the opponent IBs Vanguard Strike but then gets hit by Second Strike. Another good situation is when aiming for guard crush. If the opponent blocks Second Strike, whether or not they block Third Strike (Low), you win. You need to cancel into 236236P as fast as possible.
- Jolt > j.SK > j.SP > AD.SP > 2SK > 2SP > 214LP > 41236P
- Extremely hard to land reliably, and maybe does not work well in the corner. It may be possible to improve this one. A few tips:
- - Do the j.SK > j.SP the same way as the corner jolt combo (see below).
- - Delay the AD.SP very slightly, but such that you're still doing it on the way up
- - Do everything after the 2SK as fast as possible
Corner Combos
- BD Activation > (Normal Move) > 214LP > 214P > (cl.SP > cl.SK > 214LP > 214P)xn > 2P or 6P
- The shadow allows you to combo into normals after Second Strike. As long as the opponent is in the corner, you can fit a normal move in before the first 214P, or even activate BD after a jump in and then continue into the combo. If you can adjust it such that the BD ends after Vanguard or Second Strike, you can activate another BD and continue the combo. Keep doing this, and you can reach 99 hits. However, the damage scaling kicks in pretty hard, so it's mostly only good as a timer scam.
- (3 Hits or Less) > Third Strike (Mid) > 236236P
- If Third Strike(Mid) is within the first 4 hits of the combo, 236236P will land all hits. Any higher, and the gravity scaling will cause the last hit to whiff. A good starter, for example, could be 6SP > 214P > 214P. That comes out to exactly three hits, and off of an overhead. You need to delay the super cancel slightly; preferably just after the wall bounce. Gains more meter and does more damage than Second Strike > OA, so try to land it when possible.
- Jolt > j.SK > j.SP > 41236LP > 2SP > 5SK > 214LP > 214P
- Only the part of the combo after j.SP is "corner only", so you can do it a bit outside of the corner. Grants a hard knockdown and can't be Quick Recovered when done correctly. You need to do the j.SK while rising, and then delay the j.SP so it lands on the way down. If you don't delay enough, the 41236LP will not connect. Doing a 2LP before the 2SP makes the combo easier, but it gives the opponent a chance to Quick Recover.
Non-Corner Combos
- 623SK (I-Blow First Hit) > Delay SK Follow Up >> Dash 2LP > 2SP > 5SK > 214LP > 214P
- Much easier to land as an anti-air or off of a counter hit. If the opponent is too close to the corner, the dash 2LP will whiff. I-Blow-ing the second hit will launch the opponent higher, but they can Quick Recover out if they have the meter. You really have to delay the follow up as much as you can. Depending on your distance from the corner, you may need to adjust the combo after the follow up. For instance, you might need to skip the 5SK or use 214SP. Skipping 5SK is more reliable, if you don't mind the decrease in damage.
Strategy
Accelerator Strike Okizeme
Examples of setplay after a hard knockdown.
- Meaty Accel: Walk back slightly > 5LK > 41236LP
- The walk back 5LK is to get out of the opponent's throw range. How far you can walk back depends on the character you are facing, but it generally does not change that much. The timing on the 41236LP also changes depending on the opponent's wake-up speed and the start-up of their moves. The main characters you need to watch out for here are Zen and Aran (a bit early), and Mito (very late).
- Do not go for this against the following characters: Hikari, Boyd, Orville, and Kaya. They have very fast command grabs.
- Meaty Accel > jSK > jSP > Land and do whatever
- You know how I said above this that you shouldn't go for Meaty Accel against Orville? Well, actually, you can if you use this route. If you jump immediately, he won't be able to grab you in time. This does not apply to the other three.
- This route is really good against other characters as well. For instance, after landing, you can do a rush combo into 214LP > 214P > 6P to get a guard crush. It is easy to IB, but the guard bar damage is absolutely insane. Just keep a DP ready in case they IB.
- Meaty Accel > Jolt > Combo
- A guaranteed Jolt. Once the opponent blocks the Accel, they'll be forced to block the Jolt. However, this will still lose to invincible moves, and if the opponent backdashes, the Accel will hit them and the Jolt will hit them in the air, making it near impossible to combo afterwards. You can't do the Jolt on reaction to the opponent blocking, making this a hard read.
Vanishing Strike (Low) Okizeme
Alternative setplay against Hikari, Boyd, and Kaya.
- Walk back slightly > 5LK > 236LK (> Dash LP, etc)
- Doesn't give as much advantage as Meaty Accel, but keeps you out of range of command throws. Try to get the projectile to hit a bit late, so that it's hitting them in the back. Kaya can beat this using her OA, so keep an eye on her meter. Boyd may also use his DP cancel to get out of it. In general, be careful when using this.
External Links
youtube.com twitch.tv

