Acceleration of Suguri 2/Sham: Difference between revisions
No edit summary |
mNo edit summary |
||
| Line 48: | Line 48: | ||
<!------------------> | <!------------------> | ||
| type = Beam | | type = Beam | ||
| energy = Primary: 60% | | energy = Primary: 15-60% | ||
| shots = 24 | | shots = 24 | ||
<!------------------> | <!------------------> | ||
| Line 59: | Line 59: | ||
| fullrecovery = 37 | | fullrecovery = 37 | ||
<!------------------> | <!------------------> | ||
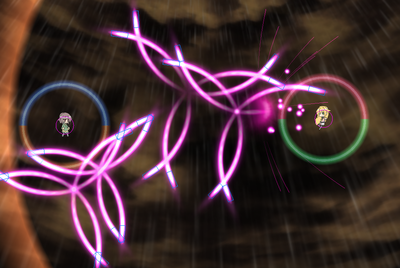
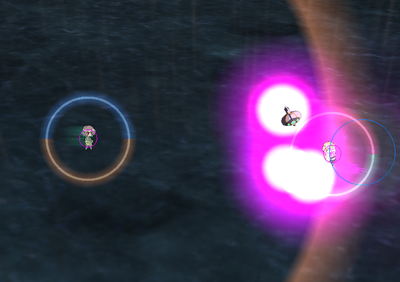
| description =Can only be used when you control no Sprites. Sham fires out 4 wisps which place themselves in random locations around her. About 1.6 seconds after being summoned, each wisp detonates into a 'flower' pattern made of 6 beams that curve inwards (the pattern is tilted based on the wisp's relative location to the opponent). They stick around until they hit the edge of the map, making them a decent delayed cover option. Harder for the opponent to graze than Sprite Call. | | description =Can only be used when you control no Sprites. Sham fires out 4 wisps (2 frames apart each) which place themselves in random locations around her. About 1.6 seconds after being summoned, each wisp detonates into a 'flower' pattern made of 6 beams that curve inwards (the pattern is tilted based on the wisp's relative location to the opponent). They stick around until they hit the edge of the map, making them a decent delayed cover option. Harder for the opponent to graze than Sprite Call. | ||
}} | }} | ||
Revision as of 04:28, 17 February 2021
Introduction
(Under Construction)
Sham is AoS2's resident Summoner-type character; she's brought the robots and attacks she used in her home game along with her, and they do most of the heavy lifting. Unfortunately, they all have immense flaws in their design to the point where she functionally has no offense, and her defense leaves much to be desired. As a result, she is weaker than every character in the entire game by a large margin (barring Alte) and has no winning matchups. In fact, most of her matchup numbers go beyond 'bad' and tend to reach 'downright awful'.
Overview
Sham is a summoner type character that doesn't really do much fighting herself, and relies more on working with her drones to do that for her while backing them up with supportive fire. She is extremely defensive as a result of her non-existent offense; her attacks are all slow, inconsistent, and reliant on sluggish, destructible minions. While they do a decent job at protecting her in neutral, their aggro game is terrible. As a result, Sham struggles monumentally against characters who dont need to actually close in on her to hit her, and she tends to lose the second she reaches a significant HP disadvantage unless her opponent makes a careless mistake. Worse yet, her defense is ultimately let down by her incapability at building meter, causing most hypers to ruin her.
There's no mincing words; Sham is the worst character in the game. She has the second lowest tap-dash speed (equal to Mira's and only better than Kyoko's), the lowest meter gain, the highest meter feed, and no fast confirms. Unless you love the character or are curious as to why she is so powerless, you'd be better off not playing her. Do not expect any competitive success with her.
Difficulty: Hard
Sham's difficulty, to be blunt, just stems from her being the worst character in the game, having very little matchups in which she doesn't have a huge disadvantage. Her kit itself is relatively straightforward, or so it seems. But to actually utilize it without feeding your opponent unnecessary amounts of meter will take a lot of practice. This mixed with having to avoid getting hit more than anyone else (due to a utter lack of decent confirms) makes Sham very difficult to actually pull off.
Normal Moves
- Moves with a ★ are moves that require Sham to have a particular kind of robot summoned (either Sprites or Dwarves). They will replace their non-★ counterparts while Sham controls at least 1 of said robot.
Weapon A
Weapon B
Dwarf Call
- Press SP + WB [Ballistic]
- Damage: 135×n
- Summons two larger bots that periodically fire 7 shots each. They will idle in place until firing the shots, then they will move to Sham's position and idle again. No more Dwarf bots can be summoned even if there's only one left on the field. If you use this move while a Dwarf is out, the Dwarf Tackle move will come out instead.
Dwarf Tackle
- Press SP + WB (With a Dwarf deployed) [Direct]
- Damage: 60×n
- Any idle Dwarf bots charge at the enemy, doing up to 4 hits each. They will move to Sham's position afterwards.
Hyper Attacks
Hyper A: Poly Sprite
- Execution: Hyper
- Damage: 250×n
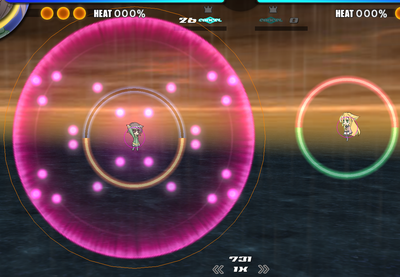
- Like Sprite Release, this Hyper creates and sends out 11 Sprites to explode. Unlike Sprite Release, these explode after going a certain distance and may not reach your enemy.
Hyper B: Delta Sprite
- Execution: Dash + Hyper
- Damage: 0
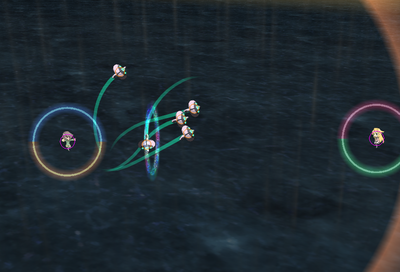
- Sends out 3 triangular formations of Sprites. They slowly move towards your enemy. If they make contact, the enemy will be shocked momentarily, preventing her from dashing.
Hyper C: Bounding Sprite
- Execution: WB + Hyper
- Damage: 250×n
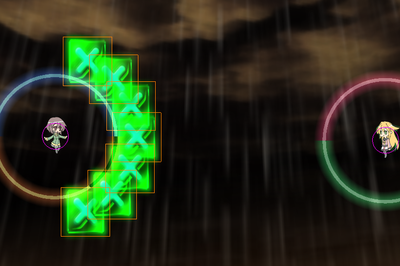
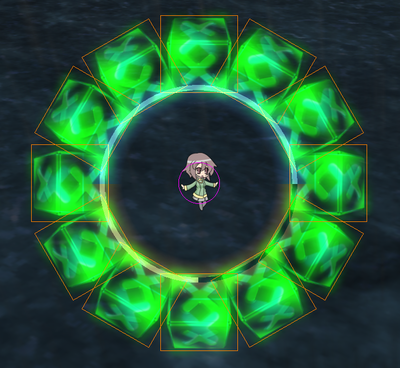
- A beefed up version of Mysterious Cube with different colored blocks added to make the formation tighter. The different colored blocks will prevent shots from going through them.
Hyper D: Dwarf Rush
- Execution: SP + Hyper
- Damage: 40×n
- 10 Dwarf bots are summoned and immediately charge at the enemy. Like Dwarf Tackle, each one can do up to three hits.
Accel Hyper: Arachne Call
- Execution: SP + WB + Hyper
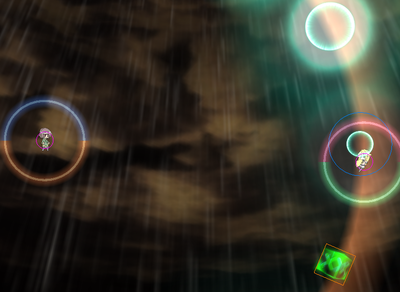
- Damage: 130×n (Explosions), 1040 (Plane explosion)
- Sham sends out a large plane in the direction of the enemy. The planes causes explosions in front of it, and the plane itself explodes when it reaches the stage boundary. The plane itself is solid, so the enemy cannot dash through it. The plane does no damage before exploding.

