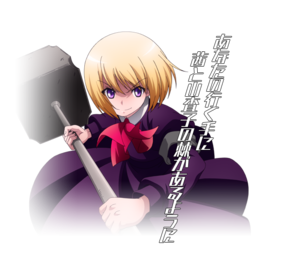
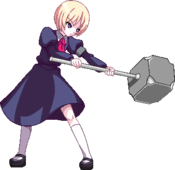
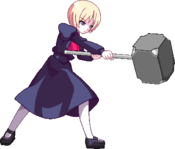
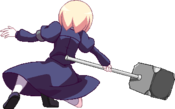
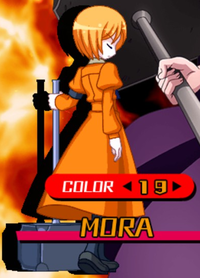
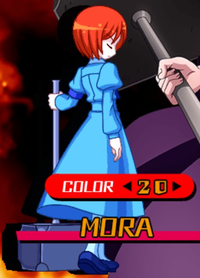
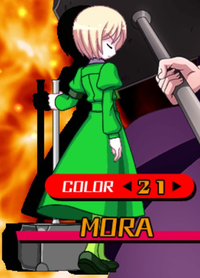
Nitroplus Blasterz: Heroines Infinite Duel/Mora
Profile
Name: Mora
Debuted in: Vampirdzhija Vjedogonia
Voice Actor: Hyakka Yamabishi (山菱白花)
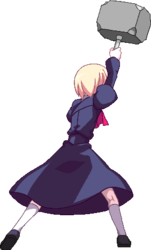
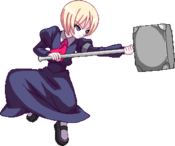
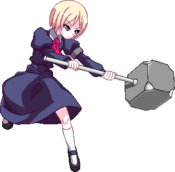
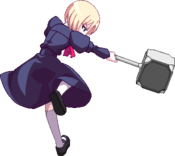
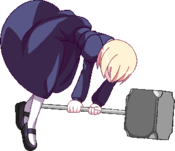
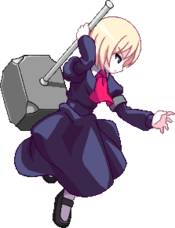
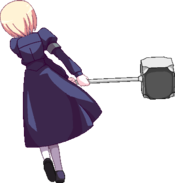
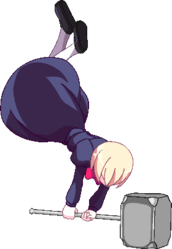
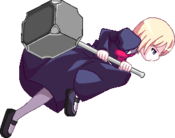
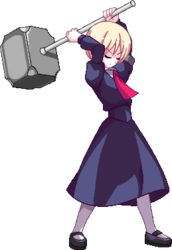
Introduction: A young dhampir - one who was born of both a vampire and a human. She may look like a young girl on the outside, but on the inside, she is cool, calculated and experienced. Her superhuman athleticism gives her great prowess as a vampire hunter.
Summary
Because she has short reach and no projectiles, she does not have many effective strategies for long range fighting or dealing with an opponent’s projectiles. On the other hand, she can easily open up opponents with ambiguous left/right and high/low mixups due to having moves that are difficult to distinguish from one another. Recommended for players that like highly explosive close combat. Mora is a high damage character.
Command List
If you are having trouble reading inputs, check out the Notation section!
Normals
5A 2A [6A / cl.B] st.B 2B 5C 2C [5E/2E] is basic chain route. Any deviations from that route will be noted as an additional or limited.
5A
|
|---|
6A
|
|---|
c.5B
|
|---|
f.5B
|
|---|
5C
|
|---|
5E / 5[E]
|
|---|
2A
|
|---|
2B
|
|---|
2C
|
|---|
2E
|
|---|
jA
|
|---|
jB
|
|---|
jC
|
|---|
jE / j[E]
|
|---|
Sledgehammer Pressing
j2C |
|---|
BC Ground Throw Ground Throw
|
|---|
jBC Air Throw Air Throw
|
|---|
Specials
Sledgehammer
236A/B/C |
|---|
Dead Rising
623A/B/C |
|---|
Jumping Sledgehammer
214A/B/C |
|---|
Somersault Sledgehammer
j214A/B/C |
|---|
Supers
Sledgehammer Combo
236AB |
|---|
Child's Play
214AB |
|---|
Abyss of Nightmare
j214AB |
|---|
Variable Rush
All Variable Rushes allow you to do a sequence of attacks depending on if you hit the A, B, or C button. If you press nothing, the VR will end. If your VR is blocked, you have the option to press nothing, or keep attacking. Even if you keep attacking, you could still stop at any time, assuming you don't execute the final attack.
Depending on what combination of buttons you use, you can come up with some useful strings.
CE
|
|---|
Lethal Blaze
Ashes to Ashes, Dust to Dust
236236BC |
|---|
Combos
Please check out the Notation section, for help on understanding how to read and write combos!
NOTE: Most of Mora's combos ending in j.214A/B can also be ended with j.E 5D > j.D (OTG hit)
Meterless, Midscreen
...5B 2B (2C) 2E 5D > 2C DMG:3527
- Basic combo to set up oki such as a left right mixup with j.2C after a high jump cancel. Don't use the first 2C if you're too far for it to connect.
...5B 2B (2C) 2E > [214A/B / 236A] DMG:3916
- Basic combo alternative.
2B > 2C > 214A > 214AB > 6A > 2C > sj9.C > delayed j.E DMG:6080
2B > 2E > 214A > 214AB > 6A > 2C > sj9.B > j.C > j.E
623C (1st stage) > Child’s Play > 6A > 2C > sj9.C > sj.E DMG:4712
(anti-air) 6A > sj9.B > j.C > > j.214C > 214AB > 6A > 2C > sj9.C > j.E DMG:5591
(anti-air) 6A > j9.A > j.B > j9.C > j.[E] > microdash j9.A > j.B > j9.C > j.E
(anti-air) 6A > j9.C > j.[E] > microdash 5C > 5D > 2C > sj9.B > j.C > j.E
(anti air) 6A > j9.B dj9.C [E] > 66 6A 5C 5D > 2C > j9.A B > dj9.C E 214A/B
- You can do a similar combo for air-to-air hits.
BC 5D > cl.B 5C > 6A > j9.C [E] > 66 6A 2C > j9.C B > dj9.C E 214A
- Good damage from throw. ~6k
BC > 5D > cl.B > 5C > 5D > 6A > j9.C > j.[E] > 2C > sj9.B > j.C > j.E
BC > 5D > 5A > 2C > sj9.B > j.C > j.E DMG:4132
BC > 5D > cl.B > 5C > 5D > 2C > j9.A > j.C > j.E > j.214A DMG:4811
BC > 5D > cl.B > 5C > 5D > 6A > j9.C > delayed j.E > 2C > j.C > j.B > j9.C > j.E DMG:5780
BC > 5D > 214AB > 6A > 2C > sj9.B > j.C > j.E
BC > 5D > 236236BC
j.BC > 236236BC
- You can alternatively follow up an air throw with 236AB
Meterless, Corner
...2E 236A > 66 6A 5C 5D > 2C > j9.C B > dj9.C E 214A/B
...2E 236A 66 (delay) 6A 2C > j9.C B > dj9.C E 214A/B
- High damage in the corner, do not delay the 6A after dash in the first combo. If you are too far to make it connect without a delay, use the second combo.
(anti air, in or near corner) 6A > j9.A B dj9.C [E] > (cl.B) 5C 5E 214A/B
- Same as the above, but you can add some extra hits in the corner for more damage.
5A > 2B > 2E > 236A > f.B > 2C > j9.C > j.B > j9.B > j.C > j.E
2B > 236B > 236A > 5A > 2C > j9.C > j.B > j9.B > j.C > j.E
BC > 5D > 236A > cl.B > 5C > 5E > 236C > 5A > 2C > j9.C > j.E
- Builds a lot of meter.
2A > 2B > 2E > 236A > microdash f.B > 5C > 5E > 236C DMG:5983
(mid-screen to corner) BC > 5D > 2A > 5B > j9.C > delayed j.E > delayed 5C > 5E > 236C > 2C > j9.C > j.E DMG:6197
(near corner) 2A > 2B > 2E > 236A > delayed 6A > 5C > 236C > 2C > j9.C > j.E DMG:6255
Metered and Assists
2B 2E 214A 214AB > 6A 2C > sj9.B C E 214A/B
... 2E 214AB > 2C > j9.C B > dj9.C E 214A/B
- no more than 2 hits before the 2E.
214A <Franco> > 2B 2C 2D > j.214C 214A
(Completely in the corner) 2A > 2B > 623B > Franco > delayed j.E > 5C > 236C > 2C > j9.C > j.E DMG:7707
...236AB <Aoi> > j.D > j.C <Alushia> (3 hits) > 5C 236236BC
- Combo into level 3 using 4 meters via Aoi and Alushia.
BC 214AB > 2C > j9.C B > dj9.C E 214A/B
BC 5D > 236236BC
j.BC > 236236BC
- Cancel it as Mora slams them to the ground.
2A > 2B > 623A (1st stage) > Henri > 5B > 5D > 5B > 236C > cl.B > f.B > 2C > 2E > 214+A/B/C DMG:7281
214A > Franco > 2B > 2C > 2D > j.214C > 214AB
5A > cl.B > 236AB (3rd stage) > Aoi > j.D > j.C > Althea > (Althea’s 3rd hit) 5C > 236236BC
CE(ABCABCABCCC)
- A safe route. The third A is slightly delayed. Must delay the final section to get all of the hits. DMG:7744
CE (ABCABCB) > j.C > delayed j.E > j.D > delayed j.E > 2C > j9.C > j.B > j9.C > j.E DMG:8246
CE > A (safe on block)
CE > B B B (mid, low, high) - Ends in a launcher that automatically makes you jump towards the opponent.
CE > B B C (mid, low, low) - Third stage of this shifts into Child’s Play (214AB) and you can increase the amount of hits by continuously hitting buttons.
(near corner) Variable Rush (ABCABCABCC) > 5A > 5C > 5E > 236C > 2C > j9.C > j.B > j9.C > j.E DMG:10373
Blast
5A > cl.B > 5C > Combo Blast > 236C > (in the second half of the hard knockdown animation) 2C > j9.C > max charge j.E > 2C > j9.C > j.[E] > 2C > j9.C > j.B > j9.B > j.C > j.E
- Beginner blast combo. Because the damage is low, practice the other combos here once you get used to this one.
...5C/2C ABC > 236C > (delay) [ 2C > j9.C [E] ]x2 > 2C j9.C B dj9.B C E 214A/B
...5C/2C ABC > 236C > 5D > BC > 5D > cl.B > j9.C [E] > 2C > j.C [E] > 2C > j9.B C <Alushia> (3 hits) > 5C 236236BC
BC/j.BC ABC > [ 2C j9.C [E] ]x2 > 2C > j9.B C <Alushia> (3 hits) > 5C 236236BC
j.214A 214AB > [ 2C > j9.C [E] ]x2 > 2C > j.C [E] > 2C > j9.B C <Alushia> (3 hits) > 5C 236236BC
5A/2A > cl.B ABC > (66) cl.B 623C(1) 5D > 2A cl.B 623B(1) 5D > cl.B > j9.C [E] > cl.B 623A(1) 5D > cl.B 2C > j9.B C <Alushia> (3 hits) > 5C 5D > 5C 236236BC
- Swagger.
5B > combo blast > cl.B > f.B > 623C (1st stage) > 5D > 2C > j9.C > delayed j.E > 5B > 623B (1st stage) > 5D > 5B > 623A (1st stage) > 5D > 5C > 236236BC DMG:11500
- General purpose solo combo blast recipe.
(Requires 1.8 stocks of meter before starting) 5A > cl.B > 5C > Combo Blast > 236C > 5D > B+C > 5D > cl.B > j9.C > max charge j.E > 2C > j9.C > max charge j.E > 2C > j9.B > j.C > Althea > (Althea’s 3rd hit) 5C > 236236BC
(Requires 2 stocks of meter before starting) B+C or j.B+C > Combo Blast > 2C > j9.C > max charge j.E > 2C > j9.B > j.C > Althea > (Althea’s 3rd hit) 5C > 236236BC
(Requires 3 stocks of meter before starting) j.214A > 214AB > 2C > j9.C > max charge j.E > 2C > j9.C > max charge j.E > 2C > j9.B > j.C > Althea > (Althea’s 3rd hit) 5C > Kaigen > 236C > 236236BC
- Also works from raw 214AB
5A > cl.B > Combo Blast > cl.B > 623C (1st stage) > 5D > 2A > cl.B > 623B (1st stage) > 5D > cl.B > j9.C > max charge j.E > cl.B > 623A (1st stage) > 5D > cl.B > 2C > j9.B > j.C > Althea > (Althea’s 3rd hit) 5C > 5D > 5C > 236236BC
(In the corner) 5B > combo blast > 5E > 623C (1st stage) > 5D >623B (1st stage) > 5D > 2A > 5B > j9.C > delayed j.E > delayed 5C > 5E > 623A (1st stage) > 5D > 236236BC DMG:12389
- Easy solo high power corner combo blast recipe.
(Near the corner) > 5B > Variable Rush (ABCABCABCC) > 5A > combo blast > 5B > 623C (1st stage) > 5D > 5B > 623B (1st stage) > 5D > 5B > 623A (1st stage) > 5D > 5B > 623A (1st stage) > 5D > 5B > 623B (1st stage) > 5D > Variable Rush (ABCABCABCCC) DMG:14765
- Corner solo recipe. It is possible to burst this combo, so check your opponent’s actions before you continue it. Dead Rising (623+A/B/C) is given in the order of CBAAB because it’s easier to input that way, but you can input anything and it should still connect.
Strategy
Hit them with the hammer and they will die. Be careful of having your j.2C parried.
Recommended Partners
Franco Call her on okizeme, then use 214A and it’s safe. If it hits, you get a hard knockdown. You can also just combo into 214A after activating Franco in a combo.
Henri Keeps the opponent in blockstun for a long time, so it is easier to open them up if you use this. It is easy to use with 236C because it keeps the opponent in place instead of having them knocked away if they were airborne.
Kaigen Combo into this after the first hit of j.214+A/B/C to trigger a hard knockdown. You’ll have more options after the hit because of this.
Sakura Much like Franco, this is useful when called on okizeme. Can follow up with Jumping Sledgehammer for Hard Knockdown.
Links
JP: Mora page on the Japanese NPB wiki
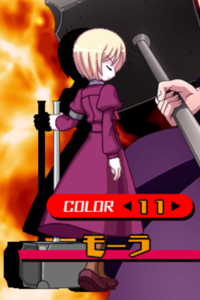
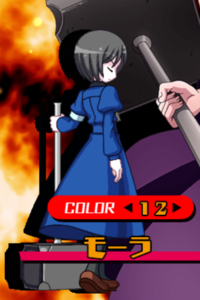
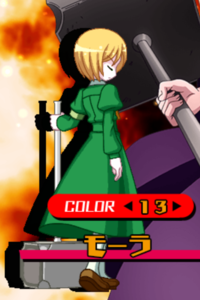
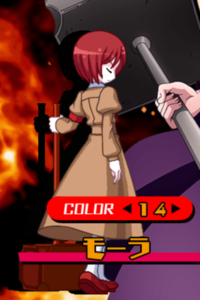
Colors
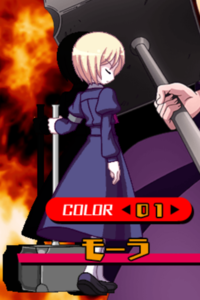
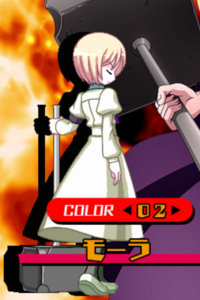
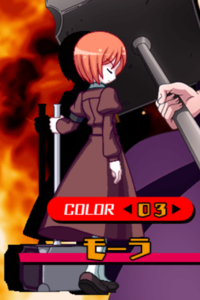
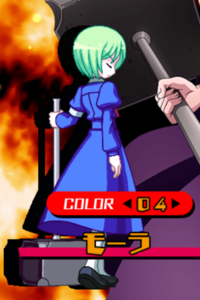
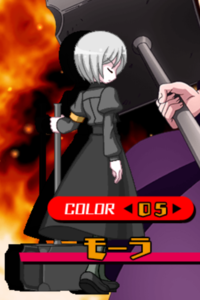
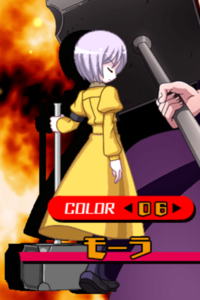
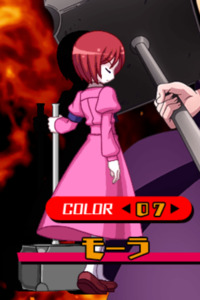
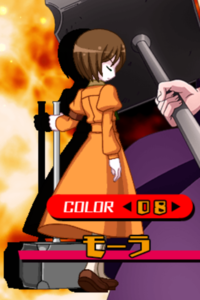
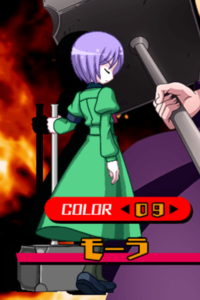
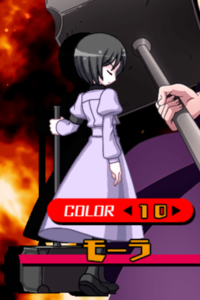
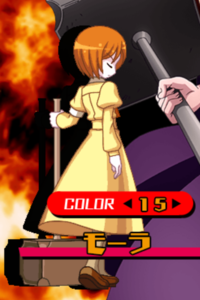
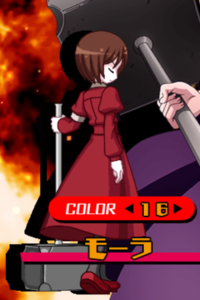
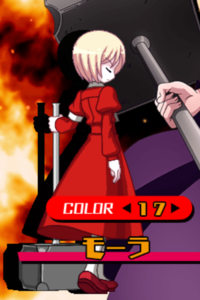
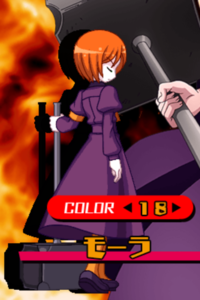
Click the pictures to see the full resolution.
