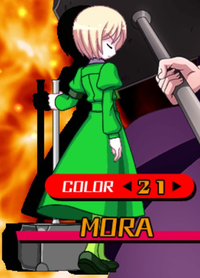
Nitroplus Blasterz: Heroines Infinite Duel/Heart: Difference between revisions
(Created page with "<center><font size="4"><b>Mora</b></font> </center>|frame|right =Profile= '''Name:''' Heart '''Debuted in:''' '''Voice Actor:''' '''Introduction:'...") |
(No difference)
|
Revision as of 13:51, 16 December 2015
Profile
Name: Heart
Debuted in:
Voice Actor:
Introduction:
Summary
Heart has tools for almost every situation. She also has homing (as seen from the Arcana Heart franchise) from the air and is the only character to have this mechanic
Command List
If you are having trouble reading inputs, check out the Notation section!
J.4B - ?
J.D - ?
236 A/B/C - Tekken Punch
623 A/B/C - Heartful Punch
421 A/B/C - Ribbon Beam
j.214 A/B/C - Special Kick
236+AB - Love Tekken Punch
632+AB - Sugoi Heartful Punch
j.214+AB - Sugoi Special Kick
236236+BC - It's a Really Sugoi Love Punch
Normals
5A 2A [6A / cl.B] st.B 2B 5C 2C [5E/2E] is basic chain route. Any deviations from that route will be noted as an additional or limited.
5A - ? frames
Jump cancelable. Doesn't hit crouchers unless they have a taller crouching hitbox, can catch some jump ins but don't rely on it as an anti.
6A - ? frames
Jump cancelable. Anti air with a good amount of range. Does not hit crouchers. Also used in combos, can be chained into from almost all grounded normals
cl.B - ? frames
Jump cancelable. Mainly combo material.
st.B - ? frames
Jump cancelable. One of heart's longer range moves.
5C - ? frames
jump cancelable, good normal for both pressure and combo material. Hits crouchers
5E - ? frames (? frames when fully charged)
Not jump cancelable, but still special cancelable. Shoulder rush that's slightly unsafe but the special cancel trait allows for certain frame traps. It's on the slow side, so be careful about over using it. Not bad to use once in awhile, especially if you escape or special cancel it.
2A - ? frames
jump cancelable, Standard 2A, hits low and combos into itself.
2B - ? frames
jump cancelable, similar to 2A but has some more range.
2C - ? frames
Jump cancelable. Used in combos but also good as an anti air. In combos on grounded opponents, this move has a small amount of horizontal range so you need to be close. As an anti it, it will catch things almost on top of you and in front and above. Has some start up so be mindful when using it as an anti air.
2E - ? frames
Not jump cancelable, but still special cancelable. Standard sweep, knocks down. Cancel into a special to do a combo.
j.A - ? frames
Double jump cancelable. While it lacks range, it's very good an air to air or even air to ground. The knee and the arm both have hitboxes.
j.B - ? frames
Double jump cancelable. Standard j.B, can cross up, Really good for air to ground.
j.C - ? frames
Not double jump cancelable, but still special cancelable. Has some horizontal range but not much, works well as a air to ground, can cross up but not reliable as a cross up.
j.E - 11 frames (22 when fully charged)
Not double jump cancelable, but still special cancelable. Causes a soft-knockdown.
Very important move for Mora.
Specials
j.4B - ? - ? frames
Heart has sticks her arm out. Your go to for air to air normals. Decent start up, combine this with homing and you could easily win most air to air situations.
j.D - ? - ? frames This is homing. If you played the arcana heart (AH) series, you have an idea of it. Heart can only use homing from the air, it replaces her air roll (she doesn't have an air roll period). Similar to the AH3 series, homing does not cost anything, however it does have a height restriction. Also unlike, AH3 you cannot speed up your homing but using a normal after homing startup does give you some more momentum. After homing is iniated you move towards the opponent and can somewhat control where you're flying and landing by pressing/holding a direction.
236 A/B/C - Sledge Hammer
Mora spins around with the sledge and does a few hits. Fairly safe if blocked, but possibly susceptible to shields if used predictably. Important combo tool, different versions have different properties.
236A - 7 frames. Hits twice. On standing: leaves them standing. When airborne: sends them flying.
236B - 11 Frames. Hits 3 times. Always sends them flying.
236C - 26 Frames. Hits 3 times. The first swing of the animation does not actually connect and is just a part of the wind-up. On standing: crumples them. On airborne: sends them flying.
623 A/B/C - Dead Rising
Reversal. First hit is ground-to-ground. Second hit is anti-air. Different versions have different properties.
623A - 7 frames. Not fully invulnerable, but least recovery and causes knockdown.
623B - 7 frames. Seems at least invulnerable until it hits, and causes knockdown.
623C - 7 frames. Most invulnerable, does more damage, but has a lot of recovery, and does not cause a knockdown.
214 A/B/C - Across the Nightmare
Overhead. Hard knockdown. A version is a good mixup - just be careful, it's unsafe on block unless you cancel into assist or blast. B and C versions are mostly used for combos. Any of the versions can be situationally used to hop over lows, and even assists as a wild punish.
When you cancel into 214AB, you will get a special version of Childplay that doesn't jump first, so that it will always combo.
214A - 20 frames. Short movement.
214B - 25 frames. Medium movement.
214C - 30 frames. Long movement.
j.214 A/B/C - Dejon the Nightmare
The last hit is the same as Across the Nightmare, as it causes hard knockdown, and can be canceled into Childplay (214AB) and always combo. She spins differently before coming down with the hammer, depending on the version used. Good no-meter combo ender after j.E when in the corner, and after j.C when midscreen.
j.214A - 12 frames. Mora starts spinning while maintaining her air momentum. Last hit does the most damage of all the versions, so it's the best to use after j.E. j.214A is also good, because you can easily whiff it to build meter in neutral while staying safe (jump, then do it on the way down so you don't get the ground slam portion).
j.214B - ? frames, spins in place then comes straight down with the sledge.
j.214C - ? frames, spins in place (but halts momentum more aggressively than the B version?) then comes straight down with the sledge.
Supers
236+AB - Combo Sledgehammer - 6 frames pre-superflash + 8 frames post-superflash
Strike invincible, but can be grabbed. Mora hits in front of her, then locks the opponent into a short sequence where she blows them away from the air. Good for setting up certain partners since it leaves the opponent high in the air when canceled. The strike invincibility and locking properties make this move a good candidate for safely punishing attacks while the opponent has dangerous partners on the screen.
214+AB - Childplay - ? frames
Air unblockable. Mora leaps forward then slams the opponent on the ground, locking them into a sequence. She hits them a bunch of times while they're down, and the last hit bounces them back into the air. Will combo on knocked down opponents, as well as airborne opponents. Does a bit more damage than Combo Sledgehammer.
From shorter starters (i.e. 214A 214AB) you can link after with 6A. If you want to combo after with a more highly prorated starter, you need to use an partners or blast cancel.
There's a special win pose for getting a KO with this move.
j.214+AB - Abyss of Nightmare - ? frames
Like her other supers it will lock the opponent on the first hit. You want to combo into this move for the kill as it adds significant damage. Gives hard knockdown just like her 214 specials.
Variable Rush
10 frames?
Mora's VR is invincible and goes about half the screen. Great for punishing unsafe stuff such as fireballs and partners on reaction since it will lock the opponent into an animation. On block, you can still optionally execute some of the followups which contain some built-in high / low mixups.
All Variable Rushes allow you to do a sequence of attacks depending on if you hit the A, B, or C button. If you press nothing, the VR will end. If your VR is blocked, you have the option to press nothing, or keep attacking. Even if you keep attacking, you could still stop at any time, assuming you don't execute the final attack.
Depending on what combination of buttons you use, you can come up with some useful strings.
A A A
1st button: mid, mid ?
2nd button: mid, mid ?
3rd button: low?
The finisher blows the opponent back and causes a soft knockdown, similar to her 236 specials.
B B B
1st button: mid, mid ?
2nd button: low, mid ?
3rd button: high?
Final blow launches the opponent up in the air. Mora automatically jumps up and you can either do an air combo, or combo into j.214AB to make it un-blastable.
C C C
1st button: mid, mid ?
2nd button: low, mid ?
3rd button: high?
Final blow knocks the opponent on the ground and does a series of smashes similar to Childplay (214AB). You need to hit C several times to get all 3 of the hits. Like Childplay, you can also get the special win pose when getting a KO with this attack. Causes a hard knockdown similar to Mora's 214 specials.
Lethal Blaze
236236 BC - Ashes to Ashes, Dust to Dust
Reversal. Similar to Mora's 623 specials, there is a ground hit and an air hit. In order to get the full damage, you need to hit with the ground hit. It goes without saying this move is very unsafe, you want to combo into it unless you are sure it will hit. Usually combos well from 5C and j.[E], as well as 5E in the corner.
When it connects, Mora beats the living bejeezus out of the opponent. In the cut scene you can see their inner juices flowing out.
Combos
Please check out the Notation section, for help on understanding how to read and write combos!
No Meter
...5B 2B (2C) 2E 5D > 2C (cancel the 2C into whatever you want to set up okizeme)
- Basic combo. Don't use 2C if you're too far for it to connect.
...5B 2B (2C) 2E > 214A/B
- Basic combo. You recover slower than the above combo, but it does a bit more damage.
...5B 2B (2C) 2E > 236A
- Basic combo. Blows the opponent back instead of getting a hard knockdown. Useful for corner carry.
...5C 236B
- Same as the above, but from 5C instead of 2E
(corner) ...2E 236A > 66 6A 5C (5E) 214A
- Good damage. On some characters (like Saya), it's harder to make 5E to connect. To make 5E connect on those characters, make sure you hit the 6A before they fall too low.
(anti air) 6A > j9.A B dj9.C [E] > 66 5C 214A
- Good damage. You can do a similar combo for air to air hits, by starting in the air combo portion.
(anti air, in or near corner) 6A > j9.A B dj9.C [E] > (cl.B) 5C 5E 214A
- Same as the above, but you can add some extra hits in the corner for more damage.
BC 5D > 6A > j9.C [E] 66 5C 214A
- Good damage from throw.
(in or near corner) BC 5D > 6A > j9.C [E] > (cl.B) 5C 5E 214A
- Same as the above, but you can add some extra hits in the corner for more damage.
Metered and Partners
Blast
Links
[Mora page on the Japanese NPB wiki]
Colors
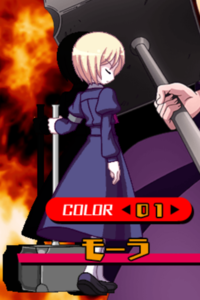
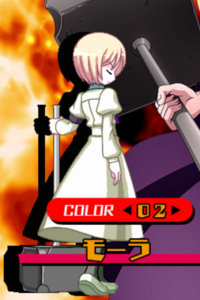
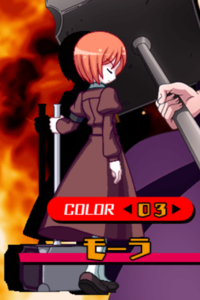
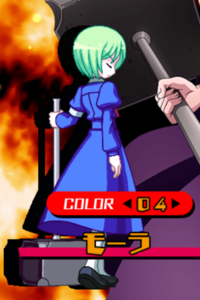
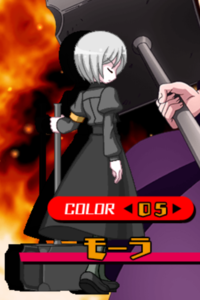
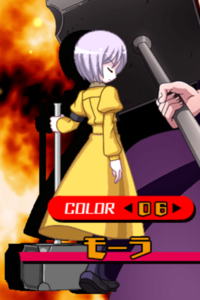
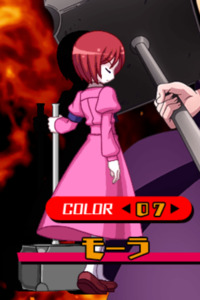
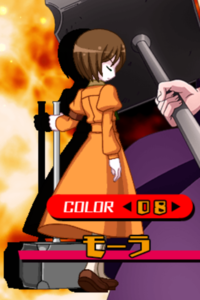
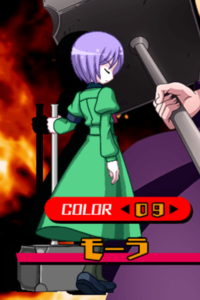
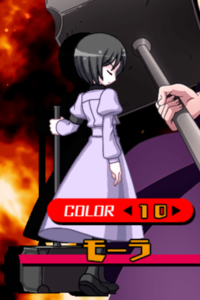
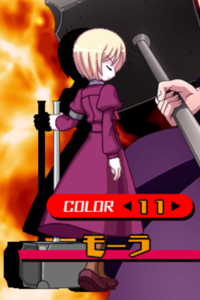
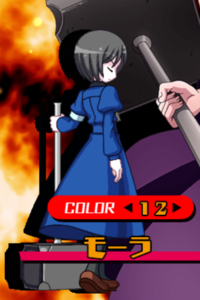
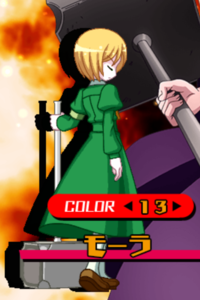
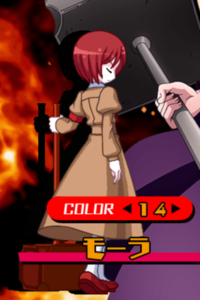
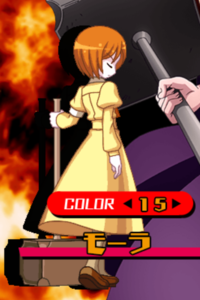
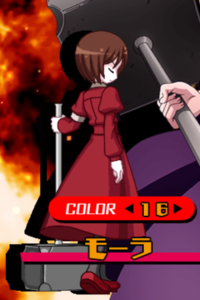
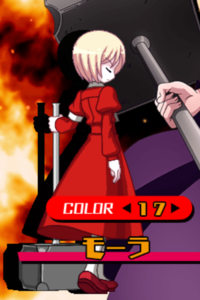
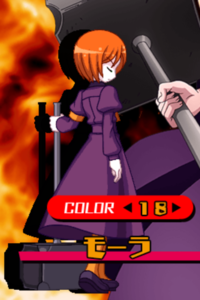
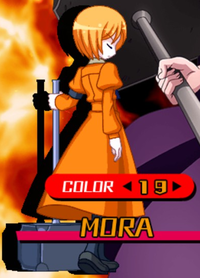
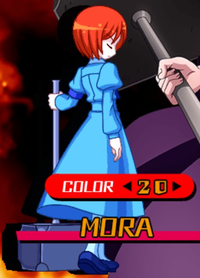
Click the pictures to see the full resolution.

