Kirby Fighters 2/Bomb: Difference between revisions
(Added captions and a small bit of information about Bomb Set.) |
|||
| Line 13: | Line 13: | ||
|imageSize= 250x250px | |imageSize= 250x250px | ||
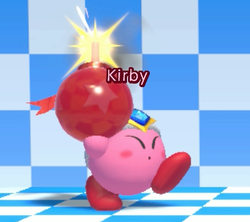
|image=KF2_Bomb_Bomb_Prep.png | |image=KF2_Bomb_Bomb_Prep.png | ||
|caption= | |caption= Bomb players usually pretend this move doesn't exist. | ||
|name=Bomb Prep<br> | |name=Bomb Prep<br> | ||
5B (Air OK) | 5B (Air OK) | ||
| Line 36: | Line 36: | ||
|imageSize= 250x250px | |imageSize= 250x250px | ||
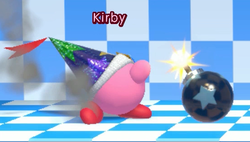
|image=KF2_Bomb_Bomb_Throw.png | |image=KF2_Bomb_Bomb_Throw.png | ||
|caption= | |caption= At certain arcs, you sure can throw a lot of these out. | ||
|name=Bomb Throw<br> | |name=Bomb Throw<br> | ||
5B during Bomb Prep (Air OK) | 5B during Bomb Prep (Air OK) | ||
| Line 57: | Line 57: | ||
|imageSize= 250x250px | |imageSize= 250x250px | ||
|image=KF2_Bomb_Target_Throw.png | |image=KF2_Bomb_Target_Throw.png | ||
|caption= | |caption= This is another one of those "nonexistent" Bomb moves. | ||
|name=Target Throw<br> | |name=Target Throw<br> | ||
5[B] (Air OK) | 5[B] (Air OK) | ||
| Line 80: | Line 80: | ||
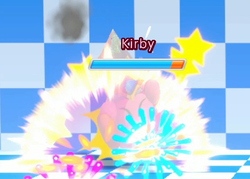
|image=KF2_Bomb_Self_Destruct.png | |image=KF2_Bomb_Self_Destruct.png | ||
|image2=KF2_Bomb_Self_Destruct2.png | |image2=KF2_Bomb_Self_Destruct2.png | ||
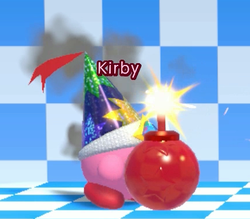
|caption= | |caption= The animation before the explosion is so funny. The aftermath is not. | ||
|name=Self-Destruct<br> | |name=Self-Destruct<br> | ||
(Air OK) | (Air OK) | ||
| Line 104: | Line 104: | ||
|imageSize= 250x250px | |imageSize= 250x250px | ||
|image=KF2_Bomb_Bomb_Bowl.png | |image=KF2_Bomb_Bomb_Bowl.png | ||
|caption= | |caption= This move is going to be used a lot with the amount of range it covers from a full dash jump. | ||
|name=Bomb Bowl<br> | |name=Bomb Bowl<br> | ||
66B (Air OK) | 66B (Air OK) | ||
| Line 119: | Line 119: | ||
*Bowling a new bomb causes the old bomb to prematurely explode. | *Bowling a new bomb causes the old bomb to prematurely explode. | ||
*If hit while holding a bomb during the startup of the move, a bomb will be set 1-2 frames after Kirby transitions to hitstun | *If hit while holding a bomb during the startup of the move, a bomb will be set 1-2 frames after Kirby transitions to hitstun. | ||
}} | }} | ||
| Line 128: | Line 128: | ||
|imageSize= 250x250px | |imageSize= 250x250px | ||
|image=KF2_Bomb_Bomb_Drop.png | |image=KF2_Bomb_Bomb_Drop.png | ||
|caption= | |caption= There are chaingrabs and setups for this. All inexplicably hard. | ||
|name=Bomb Drop<br> | |name=Bomb Drop<br> | ||
c.B (Air OK) | c.B (Air OK) | ||
| Line 150: | Line 150: | ||
|imageSize= 250x250px | |imageSize= 250x250px | ||
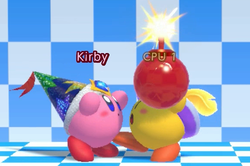
|image=KF2_Bomb_Bomb_Set.png | |image=KF2_Bomb_Bomb_Set.png | ||
|caption= | |caption= Anyone who hits you during this gets frame one'd. It's basically the most prioritized move IF you get hit. | ||
|name=Bomb Set<br> | |name=Bomb Set<br> | ||
2B (Air OK) | 2B (Air OK) | ||
| Line 165: | Line 165: | ||
*Can only be done if Kirby doesn't have a bomb in hand. | *Can only be done if Kirby doesn't have a bomb in hand. | ||
*If Kirby is hit during the frames of the startup of Bomb Set where he is holding a bomb, the bomb will prematurely explode. | *If Kirby is hit during the frames of the startup of Bomb Set where he is holding a bomb, the bomb will prematurely explode. This is a good counter. It's essentially much like Mario and Luigi's Neutral Aerial. If your opponent tries to hit Kirby(or in some cases, DOES hit Kirby), he can counter near instantly with a sudden bomb, and even set up for more attacks. | ||
}} | }} | ||
}} | }} | ||
Revision as of 09:31, 6 March 2021
Introduction
Bomb (Unlocked at Fighters Rank 1)
Lamp oil, rope...?
The Bomb copy ability is one of, if not the most versatile characters in Kirby Fighters 2. Each of Bomb's tools are deceptively simple, allowing you to create your own path to victory with the opponent as your unwilling canvas. At any one time, Bomb can threaten almost the entire screen, keeping the opponent in a box with brutal setups that let you easily control the pace of a match. Bomb does best in situations where the opponent is forced to approach, as it's one of the best characters at keeping the opponent out. However, Bomb tends to struggle against characters that can beat out bombs with projectiles/disjoints, or characters whose gameplay doesn't rely on approaching at all.
Moveset
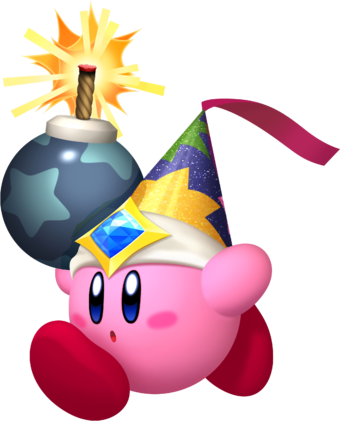
Bomb Prep 5B (Air OK) Bomb players usually pretend this move doesn't exist. Bomb players usually pretend this move doesn't exist.
|
|---|
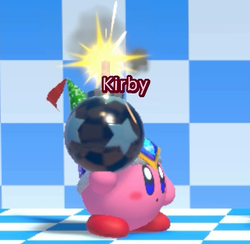
Bomb Throw 5B during Bomb Prep (Air OK) At certain arcs, you sure can throw a lot of these out. At certain arcs, you sure can throw a lot of these out.
|
|---|
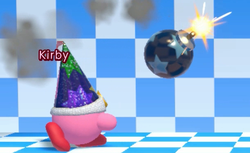
Target Throw 5[B] (Air OK) This is another one of those "nonexistent" Bomb moves. This is another one of those "nonexistent" Bomb moves.
|
|---|
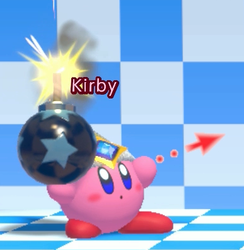
Self-Destruct (Air OK) The animation before the explosion is so funny. The aftermath is not. The animation before the explosion is so funny. The aftermath is not.
|
|---|
Bomb Bowl 66B (Air OK) This move is going to be used a lot with the amount of range it covers from a full dash jump. This move is going to be used a lot with the amount of range it covers from a full dash jump.
|
|---|
Bomb Drop c.B (Air OK) There are chaingrabs and setups for this. All inexplicably hard. There are chaingrabs and setups for this. All inexplicably hard.
|
|---|
Bomb Set 2B (Air OK) Anyone who hits you during this gets frame one'd. It's basically the most prioritized move IF you get hit. Anyone who hits you during this gets frame one'd. It's basically the most prioritized move IF you get hit.
|
|---|
Hats
Strategy
Bomb generally wants to wall the opponent out, claiming stage control until you have the opponent cornered with nowhere else to go. Aerial Bomb Bowl (66 > j.B) is what you should mostly be using at long range, but it can be used at any range due to how fast it is. Grounded Bomb Bowl (66B), normal throw (5B), and any angled throws (5[B]) are great at mid range, and at close range using Bomb Set (2B) or Bomb Drop (c.B) is great, both aggressively and for getting out of the corner. Feel free to get creative with combinations of bomb setting, bomb bowling, and angled throws, which can have devastating effects if spaced correctly.
