Ougon Musou Kyoku/Lucifer: Difference between revisions
(→Combos) |
|||
| Line 296: | Line 296: | ||
==Combos== | ==Combos== | ||
''2A > 2B > 5B > 5C > 236C > 236C > 236C'' - Basic BnB. | |||
''' | '''2A > 2B > 5B > 5C > 2C''' - The max range BnB. | ||
''2A > 2B > 5B > 5C > A+B+C > 2A > 2B > 5B > 5C > 236C > 236C > Attack Touch > ... > Attack Touch > 2A > 2B > 5B > 5C > 641236C'' - Extremely basic Meta BnB that makes use of Lucifer's ability. | |||
::*... stands in for the random combo that Lucifer's partner does. | |||
3C | 2A > 2B > 5B > 5C > 2C > A+B+C > 66 > 3C > J9.C > J9.B > 66 > 6A > J8.C > 641236C - High execution combo that looks amazing and is practical. | ||
::*J.9C > J.9B must be timed close to the ground. | |||
::*Can be done anywhere in the screen. | |||
2A > 2B > 5B > 5C > 66 > f.5C > 3C > A+B+C > 66 > 3C > 3C > J9.C > J9.B > 66 > 6A > J8.C > 641236C - A variation of the high execution combo. | |||
::*J.9C > J.9B must be timed close to the ground. | |||
::*Can be done anywhere in the screen. | |||
::*f.5C must be timed at the max of distance of the dash cancel in order to connect. | |||
2A > 2B > 5B > 5C > 2C > A+B+C > 66 > 3C > J.8C > [2A > 6A > J.8C]xN > 641236C: A corner variation of the high execution combo. | |||
::*Corner only. | |||
::*xN can be done for as long as Metaworld lasts. | |||
* | |||
* | |||
==General Strategy== | ==General Strategy== | ||
Revision as of 18:20, 25 June 2013
Background
Lucifer is the eldest sister of the Seven Stakes of Purgatory, furniture belonging to the Game Master in Umineko no Naku Koro ni. Lucifer represents the sin of pride, and does it quite well. In Ougon Musou Kyoku, Lucifer fulfills her duties as the furniture of the Game Master, while finding time to compete and play with the other furniture.
Introduction
Lucifer is a heavily offense based character, and a good one at that. She has a good number of fast and long ranged normals that can all lead to big damage fairly easily, and her rekkas build meter for your partner very quickly. The rest of her special moves, however, are either nearly useless or very situational. Her supers aren't too impressive either. Lucifer works best with other rushdown characters, such as Eva-Beatrice and Kanon. however she can work with almost anyone quite easily due to her flexibility.
Health - 1200.
Changes
Patch 2.31
According to patch notes, the stun values for Lucifer have been adjusted in some way, either the stun she deals or recieves.
Ability
Attack Touch - This will let you use attack-touch once, even if the touch gauge is not full. If it is full, you'll be able to use touch without depleting the gauge.
Move List
Normal Moves
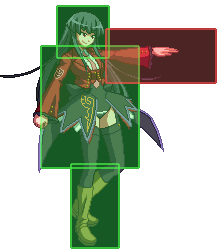
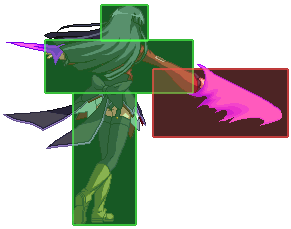
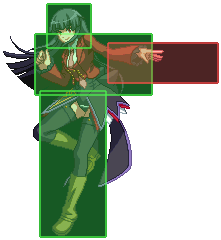
| 【5A】
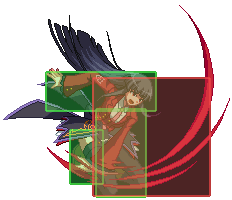
Lucifer swing her hand horizontally in a karate chop. Hits mid.
| |
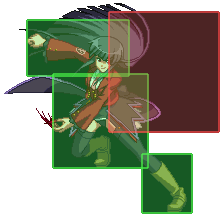
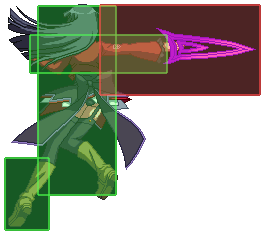
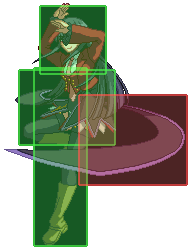
| 【c.5B】
Lucifer scratches her opponent with her nails. Hits mid.
| |
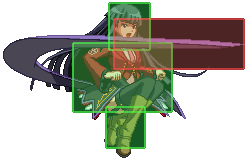
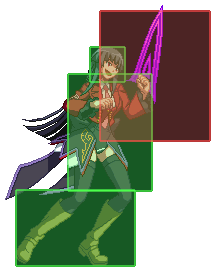
| 【f.5B】
Lucifer steps forward and swings her blade. Hits mid.
| |
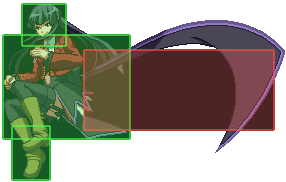
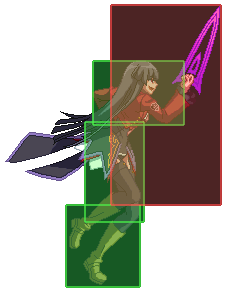
| 【c.5C】
Lucifer spins in a circle, slashing the opponent with her blade twice. Hits mid.
| |
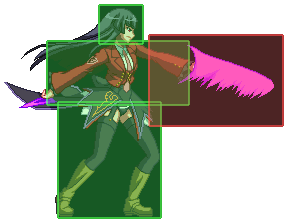
| 【f.5C】
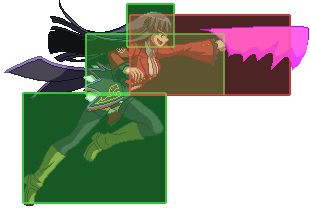
Lucifer steps forward, stabs the opponent with her blade, then returns to her original position. Hits mid.
| |
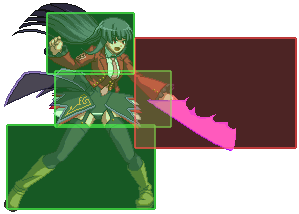
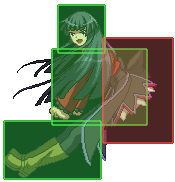
| 【2A】
The hem of Lucifer's skirt stabs the opponent. Hits mid.
| |
| 【2B】
Lucifer slaps the opponent with the hem of her skirt. Hits low.
| |
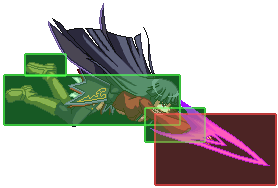
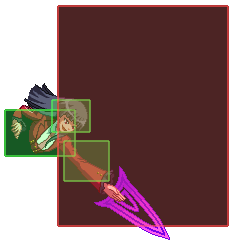
| 【2C】
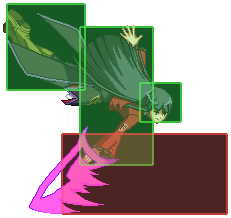
Lucifer slides along the ground, stabbing the feet of her opponent with her blade. Knocks down. Hits low.
| |
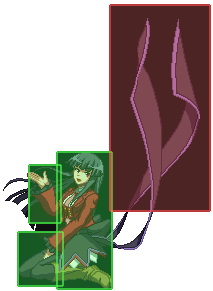
| 【3C】
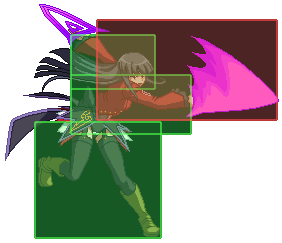
Lucifer performs an uppercut stab with the hem of her skirt. Launches. Hits mid.
| |
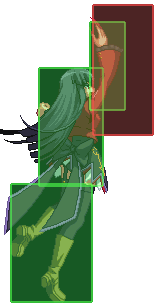
| 【6A】
Lucifer scratches the opponent with her nails in an upward motion. Hits mid.
| |
| 【6B】
Lucifer leaps forward and hits the opponent with her butt. Overhead.
| |
| 【8j.A】
Lucifer chops the opponent in a manner similar to her 5A. Hits high. | |
| 【8j.B】
Lucifer spins in the air, hitting the opponent with the hem of her skirt. Hits high.
| |
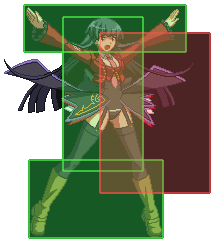
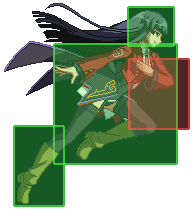
| 【8j.C】
Lucifer slashes the throws open her arms, slashing the area in front of her three times though only hitting once. Wallslam on hit. Hits high.
| |
| 【7/9j.A】
Lucifer's foot turns into a blade and stabs the opponent. Hits high. | |
| 【7/9j.B】
Lucifer scratches the area below her with her nails. Hits high. | |
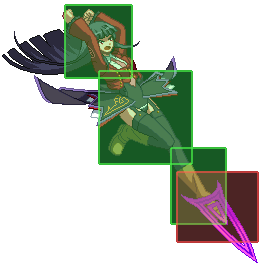
| 【7/9j.C】
Lucifer swings her blade at the area below her. Hits high.
| |
| 【B+C】
Lucifer jumps on the opponents shoulders, gashes the opponent's neck with her claws, then leaps off, sending both players flying in opposite directions. Can be air-teched.
|
Frame data
KD = knock down
                              |          Frames             |  Frame Advantage |
              Attack  | Damage|Startup*| Active  | Recovery |On Hit | On Block |Notes
               Throw  ------------------------------------------------------------------
                 B+C  |   ?   |  0-1   |    ?    |    ?     |   KD  |          |29 Duration on Whiff
             Normals  ------------------------------------------------------------------
                  5A  |   54  |    5   |    5    |    3     |   ?   |    ?     |
                  2A  |   54  |    5   |    5    |    4     |   ?   |    ?     |
                c.5B  |  150  |    8   |    5    |   15     |   ?   |    ?     |
                f.5B  |  123  |    9   |    8    |   22     |   ?   |    ?     |
                  2B  |  135  |    9   |    5    |   14     |   ?   |    ?     |
                c.5C  | 129x2 |    9   |  4(5)5  |   37     |   ?   |    ?     |
                f.5C  |  240  |   13   |   12    |   22     |   ?   |    ?     |
                  2C  |  240  |   14   |   10    |   12     |   ?   |    ?     |
               j8.5A  |   60  |    4   |   10    |    3     |   ?   |    ?     |
               j8.5B  |  150  |    8   |    4    |    6     |   ?   |    ?     |
               j8.5C  |  252  |   12   |    4    |   10     |   ?   |    ?     |
           j(7/9).5A  |   60  |    7   |    8    |    3     |   ?   |    ?     |
           j(7/9).5B  |  150  |   10   |    4    |    7     |   ?   |    ?     |
           j(7/9).5C  |  201  |   12   |    3    |    8     |   ?   |    ?     |
     Command Normals  ------------------------------------------------------------------
                  6A  |   66  |    7   |    3    |    9     |   ?   |    ?     |
                  6B  |  180  |   18   |   13    |    9     |   ?   |    ?     |
                  3C  |  270  |   19   |    8    |   23     |   ?   |    ?     |
Special Moves
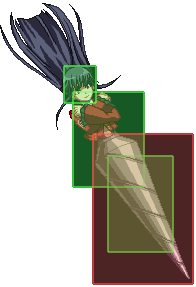
| Lucifer Blade 「ルシファーブレード」 ― 236ABC
Lucifer steps forward and swings her blade three times before launching the opponent by jumping into the air. Can be executed three times.
| |
| Magic Circle 「マジックサークル」 ― 421ABC
Lucifer vanishes and reappears closer to the opponent, slashing them. The distance traveled depends on the button used.
| |
Stake of Pride 「傲慢なる杭」 ― 214ABC (air also)
|
SP Supers
| Lucifer Blade: 4th 「ルシファーブレード4th」 ― 236A+B
Lucifer launches the opponent in the air but lands and does another dragon punch. Only usable as a replacement to 3rd Strike. Hits mid.
| |
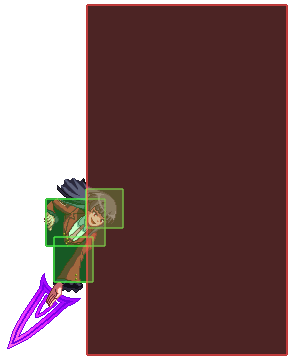
| Teleport Circle 「テレポートサークル」 ― 421A+B
Lucifer vanishes and reappears right beside the opponent, slashing them. Overhead.
| |
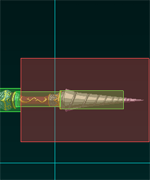
The Sacrifice-Gouging Stake of Pride 「傲慢なる生贄抉りの杭」 ― 214A+B (air also)
|
Level 2 Super
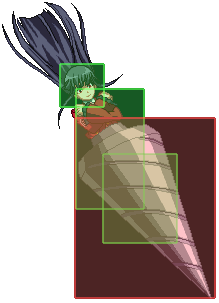
| The Proud Eldest Daughter's Murder Spree 「傲慢なる長女の殺人劇」 ― 236236C
Lucifer rushes at the opponent and if contact is made, hits the opponent with a 10 hit combo.
|
Meta Super
| Seven Sisters of Purgatory, to me! 「煉獄の七姉妹、ここに!」 ― 641236C
Lucifer throws the other six stakes at the opponent. If it hits, the sisters hold the opponent down as Lucifer collides into them in stake form.
|
Combos
2A > 2B > 5B > 5C > 236C > 236C > 236C - Basic BnB.
2A > 2B > 5B > 5C > 2C - The max range BnB.
2A > 2B > 5B > 5C > A+B+C > 2A > 2B > 5B > 5C > 236C > 236C > Attack Touch > ... > Attack Touch > 2A > 2B > 5B > 5C > 641236C - Extremely basic Meta BnB that makes use of Lucifer's ability.
- ... stands in for the random combo that Lucifer's partner does.
2A > 2B > 5B > 5C > 2C > A+B+C > 66 > 3C > J9.C > J9.B > 66 > 6A > J8.C > 641236C - High execution combo that looks amazing and is practical.
- J.9C > J.9B must be timed close to the ground.
- Can be done anywhere in the screen.
2A > 2B > 5B > 5C > 66 > f.5C > 3C > A+B+C > 66 > 3C > 3C > J9.C > J9.B > 66 > 6A > J8.C > 641236C - A variation of the high execution combo.
- J.9C > J.9B must be timed close to the ground.
- Can be done anywhere in the screen.
- f.5C must be timed at the max of distance of the dash cancel in order to connect.
2A > 2B > 5B > 5C > 2C > A+B+C > 66 > 3C > J.8C > [2A > 6A > J.8C]xN > 641236C: A corner variation of the high execution combo.
- Corner only.
- xN can be done for as long as Metaworld lasts.
General Strategy
2a 2a 2b 5b 5c 236c 236c attack touch DONE
Tag Partners
Lucifer like battler and Beatrice has a lot of partner flexibility and works well with pretty much everyone. her ability helps everyone to extend their damage via meta declaring and her rushdown and pressure makes her a very nice partner for anyone. helps get characters such as virgillia and jessica get into the best possible position.
Pictures
