Ougon Musou Kyoku/Lucifer
Introduction
Lucifer is the eldest sister of the Seven Stakes of Purgatory, furniture belonging to the Game Master in Umineko no Naku Koro ni. Lucifer represents the sin of pride, and does it quite well. In Ougon Musou Kyoku, Lucifer fulfills her duties as the furniture of the Game Master, while finding time to compete and play with the other furniture.
Lucifer is a heavily offense based character, and a good one at that. She has a good number of fast and long ranged normals that can all lead to big damage fairly easily, and her rekkas build meter for your partner very quickly. The rest of her special moves, however, are either nearly useless or very situational. Her supers aren't all too impressive either, with the exception of j.214A+B her Meta-Super. Lucifer works best with other rushdown characters, such as Eva-Beatrice and Kanon.
Pros
+Great set of normals
+Very fast
+Rekkas are excellent for combos and pressure
+Great offense
+Decent mixups and blockstrings
+3C loop does good damage and stun
Cons
-The rest of her special moves are pretty lacking
-Her supers are also rather disappointing
-Long recovery time on some moves
Health - 1200.
Changes
Patch 2.10
According to the patch notes, her 3C has been adjusted in some way, but what has changed is currently unknown.
Ability
Attack Touch
This will let you use attack-touch once, even if the touch gauge is not full. If it is full, you'll be able to use touch without depleting the gauge.
Move List
Normal Moves
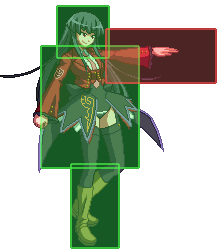
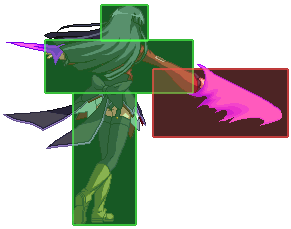
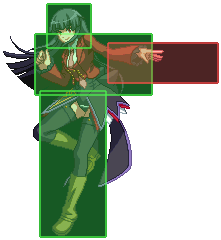
| 【5A】
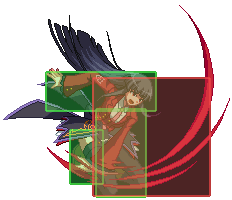
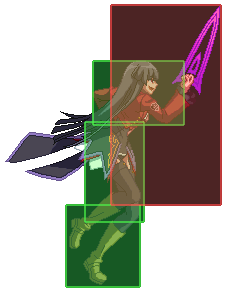
Lucifer swing her hand horizontally in a karate chop. Whiffs crouching opponents. Hits mid. Damage: 54 | |
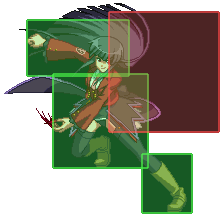
| 【c.5B】
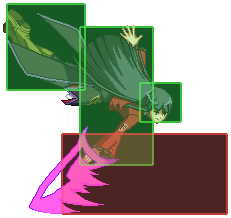
Lucifer scratches her opponent with her nails. Hits mid. Damage: 150 | |
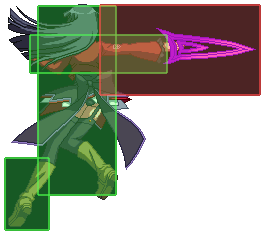
| 【f.5B】
Lucifer steps forward and swings her blade. Moves Lucifer forward a small amount. Hits mid. Damage: 135 | |
| 【c.5C】
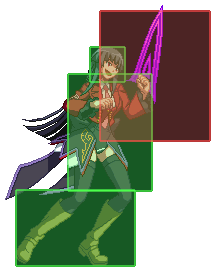
Lucifer spins in a circle, slashing the opponent with her blade twice. Dash cancelable. Hits mid. Damage: 129 each hit. | |
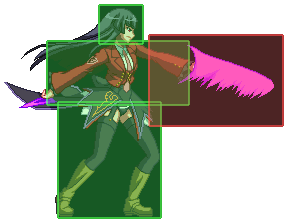
| 【f.5C】
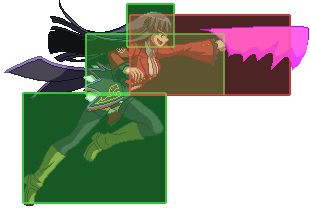
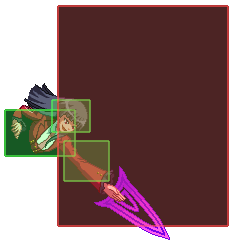
Lucifer steps forward, stabs the opponent with her blade, then returns to her original position. Dash cancelable. Hits mid. Damage: 240 | |
| 【2A】
The hem of Lucifer's skirt stabs the opponent. Hits mid. Damage: 54 | |
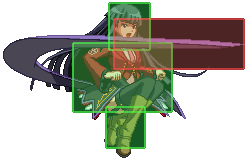
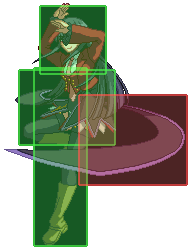
| 【2B】
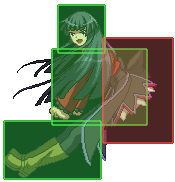
Lucifer slaps the opponent with the hem of her skirt. Has decent range and quick start-up. Hits low. Damage: 150 | |
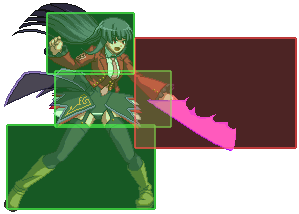
| 【2C】
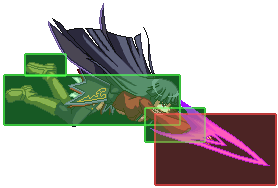
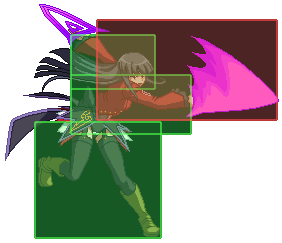
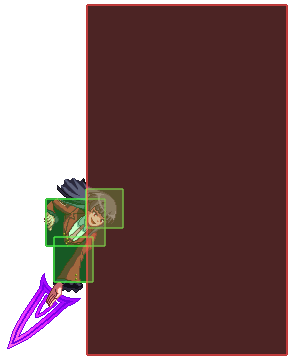
Lucifer slides along the ground, stabbing the feet of her opponent with her blade. Forces knockdown. Hits low. Damage: 240 | |
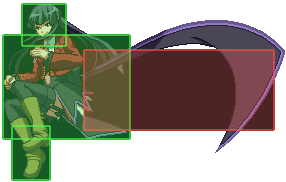
| 【3C】
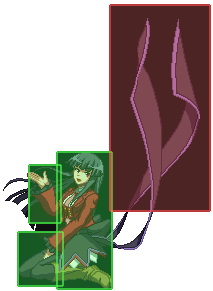
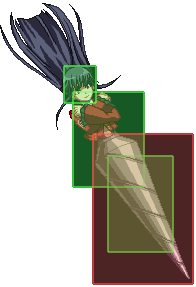
Lucifer performs an uppercut stab with the hem of her skirt. Knock up. Hits mid. Damage: 270 | |
| 【6A】
Lucifer scratches the opponent with her nails in an upward motion. Hits mid. Damage: 66 | |
| 【6B】
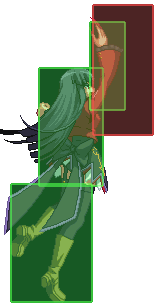
Lucifer leaps forward and hits the opponent with her butt. Overhead. Damage: 144 | |
| 【5j.A】
Lucifer chops the opponent in a manner similar to her 5A. Whiffs crouching opponents, so who knows if it hits high? Damage: 60 | |
| 【5j.B】
Lucifer spins in the air, hitting the opponent with the hem of her skirt. Hits high. Damage: 150 | |
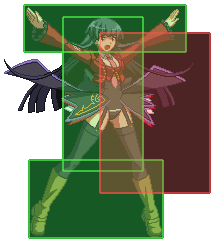
| 【5j.C】
Lucifer slashes the throws open her arms, slashing the area in front of her three times though only hitting once. Wallslam on hit. Hits high. Damage: 252 | |
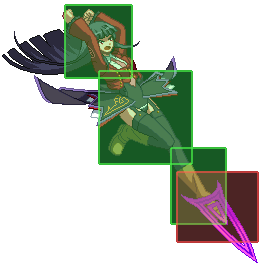
| 【7/9j.A】
Lucifer's foot turns into a blade and stabs the opponent. Hits high. Damage: 60 | |
| 【7/9j.B】
Lucifer scratches the area below her with her nails. Hits high. Damage: 150 | |
| 【7/9j.C】
Lucifer swings her blade at the area below her. Hits high. Damage: 252 | |
| 【B+C】
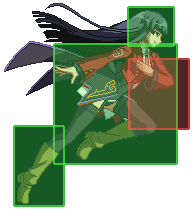
Lucifer jumps on the opponents shoulders, gashes the opponent's neck with her claws, then leaps off, sending both players flying in opposite directions. Can be air-teched. If you predict that the opponent will air-tech and the opponent is in the corner, it can be punished with 236C, otherwise it's unpunishable.
|
Special Moves
| Lucifer Blade 「ルシファーブレード」 ― 236ABC
Rekka type move. A version moves Lucifer forward the least, but is the safest on block due to higher pushback. C version moves Lucifer forward the most, but is unsafe on block due to less pushback.
| |
| Magic Circle 「マジックサークル」 ― 421ABC
Vanishes and reappears closer to the opponent, slashing them. The distance traveled depends on the button used. Hits overhead. Crosses up the opponent when used in close enough range.
| |
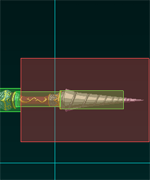
Stake of Pride 「傲慢なる杭」 ― 214ABC (air also)
|
SP Supers
| Lucifer Blade: 4th 「ルシファーブレード4th」 ― 236A+B
Lucifer does the dragon punchesque movement seen in Lucifer Blade 3rd Strike but instead hits twice, then follows it up with a second, larger, stronger dragon punch. Can only use after Lucifer Blade 2nd Strike. Hits mid.
| |
| Teleport Circle 「テレポートサークル」 ― 421A+B
Vanishes and reappears right beside the opponent, slashing them. Has a much greater reach than the non-EX version. Overhead.
| |
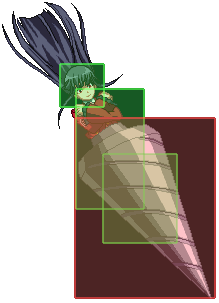
The Sacrifice-Gouging Stake of Pride 「傲慢なる生贄抉りの杭」 ― 214A+B (air also)
|
Level 2 Super
| The Proud Eldest Daughter's Murder Spree 「傲慢なる長女の殺人劇」 ― 236236C
Lucifer rushes at the opponent. If it hits, she does a 10 hit combo for 645 damage.
|
Meta Super
| Seven Sisters of Purgatory, to me! 「煉獄の七姉妹、ここに!」 ― 641236C
Lucifer throws the other 6 stakes at the opponent. If it hits, the sisters hold the opponent down as Lucifer collides into them in stake form. Does 7 hits for 765 damage.
|
Combos
Important Notations and Tips
3C[xN] = Lucifer's main corner juggle. Used to maximize damage for combos that end in a corner. It's set up with 3C - Meta World and then from there begins 3C[xN] in which you want to keep the opponent airborne with 3C as many times as possible. When the opponent gets to about Lucifer's head or shoulder height in her 3C pose, you'll want to end with 641236C. The ideal amount of reps you want to achieve with 3C[xN] is 5 or more, but ALWAYS end the juggle when the opponent is too low, no matter how many reps are done, otherwise you miss out on the extra damage from ending with 641236C and a possible dizzy state.
Semi-safe blockstring for dummies = Lucifer's basic ground string (2B - c.5B - c.5C[2 hits] - Lucifer Blade[x3]) does nasty things to the guard meter and if the string is blocked, omitting the third 236C leaves Lucifer pretty safe from getting punished since the second 236C pushes her back out of reach from most of the cast's quicker normals when it isn't followed up, plus she recovers in just barely enough time for you to block pretty much anything the opponent might try to punish you with. If you still don't feel safe enough, omitting 236C[x3] altogether is even safer as c.5C pushes Lucifer back further away from the opponent than Lucifer Blade 2 does when it's not followed up.
Ground Approaches
- (basic meterless) 5B - 2B - f.C - 236C - 236C - 236C *855~870 damage depending on whether f.5B or c.5B is performed*
- (variation with slightly more damage) 2B - c.5B - c.5C(2 hits) - 236C - 236C - 236C *888 damage*
- (basic touch meter combo) 2B - c.5B - c.5C - dash cancel - 2B - c.5B - f.5C - 236C - 236C - 236C *1268 damage*
- (extremely simple 1SP 3C[xN] setup) 5B - 2B - f.5C - Dash Cancel - (delay)f.5C - 3C - Meta World - 3C[xN] - 641236C *2410 damage with 3C[x4] [1]
- (near corner, requires 1 SP and meta) 2AA - 5B - c.5C(2) - dash cancel - f.5C - 3C - Meta(A+B+C) - 3C[xN] - 641236C *2560 damage with 3C[x5]* [2]
- (far 2b hit confirming) 2b - 236c x 3 (Tag optional after second rekka)
Jump-in Approaches
- (mid-screen or corner, requires 2 SP and meta) j.C - j.B - B - 2B - f.C - dash cancel - B - 2B - f.C - Meta world - B - 2B - f.C - 236C - 236C - 236 A+B - B - 2B - f.C - dash cancel - B - 2B - f.C - 641236C *2791 damage* [3]
- (can be started mid-screen, but must be in corner by 3C[xN]) j.C - j.B - 214A+B - B - 2B - f.C - dash cancel - B - 2B - f.C - 236C - 236C - 236 A+B - pause for recovery into dizzy state - jump forward - j.C - j.B - B - 2B - f.C - dash cancel - f.C - 3C - Meta World - 3C[xN] - 641236C *3004 damage with 3C[x3], will update with damage done using 3C[x5]* [4]
Anti-Air
- 3C has deceptive range for an anti air. It will catch Battler's jump in from round start range. 3C as an anti air has a lot of combo potential also. If you catch a jump in deep and high enough with it, you can do another naked 3C again. From there you can cancel into meta world and do dash 3C[x2], dash 3C[x2] - 641236C [5]. Just like the 3C loop in the corner, you can omit any further 3C's if they start falling too low and finish off the combo however you please.
- Anti air 3C[x2] xx Meta - dash 3C[x2] - dash 3C[x2] - 641236C is the only 3C anti air combo they will go from 0% to 100% stun (1st level stun), but otherwise the combo still does a lot of stun and damage (around 2k - 3K).
|}
