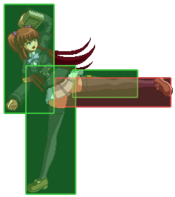
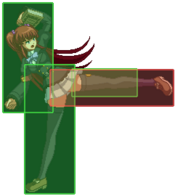
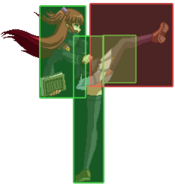
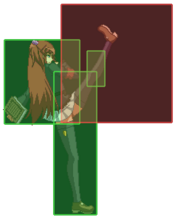
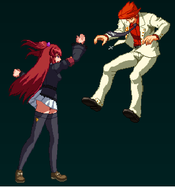
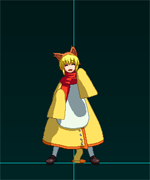
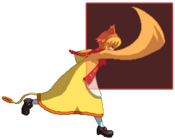
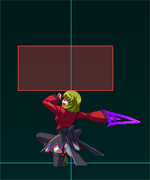
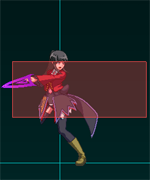
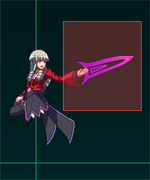
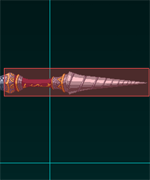
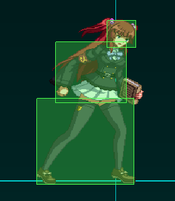
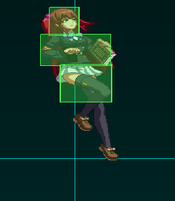
Ougon Musou Kyoku/Ange Ushiromiya
Background
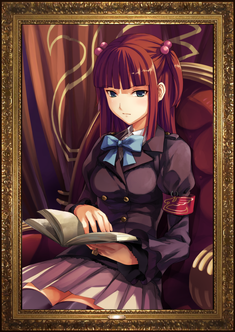
The only member of the Ushiromiya family who did not appear at the fated 1986 meeting at Rokkenjima. Ange Beatrice, the Witch of Resurrection, heads to the island years later to find out the truth behind the murders.
Introduction
Ange plays very much like a puppet character from other fighting games, using Sakutarou to extend combos, blockstrings and even allow for some very unconventional 50/50 mix-ups. She has tools to keep the opponent at a distance whilst keeping herself relatively safe when Sakutarou isn't out, thanks to the help of her 421s and 214s, and also has access to a command grab, further increasing her mix-up game. Her ability, Stun Boost, makes stunning her opponent an easy task to perform, especially by just hitting them with her Meta Super off of a sweep. Her normals will take a bit to get used to and should be used with very close attention to the spacing between Ange and her opponent, as they could potentially drop combos/blockstrings if one isn't careful.
Strengths
- Great ability: Stun Boost can turn basic confirms into deadly sequences that both her and her partner can abuse
- Good Set-play and Pressure:Sakutarou and 421X meaties, left/rights, and a command grab makes blocking Ange an scary position to be in.
- Decent neutral options if she has time to set-up:Having Sakutarou up and any of the stakes ready can make her approaches into pressure more easily achieved.
Weaknesses
- Bad pokes: They are either pretty slow or stubby, with no much in between.
- Horrible f.5C: This would just be a minor thing in other games, but the inability for Ange to combo into her f.5C into an Attack Touch makes starting damaging combos with her partner difficult unless her partner can do good job from a 2C starter. It can also be a dead sentence to get it when you wanted c.5C
- Bad anti-airs and air-to-airs: Combined with her bad pokes on the ground, makes her neutral very hard to play with if you don't have time to set-up.
Health = 1400
Ability
Stun Boost
Significantly increases stun damage dealt for a short period of time.
Ange's ability pretty much guarantees that any combo performed while it is active will stun the opponent, without fail. This leads to some of the easiest guaranteed damage setups in the game, even if said damage values aren't phenomenal due to stun scaling all further damage to 50%. Be mindful of when and how you activate/use this ability - accidentally stunning early because of it can lead to wasted damage potential, or even SP.
It is also worth noting that Stun Boost's duration is tied for the shortest in the game. This can potentially hinder other abilities that last longer when Meta World is active.
Move List
Normal Moves
Standing
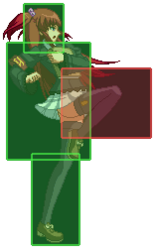
c.5A
|
|---|
f.5A
|
|---|
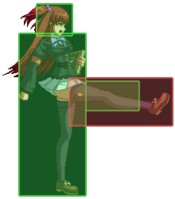
c.5B
|
|---|
f.5B
|
|---|
6B
|
|---|
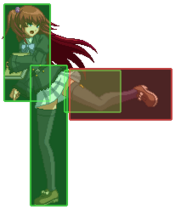
c.5C
|
|---|
f.5C
|
|---|
6C
|
|---|
Crouching
2A
|
|---|
2B
|
|---|
2C
|
|---|
Jumping
j.7/8/9A
|
|---|
j.7/8/9B
|
|---|
j.7/8/9C
|
|---|
j.2C
|
|---|
Throw
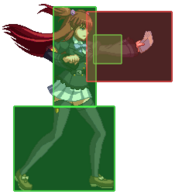
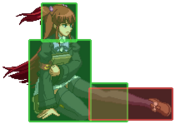
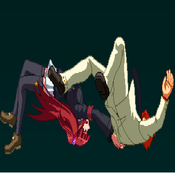
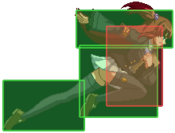
Throw B+C Whiff animation Whiff animation
|
|---|
Special Moves
Summon Sakutarou 「さくたろう召喚」
236A/B/C |
|---|
Summon the Seven Sisters 「七姉妹召喚」
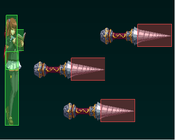
421A/B/C |
|---|
Summon Mammon 「マモン召喚」
214A/B/C |
|---|
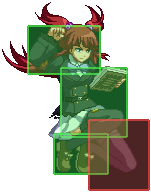
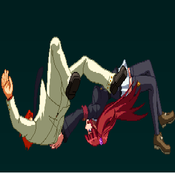
German Suplex 「ジャーマンスープレックス」 63214A/B/C Whiff animation Whiff animation GERMAN GERMAN
|
|---|
SP Supers
Fall down, Sakutarou! 「ずっこけ、さくたろう!」
|
|---|
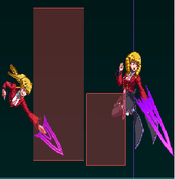
Summon Beelzebub and Asmodeus 「ベルゼブブ・アスモデウス召喚」 Beelzebub should face the other way, but frame display doesn't show it for whatever reason Beelzebub should face the other way, but frame display doesn't show it for whatever reason
|
|---|
Summon the Seven Stakes 「七杭召喚」
214AB |
|---|
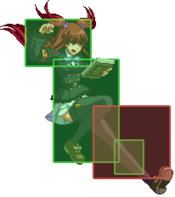
Double German Suplex 「ダブルジャーマンスープレックス」 63214AB Whiff animation Whiff animation DOUBLE DOUBLE GERMAN GERMAN
|
|---|
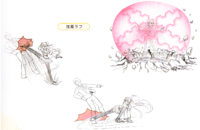
Level 2 Super
Angelic Rumble 「エンジェリック・ランブル」
236236C |
|---|
Meta Super
See You Again 「シーユーアゲイン」
641236C during MetaWorld |
|---|
Frame Data
  KD = Knockdown
                              |          Frames             |  Frame Advantage |
              Attack  | Damage|Startup*| Active  | Recovery |On Hit | On Block | Notes
               Throw  ------------------------------------------------------------------
                 B+C  |  300  |  0-1   |    ?    |    ?     |  TKD  |          |30 Duration on Whiff
             Normals  ------------------------------------------------------------------
                c.5A  |   54  |    5   |    5    |    5     |  +0   |   +0     |
                f.5A  |   54  |    7   |    5    |    6     |  -1   |   -1     |
                  2A  |   48  |    4   |    6    |    4     |  +0   |   +0     |
                c.5B  |  150  |    8   |    5    |    9     |  +2   |   +0     |
                f.5B  |  135  |    7   |    8    |    9     |  -1   |   -3     |
                  2B  |  165  |    6   |    3    |   21     |  -8   |  -10     |
                c.5C  |  270  |    8   |    2    |   29     |  -6   |   -9     |See Note B
                f.5C  |  270  |   19   |   14    |   18     |  -7   |  -10     |
                  2C  |  210  |    9   |    2    |   25     |  UKD  |   -5     |
                j.5A  |   60  |    4   |    6    |    6     |       |          |
                j.5B  |  150  |    6   |    8    |    2     |       |          |
                j.5C  |  252  |   12   |   10    |    4     |       |          |
     Command Normals  ------------------------------------------------------------------
                  6B  |  180  |   31   |   10    |   12     |  +3   |   +0     |
                  6C  |  270  |   21   |    3    |   30     |  UKD  |  -11     |
                j.2C  |  270  |    7   |   12    |    7     |       |          |

  Note B: On frames 7-8 there's a 60 damage attackbox, but doesn't seem to exist ingame? These odd frames have existed since v1.0
General Strategy
Feel free to edit this part of the wiki with your tips/strats on how to best use Ange.
- Coming Soon
Team Building
Feel free to edit this part of the wiki with your tips/strats what partners are best for Ange to use. Remember I'm watching you.
The information displayed here is from the 2022 Team Tier List from the Ougon Discord Thus, it is open to change, but it should work as a building block for people looking for team pairing ideas. If you are a player of any of the teams and want to change anything feel free to do so.
Reasons to choose Ange for your team
- Ange with a set-up ready has the potential of winning the game from a few openings. Her mix with Sakutarou up is really good, and her ability is probably the best one in the game in a vacuum, but it is attached to a character that tends to struggle finding opportunities to use it, due to her unreliable buttons and sluggish movement.
- Thus, you'll want to select a partner that can both exploit the stun bonus plus a good way to find hits for Ange. Being able to get good combos from a 2C Attack Touch is also appreciated, since Ange's f.5C is not a traditional one.
Battler
- Solid neutral but overshadowed in almost every way by Ange/Rono.
- Ange isn’t great at the long game and while she appreciates added bulk from Resurrection, Rono gives this anyway in addition to much higher damage and synergy.
- This team can be better against Bern teams, though.
Black Battler
- Fragile, poor damage, too neutral-heavy. StunBoost makes up for BB’s lower stun, but it’s not like you can follow this with anything.
Beatrice
- StunBoost with towers can actually be detrimental, because the opponent can escape by jumping and getting stunned and then this team can hardly damage them further. It can also make Beatrice’s corner combos a bit less damaging which is pointless.
- These two have no synergy, Ange appreciates SP fine but her counter-based MetaWorld is outperformed by George’s and Rono’s.
Bernkastel
- Probably the closest team in the game to one of the characters being outright detrimental to the other. StunBoost limits Bern’s combos and prevents MetaBoost from looping.
- Expect to see a surprising amount of corner play though.
Chiester 410
- 410/Ange is all about crazy long combos and guard break set-ups. Any hit can lead into a meta loop, transitioning to a guard break sequence, and ending in Sakutarou Oki. As long as Chester has 2 bars available, this will be possible, as shown here
- The biggest problem will be actually landing it. Once you have spent bar doing it, you are left with less meter than the opponent, and your meterless conversions are pretty sub-par, especially with Chiester, so a lot of your meta declares will be denied as they are very effective for your opponent to do so. Thus, you'll need to use Ange a lot as a battery which can prove difficult in many scenarios.
- Chiester can't be used as much in neutral due to always needing meter for the meta combo which is undeniably the main reason you are using this team composition.
- Meter management will be essential, and good use of Ange's neutral tools will be needed to make this strategy work.
Dlanor
- Unprorated damage is welcome for Ange, but there’s no reason to pick Dlanor over Rono and these two find it hard to approach certain characters.
Erika
- StunBoost shortens Erika’s combos, Ange hasn’t got too much use for Force Counter, bad damage and no real gameplan.
EVA-Beatrice
- One of Ange’s better teams but there’s little reason to pick Eva over Rono as the gameplan is about the same but Rono does it better.
- StunBoost can help Eva get her setups and Berserk fixes Ange’s damage.
George
- You can just jump on them and they also can’t do any damage, their mixup can be interesting though.
- Ange/Rono outclasses this in every way that matters.
Jessica
- Jessica does not need StunBoost to stun as most of her standard combos will do this anyway.
- Ange gains nothing from ShaveBoost and her neutral, while decent, doesn’t really complement Jessica’s due to poor corner carry and unreliable Attack Touch conversions that aren’t 2C (Jess can capitalise much more on a grounded Attack Touch due to her link and poor aerial combos uncharged).
- Other partners suit each better, especially Jess.
Kanon
- Terrible damage, Silent Attack is wasted by stun proration, pretty much no synergy. Both rely on their partner for damage.
Lambdadelta
- StunBoost can help Lambda begin her setups, can loop stun. Could be rated higher but its fragility and bad response to pressure is an issue.
- Relies too much on guardbreak and momentum. Just use Jess or Beato for Lambda
Lucifer
- Fun neutral, but these two have some of the worst damage in the game. Stun causes proration and this makes Luci sad.
- They will win a surprising number of exchanges between them, but more than anyone have almost nothing to do once they do. Luci/Beato or Ange/Rono is much better as Ange can handle neutral just fine especially with meter.
Ronove
- One of the few teams that brings out Ange’s strengths, but it does that shockingly well. The combination of StunBoost and CounterBoost means you can stun the opponent in one Rono counter or a very short combo from either of them. Ronove’s MetaSuper also ignores any proration from stun and your opponent is going to get staggered fast when one mistake means a healthbar gone.
- This team is all about oppression, it wants to get its lead early, so you have to actually know how to play Ange. That said, the high health combined with meter efficiency gives this team some comeback game too. You can pretty much chip away at the opponent forever while maintaining a meter advantage and it’s hard for most characters to do much about it.
- Part of what makes this team good is that it’s strong against most other top-tier teams. Jessica struggles to do much about careful Ange or Rono pressure, Beatrice will probably regret giving this team meter more than any other, and Will finds it hard to land that crucial confirm on either of these characters.
- Keep in mind however that you’re probably going to be starting with Ange on equal footing with the opponent, so you want to play smart to avoid getting bullied in the opening game.
Rosa
- StunBoost and Detachment clash severely for obvious reasons, StunBoost also ruins Rosa’s corner loop which is this team’s only way to do good damage.
- Bad reaction to pressure.
Shannon
- StunBoost ruins Shannon’s corner loop which is her only way to do damage, leaving this team with no options left for that.
- They’re annoying to hit though.
Virgilia
- Could be better if a player really optimizes this team's corner game but the fact that you can just jump into either of them and they have no answer kind of sucks.
- Lia prefers Luci and Ange prefers Rono. Both are setup-focused which works out.
Willard
- Will does not appreciate StunBoost in his corner combos; although it won’t really affect his MetaSuper loop, it will reduce his ability to juggle with normals for damage.
- Ange has no obvious practical use for SPCancel, and will end up doing more damage with Rono as her partner.
- Will would prefer characters with better neutral, damage or abilities.
Combos
Feel free to edit this part of the wiki with other combos to use, ranging from BnBs to optimized.
Normal Combos
Without Sakutarou
- 2A 2B 5B 2C 236x
- Basic BnB Sakutarou setup.
With Sakutarou
- ...(stun) j.B j.C/2C land dash 2A 2B c.5C 236X xx j.B j.C/2C land dash 2A 2B c.5C 2C 236a
- A combo you can use post-stun in the corner, which sets up another Sakutarou and drags out the meta recovery.
- ...(stun) j.B j.C land rejump j.A j.B j.C land 236X xx j.B j.C land dash 2A 2B c.5C 2C 236a
- Another possible combo you can do post-stun, which can also work midscreen sometimes.
- Sakutarou must be nearby for this combo to work.
- Recommended to use on taller characters.
Metered Combos
Without Sakutarou
- 2A 2B 5B 2C metaDeclare metaSuper
- Basic stun combo using Ange's ability.
With Sakutarou
- j.B j.C land rejump j.A j.B j.C land 236X xx j.B j.C land dash 2A c.5C metaDeclare j.B j.C land dash 2A 2B c.5C 2C metaSuper
- A challenging Meta combo.
- Sakutarou must be nearby for this combo to work.
- Recommended to use on taller characters.
Resources
黄金夢想曲†CROSS 縁寿新コンボ+多キャラコンボムービーのカケラ - Ange's SP Cancel potential
