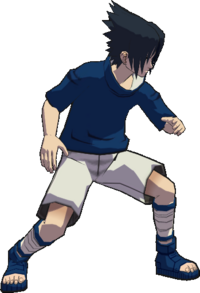
Super Naruto: Clash of Ninja 4/Sasuke
Jump to navigation
Jump to search


Summary
A great choice for beginners and veterans alike, Sasuke showcases a focused set of quality options, which includes a straight-forward punish game punctuated by his 8B piledriver, one of the fastest 4B guard-frame attacks in the game and guard mix-ups using Sharingan-cancels from his 4X transformation. In Super, a handful of touch-ups have turned a previously solid, but middling character into perhaps one of the strongest in the game.
Notes
Super Cancel Points:
- (
 )
) - ()
| Sasuke
| |
|---|---|

| |
| Health: | 210 |
| Guard Gauge: | 1680 |
| Backdash Type: | Normal |
String List
| String # | Inputs | Notes |
|---|---|---|
| ||
| ||
| ||
| ||
| ||
| ||
| ||
| ||
|
| String # | Inputs | Notes |
|---|---|---|
| ||
| ||
| ||
| ||
| ||
| ||
| ||
| ||
| ||
| ||
|
Weak Attacks
5B
  |
|
|---|---|
Toggle Hitboxes Toggle Hitboxes
|
6B
  |
|
|---|---|
Toggle Hitboxes Toggle Hitboxes
|
2B
  |
|
|---|---|
Toggle Hitboxes Toggle Hitboxes
|
4B
  |
|
|---|---|
Toggle Hitboxes Toggle Hitboxes
|
8B
  |
|
|---|---|
Toggle Hitboxes Toggle Hitboxes
|
Running B
  |
|
|---|---|
Toggle Hitboxes Toggle Hitboxes
|
j.B
  |
|
|---|---|
Toggle Hitboxes Toggle Hitboxes
|
Strong Attacks
5A
    |
|
|---|---|
Toggle Hitboxes Toggle Hitboxes
|
6A
Toggle Hitboxes Toggle Hitboxes
|
|---|
2A
    |
|
|---|---|
Toggle Hitboxes Toggle Hitboxes
|
4A
  Startup Startup  Attack Attack
|
|
|---|---|
Toggle Hitboxes Toggle Hitboxes
|
Sharingan 4A
 |
|
|---|---|
Toggle Hitboxes Toggle Hitboxes
|
8A
  |
|
|---|---|
Toggle Hitboxes Toggle Hitboxes
|
Sharingan 8A
Running A
  |
|
|---|---|
Toggle Hitboxes Toggle Hitboxes
|
Sharingan Running A
j.A
Throws
5Y
2Y
Specials
5X
  |
|
|---|---|
Toggle Hitboxes Toggle Hitboxes
|
4X
 |
|---|
Sharingan 5X
  5X version 5X version   5X~8 5X~8
|
|
|---|---|
Toggle Hitboxes Toggle Hitboxes
|
Sharingan j.X
Toggle Hitboxes Toggle Hitboxes
|
|---|
Strategy
Colors
Default ( )
)

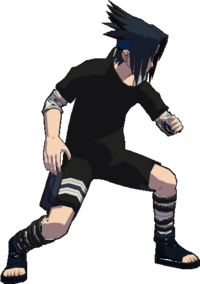
Chunin Exams ( )
)

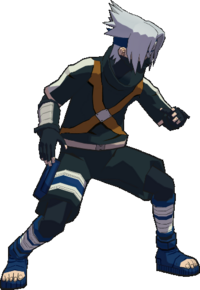
Color 3 ( )
)

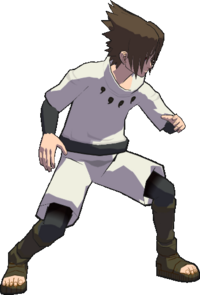
Color 4 ( )
)

Changes from Vanilla
List may be outdated. Feel free to update if necessary
Base Sasuke:
- 2Y directional throw added, this leaves the opponent grounded and allow for j.X follow up
- 2Y throw added that knocks down
- Grabbable Moves: JA, RA, 8A, 6A, 8B landing, SJX, S8X
- 5B: has a super cancel; elbow hitbox removed; fist hitbox made larger on second active frame
- 5B(B): hitbox appears and disappears one frame later
- 5BBBB(B): has more lift
- 5BBBBB(B): appears one frame sooner and disappears 3 frames sooner, bounces closer
- 6B: hand hitbox does not appear on the first frame
- 2B(B): launches higher, launches on block, mid instead of high, comes out two frames later
- 8B: cannot be subbed until later
- A8B: is hittable after releasing the opponent
- 5A: charge changed from 10f to 8f
- 6A: is grabbable until release
- 4A: hitbox starts up much later to match the animation, staggers, ends earlier
- 2A: hitbox appears three frames later
- 2A(A): staggers
- 2AA(A): does 6A
- RA: can now be done at any time during run and does not have to wait for a looped animation to begin
- GRKnJ: travels one frame slower; appears slightly further back
![]() Sharingan State:
Sharingan State:
- 4A: counter window sped up
- A4A: can only be subbed on the first frame
- RA: has three grabbable startup frames
- 5X: adjustments to duration, sizes, and damage is applied on the cinematic portion; does 10+65 from 10+50
- 5X8: added with anti air chidori that does 10+60
- SJX: fireballs have slightly more lift and stagger
- S8X: added doing a modified SJX
Resources
Guides and Info
Boocock's Sasuke fundies introduction