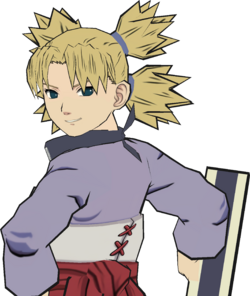
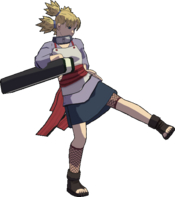
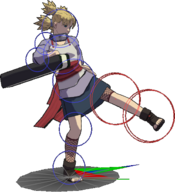
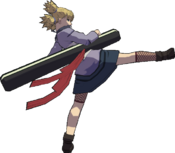
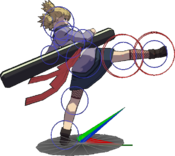
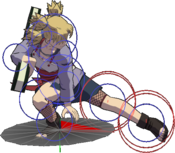
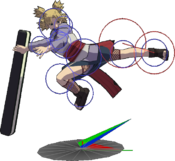
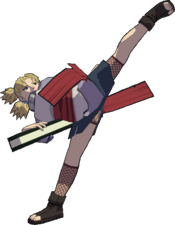
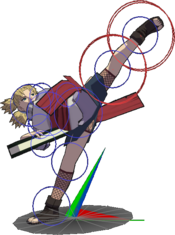
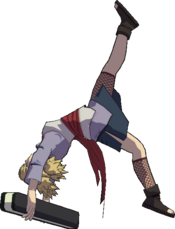
Super Naruto: Clash of Ninja 4/Temari
Summary
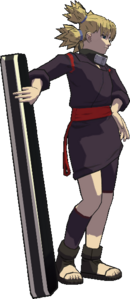
Temari is an aerial combatant who makes use of her swooping ![]()
![]() , which auto-cancels when angled into the ground. She has one of the best supers in the game, summoning multiple whirlwinds with j.X, used to dole out massive punishes both offensively and defensively. Compared to Vanilla GNT4,
, which auto-cancels when angled into the ground. She has one of the best supers in the game, summoning multiple whirlwinds with j.X, used to dole out massive punishes both offensively and defensively. Compared to Vanilla GNT4, ![]()
![]() has been nerfed in Super, making repeated
has been nerfed in Super, making repeated ![]()
![]() hits more difficult and less rewarding, though it remains effective for finding openings and when used defensively. Temari has also received a handful of buffs to grounded strings which were forgettable in the base game.
hits more difficult and less rewarding, though it remains effective for finding openings and when used defensively. Temari has also received a handful of buffs to grounded strings which were forgettable in the base game.
Main strengths
- The only 5B in the game that hits Low. Can meaty against wakeup kicks and jab also can't get high crushed in scrambles.
- Very fast air attacks that let Temari punish lift mix with extended combos
- Unique control over air movement with

 &
& 

 glide
glide - Wind cyclone attacks deal great chip damage and are hard to step
- Two amazing supers, one of which gives her probably the best post-super OTG in the game that refunds its chakra costs
- Low stats; Low health and relatively weak guard bar make her especially susceptible to guard breaks and maybe even subsequent TOD from string beast characters.
String List
| String # | Inputs | Notes |
|---|---|---|
| ||
| ||
| ||
| ||
| ||
| ||
| ||
| ||
| ||
| ||
|
Weak Attacks
5B
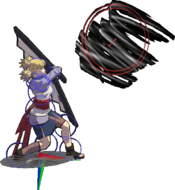
Toggle Hitboxes Toggle Hitboxes
|
|---|
6B
Toggle Hitboxes Toggle Hitboxes
|
|---|
2B
Toggle Hitboxes Toggle Hitboxes
|
|---|
4B
Toggle Hitboxes Toggle Hitboxes
|
|---|
8B
Toggle Hitboxes Toggle Hitboxes
|
|---|
Running B
Toggle Hitboxes Toggle Hitboxes
|
|---|
j.B
Toggle Hitboxes Toggle Hitboxes
|
|---|
j.2B
Toggle Hitboxes Toggle Hitboxes
|
|---|
Strong Attacks
5A
Toggle Hitboxes Toggle Hitboxes
|
|---|
6A
Toggle Hitboxes Toggle Hitboxes
|
|---|
2A
Toggle Hitboxes Toggle Hitboxes
|
|---|
4A
Toggle Hitboxes Toggle Hitboxes
|
|---|
8A
Toggle Hitboxes Toggle Hitboxes
|
|---|
Running A
Toggle Hitboxes Toggle Hitboxes
|
|---|
j.A
Toggle Hitboxes Toggle Hitboxes
|
|---|
Throws
5Y
Special
5X
Toggle Hitboxes Toggle Hitboxes
|
|---|
j.X
Toggle Hitboxes Toggle Hitboxes
|
|---|
Strategy
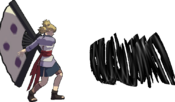
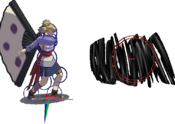
Temari's neutral largely revolves around use of her ![]()
![]() . When used low to the ground, Temari will land early in the animation after the hitbox appears, canceling the laggy ending of the move. If she hits the opponent's guard, she is likely to have frame advantage, with the amount of advantage depending on the height at which the attack connects and assuming she does manage to cancel the endlag of the move. If she scores a hit, the move leads to a combo, usually either
. When used low to the ground, Temari will land early in the animation after the hitbox appears, canceling the laggy ending of the move. If she hits the opponent's guard, she is likely to have frame advantage, with the amount of advantage depending on the height at which the attack connects and assuming she does manage to cancel the endlag of the move. If she scores a hit, the move leads to a combo, usually either ![]() , another
, another ![]()
![]() ,
, ![]()
![]() to catch a substitution, or
to catch a substitution, or ![]()
![]() for a big punish.
for a big punish.
The frame advantage from a blocked ![]()
![]() leads to a strike/throw mix, with Temari threatening both another attack or a grab. Repeated
leads to a strike/throw mix, with Temari threatening both another attack or a grab. Repeated ![]()
![]() 's into the opponent's guard recreate this mix every time one is blocked. Counterplay to an impending
's into the opponent's guard recreate this mix every time one is blocked. Counterplay to an impending ![]()
![]() includes air throw, anti-airs, or sidestepping after Temari jumps to put her angle of attack off axis.
includes air throw, anti-airs, or sidestepping after Temari jumps to put her angle of attack off axis.
While grounded, Temari's attacks are generally slow or situational. Her backdash is one of the farthest in the game, allowing her to quickly retreat from the opponent. Temari can use ![]()
![]()
![]() to cross-up the opponent on block and, as with
to cross-up the opponent on block and, as with ![]()
![]()
![]() , the teleport finisher punishes substitutions and
, the teleport finisher punishes substitutions and ![]()
![]() attempts.
attempts.
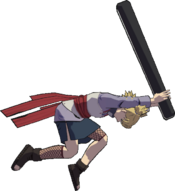
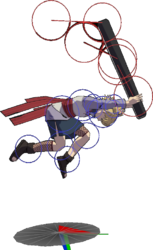
Temari has a multi-part aerial string which makes it difficult for the defender to react to her in the air. ![]()
![]() always completes the string but can be continued off of any combination of her glide (
always completes the string but can be continued off of any combination of her glide (![]()
![]()
![]() ) or projectile (
) or projectile (![]()
![]() ). All three moves adjust her positioning in the air, and the glide can be cancelled with
). All three moves adjust her positioning in the air, and the glide can be cancelled with ![]() (which also turns Temari to face the opponent); different heights for
(which also turns Temari to face the opponent); different heights for ![]()
![]() will affect how far she flies. She can also double jump before starting her aerial string.
will affect how far she flies. She can also double jump before starting her aerial string.
In addition to being able to run away by using ![]()
![]()
![]() , Temari has some of the best defensive options in the game.
, Temari has some of the best defensive options in the game. ![]()
![]() interrupts almost every block string that lifts her into the air, as does
interrupts almost every block string that lifts her into the air, as does ![]()
![]() .
.
![]()
![]() cost only 75% meter and, not only does the attack deal out a significant amount of damage itself, but the duration of the move allows Temari to follow-up with attacks to deal more damage and build meter. If the opponent does not fall out early, Temari can dash forward and connect with the entirety of
cost only 75% meter and, not only does the attack deal out a significant amount of damage itself, but the duration of the move allows Temari to follow-up with attacks to deal more damage and build meter. If the opponent does not fall out early, Temari can dash forward and connect with the entirety of ![]()
![]()
![]() , all hitting as on-the-ground (OTG) hits. This usually builds back most or all of Temari's meter. If she doesn't have enough time for the full string, Temari can hit with
, all hitting as on-the-ground (OTG) hits. This usually builds back most or all of Temari's meter. If she doesn't have enough time for the full string, Temari can hit with ![]()
![]() ,
, ![]()
![]() or just
or just ![]() .
.
Timing ![]()
![]() loops: After a spinning launch, a second spinning launch will instead cause a normal launch. Spinning launches send the victim higher. Thus,
loops: After a spinning launch, a second spinning launch will instead cause a normal launch. Spinning launches send the victim higher. Thus, ![]()
![]() loops will have a "two, one-two, one-two" rhythm (every "two" launches higher and is then followed by a longer pause before repeating
loops will have a "two, one-two, one-two" rhythm (every "two" launches higher and is then followed by a longer pause before repeating ![]()
![]() ).
).
Colors
Changes from Vanilla
(Note: Changelist may be outdated)
- Grabbable Moves: 5A(A), 5AA(A), 2A, 8A, 8A(A), 8AA(A), JA
- 5B: hitbox appears for 1 more frame; two frames more blockstun
- 5BB(A): Does chip damage
- 5BBA(A): Does chip damage
- 5BBAA(A): is 2B(A); can hold 6 at startup to do 6A
- 6B: given stagger, made weak on block from strong; ends 5 frames sooner; more lift
- 6B(B): changes to 8B(B); 3 grabbable frames on the startup; made strong
- 4B: guard frames extended from 1-18 to -22, ends earlier, more lift, grabbable; 7 frames less blockstun
- 2B(A): replaced with 2A; follow ups adjusted to be in line with raw 2A
- 2BB(A): increased in damage by 7
- 8B(B): replaced by Act4A; has three grabbable frames at the startup; made strong
- RB: ends about 12 frames sooner
- JB: does 10 damage (from 16) and 11 block damage (from 16) but has the same guard stun; hitbox removed from head and butt; less lift
- J2B: added with as a glide that can be cancelled early with Y which has A and B follow ups and always faces the opponent
- 5AAX: is a new string
- 6A: is an untechable bounce; does 7 more damage
- 4A: window improved
- A4A: is unblockable, can't be subbed or teched; made strong
- 2A: in string ends sooner; transitions to A follow ups slower (same as raw 2A)
- 8AAX: is a new string
- JAX: is a new string
- RA: hitbox duration increased by 1 frame, last three active frames are untechable, move is no longer immune to highs as she stands up
- 5X: starts moving three frames sooner; drains all meter on miss or hit from Temari
- GRKnJ: hitbox duration increased by one frame, travel time is one frame longer
Resources
Gameplay footage
Lemo vs Abbock (Combo Breaker 2022 Grand Finals)
Notable Players
- Disclaimer: This list is derived from community input and is in no way comprehensive or a form of ranking of any kind. Our community criteria can be found here.
| Name | Usual Color | Region | Contact | Example Play |
|---|---|---|---|---|
| LeeShmow | 
|
United States |
Unavailable | Tournament Footage |
| Lemo | 
|
United States |
Unavailable | Tournament Footage |
