Super Naruto: Clash of Ninja 4/Third Hokage
Jump to navigation
Jump to search

| Third Hokage
| |
|---|---|

| |
| Health: | 220 |
| Guard Gauge: | 1760 |
| Backdash Type: | Normal |
Summary
The Third Hokage, Hiruzen Sarutobi, has mastered a lifetime of jutsus which come out in full force in SCON4. Ring combo points give Hiruzen his choice of jutsu based on the situation and incredible damage output allows him to slam the door on the enemy, especially as it comes to his X and 2X supers. Hiruzen also shows off acrobatic attacks and his running teleport to stay safe and nimbly dodge around the opponent- he's spry for an old man.
Notes
At several string points, Hiruzen has his selection of ![]() ring attacks:
ring attacks:

 Quick, anti-air water jet
 Slow fire-ball jutsu which can be sustained by holding A at the cost of chakra
 Earth erupts upwards, dealing massive damage (including OTG hits)
 A counter which activates regardless of where Hiruzen is hit or if the attack is physical or a projectile
- Lunging elbow forwards
String List
| String # | Inputs | Notes |
|---|---|---|
| ||
| ||
| ||
| ||
Weak Attacks
5B
  |
|
|---|---|
Toggle Hitboxes Toggle Hitboxes
|
6B
  |
|
|---|---|
Toggle Hitboxes Toggle Hitboxes
|
2B
  |
|
|---|---|
Toggle Hitboxes Toggle Hitboxes
|
4B
  |
|
|---|---|
Toggle Hitboxes Toggle Hitboxes
|
8B
  |
|
|---|---|
Toggle Hitboxes Toggle Hitboxes
|
Running B
  |
|
|---|---|
Toggle Hitboxes Toggle Hitboxes
|
j.B
  |
|
|---|---|
Toggle Hitboxes Toggle Hitboxes
|
Strong Attacks
5A
  |
|
|---|---|
Toggle Hitboxes Toggle Hitboxes
|
6A
  |
|
|---|---|
Toggle Hitboxes Toggle Hitboxes
|
2A
  |
|
|---|---|
Toggle Hitboxes Toggle Hitboxes
|
4A
  |
|
|---|---|
Toggle Hitboxes Toggle Hitboxes
|
8A
  |
|
|---|---|
Toggle Hitboxes Toggle Hitboxes
|
Running A
  |
|
|---|---|
Toggle Hitboxes Toggle Hitboxes
|
j.A
  |
|
|---|---|
Toggle Hitboxes Toggle Hitboxes
|
Throws
5Y
j.Y
Special
5X
  |
|
|---|---|
Toggle Hitboxes Toggle Hitboxes
|
2X
  |
|
|---|---|
Toggle Hitboxes Toggle Hitboxes
|
Strategy
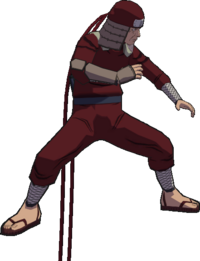
Colors
Default ()

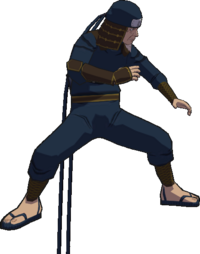
Color 2 ( )
)

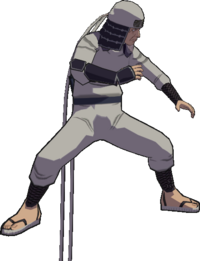
Color 3 ( )
)

Color 4 ( )
)
