User:Pythmere/VSAV/Bulleta
Introduction
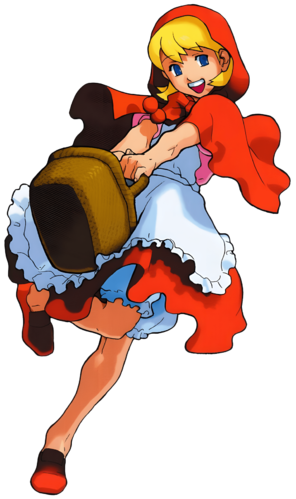
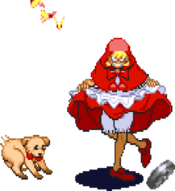
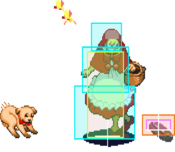
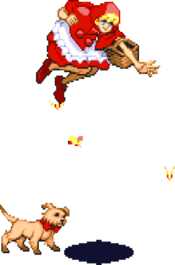
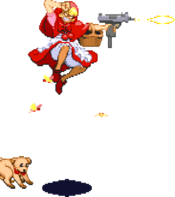
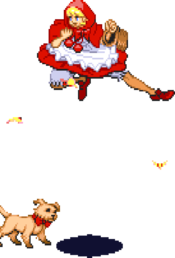
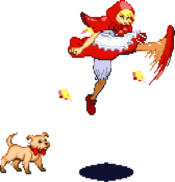
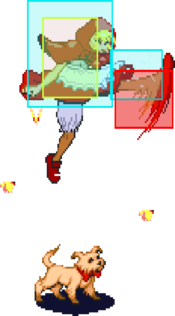
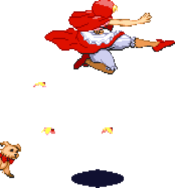
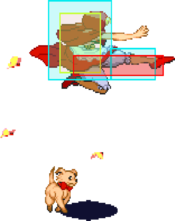
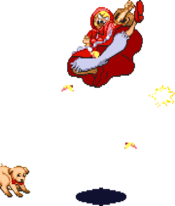
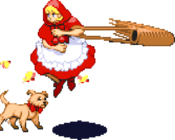
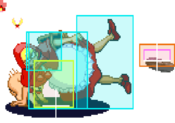
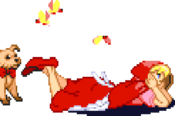
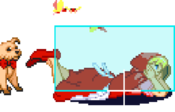
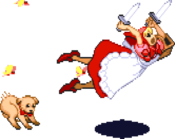
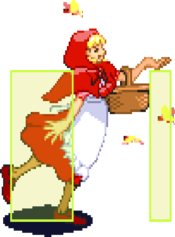
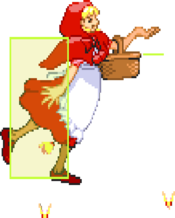
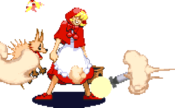
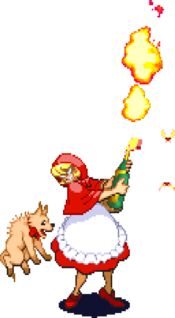
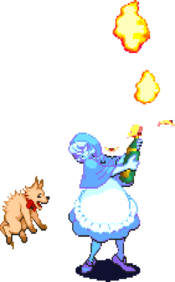
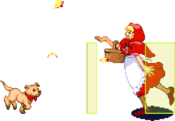
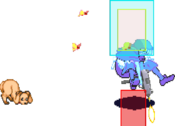
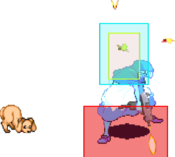
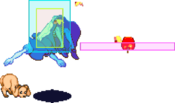
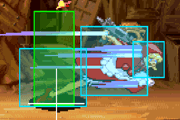
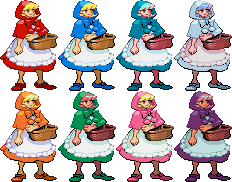
Bulleta (バレッタ), also known as Baby Bonnie Hood, the Dark Hunter.
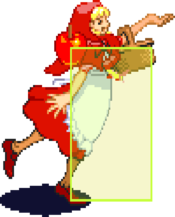
A thrill seeker who enjoys the hunt, to the point where she does it for the sport of the hunt rather than the pursuit of money. Because of this, she is mainly described as an antithesis to Donovan. She hunts solely for sport, while Donovan hunts to find meaning in his existence. As a profit-seeking Dark Hunter, she pretends to act like a defenseless girl as a way to trick her prey in order for them to get closer to her. Many of her hunting skills include stabbing her opponents with weapons such as knives, and using guns for shooting down her prey.
Bulleta is infamous for her execution ceiling. She has fantastic movement & projectile durability. This synergy makes her zoning & neutral game very effective. She is one of the few characters who gets wins with Time Overs. If you are willing to commit to an execution grind & play patiently, Bulleta is the right choice for you.
Gameplay
Primary objectives:
- Gain air-resets to setup her amazing jump-in offense. Chicken block to 9MP is strong
- Use missiles as uncontested anti-airs
- Leverage your movement to be evasive and play patiently
- Abuse instant overheads to overwhelm the opponent
- Convert combos when the opponent is standing into huge damage & corner positioning
- Utilize dashing offensive options to open-up the opponent
| Strengths | Weaknesses |
|---|---|
|
|
Normal Moves
Standing Normals
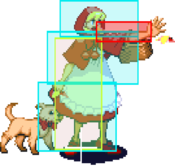
5LP
| Startup | Active | Recovery | Hit Adv. | Block Adv. | Renda Bonus |
|---|---|---|---|---|---|
| 4 | 4 | 8 | 10 | 9 | H: 13 G: 12 |
| Guard | Cancel | Invuln | Red Damage | White Damage | Gauge |
| mid | yes | - | 7 | 2 | H: 6 G: 3 W: 0 |
5MP
| Startup | Active | Recovery | Hit Adv. | Block Adv. | Renda Bonus |
|---|---|---|---|---|---|
| 6 | 3 | 18 | 6 | 5 | N/A |
| Guard | Cancel | Invuln | Red Damage | White Damage | Gauge |
| mid | yes | - | 16 | 6 | H: 15 G: 9 W: 3 |
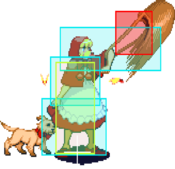
5HP
| Startup | Active | Recovery | Hit Adv. | Block Adv. | Renda Bonus |
|---|---|---|---|---|---|
| 9 | 3{(3)3}x6 | 27 | -16 | -17 | N/A |
| Guard | Cancel | Invuln | Red Damage | White Damage | Gauge |
| mid | no | - | 7x7 | 3x7 | H: 9+3x6 G: 7+1x6 W: 6 |
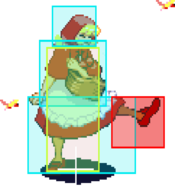
5LK
| Startup | Active | Recovery | Hit Adv. | Block Adv. | Renda Bonus |
|---|---|---|---|---|---|
| 6 | 4 | 8 | 4 | 3 | H: 7 G: 6 |
| Guard | Cancel | Invuln | Red Damage | White Damage | Gauge |
| mid | yes | - | 7 | 3 | H: 6 G: 3 W: 0 |
5MK
| Startup | Active | Recovery | Hit Adv. | Block Adv. | Renda Bonus |
|---|---|---|---|---|---|
| 8 | 6 | 11 | 4 | 3 | N/A |
| Guard | Cancel | Invuln | Red Damage | White Damage | Gauge |
| mid | yes | - | 17 | 7 | H: 15 G: 9 W: 3 |
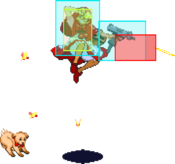
5HK
| Startup | Active | Recovery | Hit Adv. | Block Adv. | Renda Bonus |
|---|---|---|---|---|---|
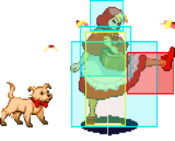
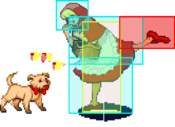
| 17 | 50 | 31 | - | -5 | N/A |
| Guard | Cancel | Invuln | Red Damage | White Damage | Gauge |
| mid | no | - | 21 | 8 | H: 24 G: 15 W: 6 |
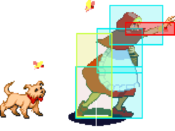
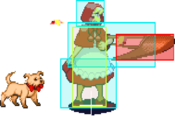
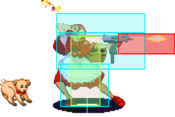
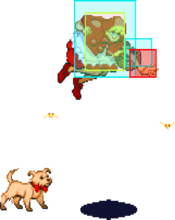
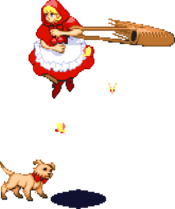
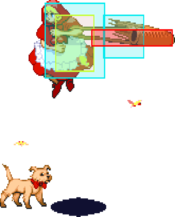
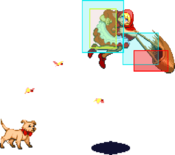
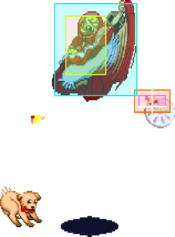
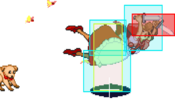
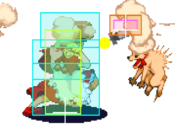
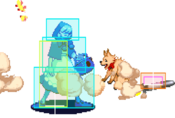
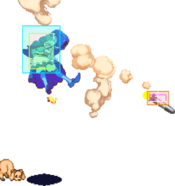
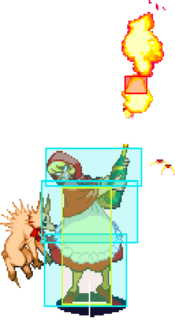
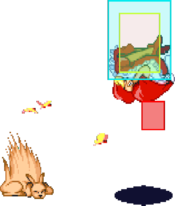
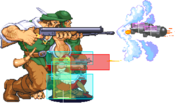
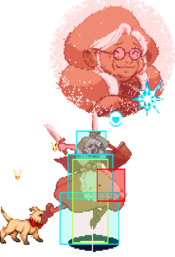
Very tricky projectile move. Stops your forward momentum completely and drops a mine. Toss at the end of a block-confirm to bait tech-hit (Zurashi). They'll still have to sit there and wait for the mine, or just flat out get hit from not expecting it. The advantage of this is option is that you can be out of the opponent's throw-range, so it's a much less risky Zurashi.
Absolutely dirty on oki. Predict their tech and place a mine at their feet for a noncommittal oki option that is safe against wake up upback and throw. If you do it meaty enough it will be safe against wake GCs as well. Once the mine is placed if they block correctly you can start doing standard Bulleta nonsense. Should the opponent fail to pushblock the mine it can be used as a tick throw setup for her command grab.Close Normals
CL.5LP
| Startup | Active | Recovery | Hit Adv. | Block Adv. | Renda Bonus |
|---|---|---|---|---|---|
| 4 | 4 | 10 | 6 | 5 | H: 9 G: 8 |
| Guard | Cancel | Invuln | Red Damage | White Damage | Gauge |
| mid | yes | - | 7 | 2 | H: 6 G: 3 W: 0 |
CL.5MP
| Startup | Active | Recovery | Hit Adv. | Block Adv. | Renda Bonus |
|---|---|---|---|---|---|
| 9 | 4 | 17 | 6 | 5 | N/A |
| Guard | Cancel | Invuln | Red Damage | White Damage | Gauge |
| mid | yes | - | 17 | 6 | H: 15 G: 9 W: 3 |
CL.5LK
| Startup | Active | Recovery | Hit Adv. | Block Adv. | Renda Bonus |
|---|---|---|---|---|---|
| 5 | 5 | 9 | 2 | 1 | H: 5 G: 4 |
| Guard | Cancel | Invuln | Red Damage | White Damage | Gauge |
| mid | yes | - | 7 | 3 | H: 6 G: 3 W: 0 |
CL.5MK
Crouching Normals
2LP
| Startup | Active | Recovery | Hit Adv. | Block Adv. | Renda Bonus |
|---|---|---|---|---|---|
| 4 | 4 | 10 | 6 | 5 | H: 9 G: 8 |
| Guard | Cancel | Invuln | Red Damage | White Damage | Gauge |
| mid | yes | - | 7 | 3 | H: 6 G: 3 W: 0 |
2MP
| Startup | Active | Recovery | Hit Adv. | Block Adv. | Renda Bonus |
|---|---|---|---|---|---|
| 6 | 3 | 16 | 7 | 6 | N/A |
| Guard | Cancel | Invuln | Red Damage | White Damage | Gauge |
| low | yes | - | 16 | 7 | H: 15 G: 9 W: 3 |
2HP
| Startup | Active | Recovery | Hit Adv. | Block Adv. | Renda Bonus |
|---|---|---|---|---|---|
| 9 | 3{(3)3}x6 | 27 | -16 | -17 | N/A |
| Guard | Cancel | Invuln | Red Damage | White Damage | Gauge |
| mid | no | - | 7x7 | 3x7 | H: 9+3x6 G: 7+1x6 W: 6 |
2LK
| Startup | Active | Recovery | Hit Adv. | Block Adv. | Renda Bonus |
|---|---|---|---|---|---|
| 4 | 4 | 10 | 6 | 5 | H: 9 G: 8 |
| Guard | Cancel | Invuln | Red Damage | White Damage | Gauge |
| low | yes | - | 7 | 3 | H: 6 G: 3 W: 0 |
2MK
| Startup | Active | Recovery | Hit Adv. | Block Adv. | Renda Bonus |
|---|---|---|---|---|---|
| 6 | 3 | 16 | 5 | 4 | N/A |
| Guard | Cancel | Invuln | Red Damage | White Damage | Gauge |
| low | yes | - | 15 | 6 | H: 15 G: 9 W: 3 |
2HK
| Startup | Active | Recovery | Hit Adv. | Block Adv. | Renda Bonus |
|---|---|---|---|---|---|
| 7 | 3 | 23 | - | -3 | N/A |
| Guard | Cancel | Invuln | Red Damage | White Damage | Gauge |
| low | no | - | 17 | 7 | H: 24 G: 15 W: 6 |
Air Normals
J.LP
| Startup | Active | Recovery | Hit Adv. | Block Adv. | Renda Bonus |
|---|---|---|---|---|---|
| 5 | 6 | 3 | - | - | N/A |
| Guard | Cancel | Invuln | Red Damage | White Damage | Gauge |
| overhead | no | - | 8 | 4 | H: 6 G: 3 W: 0 |
8J.MP
| Startup | Active | Recovery | Hit Adv. | Block Adv. | Renda Bonus |
|---|---|---|---|---|---|
| 7 | 3 | 11 | - | - | N/A |
| Guard | Cancel | Invuln | Red Damage | White Damage | Gauge |
| overhead | no | - | 17 | 6 | H: 15 G: 9 W: 3 |
9J.MP
| Startup | Active | Recovery | Hit Adv. | Block Adv. | Renda Bonus |
|---|---|---|---|---|---|
| 5 | 4 | 6 | - | - | N/A |
| Guard | Cancel | Invuln | Red Damage | White Damage | Gauge |
| overhead | no | - | 16 | 6 | H: 15 G: 9 W: 3 |
8J.HP
| Startup | Active | Recovery | Hit Adv. | Block Adv. | Renda Bonus |
|---|---|---|---|---|---|
| 13 | 3(3)3 | 9 | - | - | N/A |
| Guard | Cancel | Invuln | Red Damage | White Damage | Gauge |
| overhead | no | - | 9+9 | 4+4 | H: 15+9 G: 10+4 W: 6 |
9J.HP
| Startup | Active | Recovery | Hit Adv. | Block Adv. | Renda Bonus |
|---|---|---|---|---|---|
| 13 | 3(3)3 | 10 | - | - | N/A |
| Guard | Cancel | Invuln | Red Damage | White Damage | Gauge |
| overhead | no | - | 9+9 | 4+4 | H: 15+9 G: 10+4 W: 6 |
J.LK
| Startup | Active | Recovery | Hit Adv. | Block Adv. | Renda Bonus |
|---|---|---|---|---|---|
| 5 | 2 | 3 | - | - | N/A |
| Guard | Cancel | Invuln | Red Damage | White Damage | Gauge |
| overhead | no | - | 8 | 4 | H: 6 G: 3 W: 0 |
8J.MK
| Startup | Active | Recovery | Hit Adv. | Block Adv. | Renda Bonus |
|---|---|---|---|---|---|
| 7 | 6 | 7 | - | - | N/A |
| Guard | Cancel | Invuln | Red Damage | White Damage | Gauge |
| overhead | no | - | 17 | 7 | H: 15 G: 9 W: 3 |
9J.MK
| Startup | Active | Recovery | Hit Adv. | Block Adv. | Renda Bonus |
|---|---|---|---|---|---|
| 7 | 7 | 3 | - | - | N/A |
| Guard | Cancel | Invuln | Red Damage | White Damage | Gauge |
| overhead | no | - | 16 | 7 | H: 15 G: 9 W: 3 |
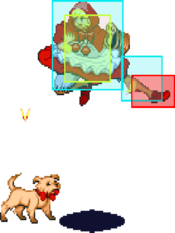
9J.HK
| Startup | Active | Recovery | Hit Adv. | Block Adv. | Renda Bonus |
|---|---|---|---|---|---|
| 11 | 4 | 20 | - | - | N/A |
| Guard | Cancel | Invuln | Red Damage | White Damage | Gauge |
| mid | no | - | 20 | 8 | H: 24 G: 15 W: 6 |
Command Normals
Tricky Basket
| Startup | Active | Recovery | Hit Adv. | Block Adv. | Renda Bonus |
|---|---|---|---|---|---|
| 12 | 4 | 17 | 4 | 3 | N/A |
| Guard | Cancel | Invuln | Red Damage | White Damage | Gauge |
| mid | no | - | 16 | 7 | H: 15 G: 9 W: 3 |
Surprise & Hop
| Startup | Active | Recovery | Hit Adv. | Block Adv. | Renda Bonus |
|---|---|---|---|---|---|
| 5 | 9 | 20 | -3 | -4 | N/A |
| Guard | Cancel | Invuln | Red Damage | White Damage | Gauge |
| mid | no | - | 15 | 7 | H: 15 G: 9 W: 3 |
3HK
| Startup | Active | Recovery | Hit Adv. | Block Adv. | Renda Bonus |
|---|---|---|---|---|---|
| 15 | 52 | 35 | - | -10 | N/A |
| Guard | Cancel | Invuln | Red Damage | White Damage | Gauge |
| mid | no | - | 21 | 8 | H: 24 G: 15 W: 6 |
Tell Me Why
| Startup | Active | Recovery | Hit Adv. | Block Adv. | Renda Bonus |
|---|---|---|---|---|---|
| 0 | 0 | 34 | - | - | N/A |
| Guard | Cancel | Invuln | Red Damage | White Damage | Gauge |
| - | no | 4-23 throw | - | 0 | H: - G: 0 W: 0 |
Dashing Normals
Stumble & Blade
| Startup | Active | Recovery | Hit Adv. | Block Adv. | Renda Bonus |
|---|---|---|---|---|---|
| 21 | 8 | 22 | -1 | -2 | N/A |
| Guard | Cancel | Invuln | Red Damage | White Damage | Gauge |
| overhead | no | - | 16 | 7 | H: 5 G: 9 W: 3 |
Normal Throws
6MP or 6HP
| Startup | Active | Recovery | Hit Adv. | Block Adv. | Renda Bonus |
|---|---|---|---|---|---|
| 1 | - | 120 + landing 1 | - | - | N/A |
| Guard | Cancel | Invuln | Red Damage | White Damage | Gauge |
| throw | no | 1-72 whole body | 21 (10) | 8 (4) | H: 9 G: 0 W: 0 |
J.6P or J.4P
| Startup | Active | Recovery | Hit Adv. | Block Adv. | Renda Bonus |
|---|---|---|---|---|---|
| 1 | - | 72+45+landing 12+turning 1 | - | - | N/A |
| Guard | Cancel | Invuln | Red Damage | White Damage | Gauge |
| throw | no | 1-72 whole body | 22 (11) | 8 (4) | H: 9 G: 0 W: 0 |
Special Moves
High Smile & Missile
[4],6P
| Startup | Active | Recovery | Hit Adv. | Block Adv. | Renda Bonus |
|---|---|---|---|---|---|
| 10 | 47 | 27 | - | -1 | N/A |
| Guard | Cancel | Invuln | Red Damage | White Damage | Gauge |
| mid | no | - | 17 | 4 | H: 21 G: 18 W: 15 |
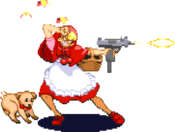
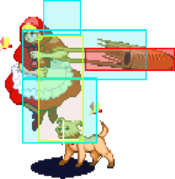
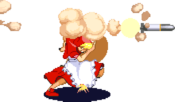
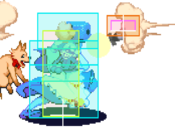
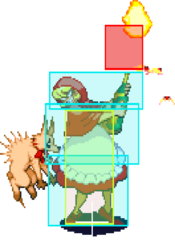
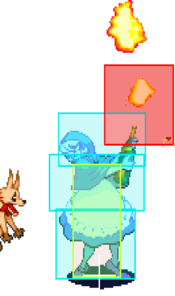
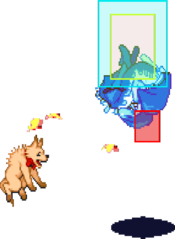
- (LP Version): This missile is best used to stop steep angled or IAD pressure. Think Q-Bee rushdown or Talbain jump-ins. It can also be worked into your close range pressure game.
- (MP Version): The odd missile that doesn't have any specific use. Very specifically, you could try to get characters to 'fall' on it as they come down from an empty aerial move.
- (HP Version): This is best used when your opponent is being way too offensive but good with their pokes. That way you don't have to dash in to put on LP missiles where you might get hit, but you can still chip, build meter, and force them to come to you. Just be sure to look out for certain supers, like Talbain/Sasquatch beams or Felicia's helper super.
| Startup | Active | Recovery | Hit Adv. | Block Adv. | Renda Bonus |
|---|---|---|---|---|---|
| 10 | 59 | 27 | - | -2 | N/A |
| Guard | Cancel | Invuln | Red Damage | White Damage | Gauge |
| mid | no | - | 10x3 | 3x3 | H: 0 G: 0 W: 0 |
- (ES Version): Multiple hits with the only downfall being that its easily teched/guard cancelled, and it can also be comboed into off two low light normals (easier timing in the corner).
Low Smile & Missle
[4],6K
| Startup | Active | Recovery | Hit Adv. | Block Adv. | Renda Bonus |
|---|---|---|---|---|---|
| 10 | 47 | 27 | - | -1 | N/A |
| Guard | Cancel | Invuln | Red Damage | White Damage | Gauge |
| mid | no | - | 17 | 4 | H: 21 G: 18 W: 15 |
| Startup | Active | Recovery | Hit Adv. | Block Adv. | Renda Bonus |
|---|---|---|---|---|---|
| 10 | 59 | 27 | - | -2 | N/A |
| Guard | Cancel | Invuln | Red Damage | White Damage | Gauge |
| mid | no | - | 10x3 | 3x3 | H: 0 G: 0 W: 0 |
Hop & Missile
[2]8P
| Startup | Active | Recovery | Hit Adv. | Block Adv. | Renda Bonus |
|---|---|---|---|---|---|
| 27 | 33 | 48 + landing 5 | - | 1 | N/A |
| Guard | Cancel | Invuln | Red Damage | White Damage | Gauge |
| mid | no | - | 17 | 4 | H: 21 G: 18 W: 15 |
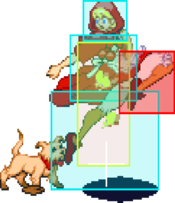
- (LP Version): The smallest angle downward shot. This can very sparingly be used in place of jumping out of corner pressure to try and get an opponent to throw something out, but there are usually better options.
- (MP Version): Medium angle shot. Not worth the time.
- (HP Version): Larger angle shot. Not worth the time, as the range it would be useful at calls for no reason not to use a normal ground HP missile.
| Startup | Active | Recovery | Hit Adv. | Block Adv. | Renda Bonus |
|---|---|---|---|---|---|
| 27 | 66 | 48 + landing 5 | - | - | N/A |
| Guard | Cancel | Invuln | Red Damage | White Damage | Gauge |
| mid | no | - | 10x3 | 3x3 | H: 0 G: 0 W: 0 |
- (ES Version): This almost has some use, as it goes fullscreen and almost homes in on an opponent. Very specifically, it can counter situations like a Sasquatch who spams the ES 22P ice spikes.
Cheer & Fire
623P
| Startup | Active | Recovery | Hit Adv. | Block Adv. | Renda Bonus |
|---|---|---|---|---|---|
| 13 | 20 | 13 | - | - | N/A |
| Guard | Cancel | Invuln | Red Damage | White Damage | Gauge |
| mid | no | - | 18 | 5 | H: 24 G: 21 W: 18 |
| Startup | Active | Recovery | Hit Adv. | Block Adv. | Renda Bonus |
|---|---|---|---|---|---|
| 15 | 20 | 17 | - | - | N/A |
| Guard | Cancel | Invuln | Red Damage | White Damage | Gauge |
| mid | no | - | 18 | 5 | H: 24 G: 21 W: 18 |
| Startup | Active | Recovery | Hit Adv. | Block Adv. | Renda Bonus |
|---|---|---|---|---|---|
| 17 | 21 | 21 | - | - | N/A |
| Guard | Cancel | Invuln | Red Damage | White Damage | Gauge |
| mid | no | - | 18 | 5 | H: 24 G: 21 W: 18 |
| Startup | Active | Recovery | Hit Adv. | Block Adv. | Renda Bonus |
|---|---|---|---|---|---|
| 11 | 4,8x8 | 18 | - | - | N/A |
| Guard | Cancel | Invuln | Red Damage | White Damage | Gauge |
| mid | no | - | 11x9 | 3x9 | H: 0 G: 0 W: 0 |
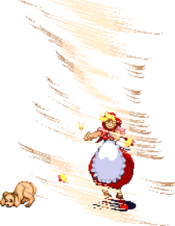
- (ES Version): The move stays out much longer and moves up and down.
Shyness & Strike
214P
| Startup | Active | Recovery | Hit Adv. | Block Adv. | Renda Bonus |
|---|---|---|---|---|---|
| 16-63 | 4 | 40 | - | -9 | N/A |
| Guard | Cancel | Invuln | Red Damage | White Damage | Gauge |
| mid | no | - | 19 | 4 | H: 24 G: 21 W: 18 |
| Startup | Active | Recovery | Hit Adv. | Block Adv. | Renda Bonus |
|---|---|---|---|---|---|
| 64-111 | 4 | 40 | - | -9 | N/A |
| Guard | Cancel | Invuln | Red Damage | White Damage | Gauge |
| mid | no | - | 21 | 5 | H: 24 G: 21 W: 18 |
| Startup | Active | Recovery | Hit Adv. | Block Adv. | Renda Bonus |
|---|---|---|---|---|---|
| 112-159 | 4 | 45 | - | -14 | N/A |
| Guard | Cancel | Invuln | Red Damage | White Damage | Gauge |
| mid | no | - | 23 | 6 | H: 24 G: 21 W: 18 |
| Startup | Active | Recovery | Hit Adv. | Block Adv. | Renda Bonus |
|---|---|---|---|---|---|
| 27 | 4 | 45 | - | --14 | N/A |
| Guard | Cancel | Invuln | Red Damage | White Damage | Gauge |
| mid | no | - | 28 | 8 | H: 0 G: 0 W: 0 |
Guard Cancel
623K
| Startup | Active | Recovery | Hit Adv. | Block Adv. | Renda Bonus |
|---|---|---|---|---|---|
| - | - | 39 | - | - | N/A |
| Guard | Cancel | Invuln | Red Damage | White Damage | Gauge |
| - | no | 1-29 whole body | 0 | 0 | H: 0 G: 0 W: 12 |
Command Throws
632[4]P
| Startup | Active | Recovery | Hit Adv. | Block Adv. | Renda Bonus |
|---|---|---|---|---|---|
| 2 | 1 | 38 | - | - | N/A |
| Guard | Cancel | Invuln | Red Damage | White Damage | Gauge |
| throw | no | 1 whole body | 27 | 8 | H: 21 G: 0 W: 12 |
| Startup | Active | Recovery | Hit Adv. | Block Adv. | Renda Bonus |
|---|---|---|---|---|---|
| 2 | 1 | 38 | - | - | N/A |
| Guard | Cancel | Invuln | Red Damage | White Damage | Gauge |
| throw | no | 1 whole body | 33 | 10 | H: 0 G: 0 W: 0 |
Pursuits
8P or 8K
| Startup | Active | Recovery | Hit Adv. | Block Adv. | Renda Bonus |
|---|---|---|---|---|---|
| 22 | 20 | landing 1 | - | - | N/A |
| Guard | Cancel | Invuln | Red Damage | White Damage | Gauge |
| mid | no | - | 1x6 | 1x6 | H: 12+2x5 G: 0 W: 6 |
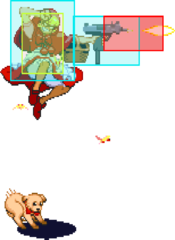
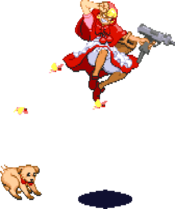
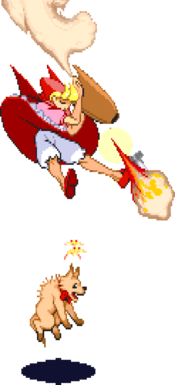
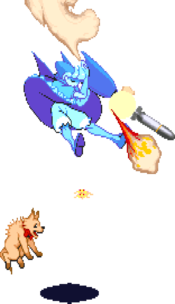
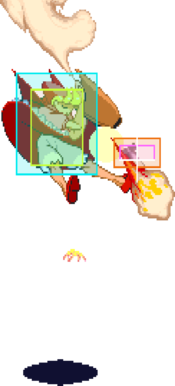
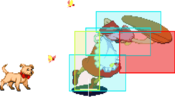
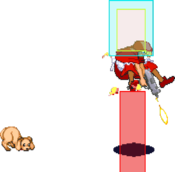
Bulleta leaps a considerable distance and shoots downward onto her opponent, getting pushed back upwards. Whiff or not, this pursuit is essential to Bulleta's gameplay. It homes in to wherever the opponent is knocked down while still being very fast
| Startup | Active | Recovery | Hit Adv. | Block Adv. | Renda Bonus |
|---|---|---|---|---|---|
| 22 | 20 | landing 1 | - | - | N/A |
| Guard | Cancel | Invuln | Red Damage | White Damage | Gauge |
| mid | no | - | 1x11+5 | 1x11+3 | H: 0 G: 0 W: 0 |
Ex Moves
412[6]PP
| Startup | Active | Recovery | Hit Adv. | Block Adv. | Renda Bonus |
|---|---|---|---|---|---|
| 25 | {2(2)}x26・1 | 44 | - | -106 | N/A |
| Guard | Cancel | Invuln | Red Damage | White Damage | Gauge |
| mid | no | - | 4x27 | 2x27 | H: 0 G: 0 W: 0 |
| Startup | Active | Recovery | Hit Adv. | Block Adv. | Renda Bonus |
|---|---|---|---|---|---|
| 27 | - | - | - | - | N/A |
| Guard | Cancel | Invuln | Red Damage | White Damage | Gauge |
| mid | no | - | 3x18 | 1x18 | H: 0 G: 0 W: 0 |
412[6]KK
| Startup | Active | Recovery | Hit Adv. | Block Adv. | Renda Bonus |
|---|---|---|---|---|---|
| 17 | 17 | 38 | - | -27 | N/A |
| Guard | Cancel | Invuln | Red Damage | White Damage | Gauge |
| mid | no | 1-16 whole body | 3x7+26 | 1x7+8 | H: 0 G: 0 W: 0 |
632[4]KK
| Startup | Active | Recovery | Hit Adv. | Block Adv. | Renda Bonus |
|---|---|---|---|---|---|
| 18 | 1 | 44 | - | - | N/A |
| Guard | Cancel | Invuln | Red Damage | White Damage | Gauge |
| mid | no | - | 42 | 13 | H: 0 G: 0 W: 0 |
Dark Force
The Killing Time - Same strength P + K
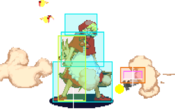
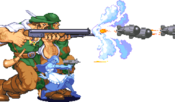
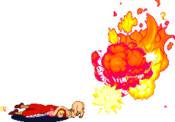
- All versions are the same. All of Bulleta's punches will be replaced with an instant missile that corresponds to the strength pushed, but you will keep all your kicks. That means you can dash into missiles, do multiple missiles at once, etc. Jumping and pressing will do the [2]8 Missile, pressing any P will be a high Missile, and crouching with any P will be a low Missile. Since you keep your kicks, this can be used regularly to move in with 66LK and pressure with lots of missiles, but it sees more use as a panic/runaway tool to get the initial Dark Force invincibility on startup and then dash away repeatedly while firing missiles.
Movement
Walk: The only reason you should ever be walking as Bulleta is perhaps when you are moving backwards or need to walk a very short distance to follow up Tricky Basket with a throw. Walk as little as possible!
Dash: This is how you should be moving on the ground. Watching any Bulleta player, you'll notice how often dashing is required. The startup of the dash covers a large distance very quickly, allowing it to be 'cancelled' with any normal. If you only need to move a short distance, simply tap LP or press back out of your dash. Learn the properties of the dash, and get familiar with your movement with it alone or cancelled by a normal/back, and understand when you are open off the dash to do things like normal throw.
Double Jump: Bulleta is the only character in the game with a double jump! This gives her very good standing in any aerial situation, and also allows you to avoid many things on the ground. Use double jump where applicable to get in your opponent or dodge, but the most important thing about Bulleta's jump is to know when to chicken guard and when to air chain. This concept tends to come very naturally as you play and train.
Colors
Notable Players
Japan
Japanese Player Index: http://www21.atwiki.jp/vsplayer/pages/23.html
| Name (English) | Name (Japanese) | Color | Location | Contact | Notes |
|---|---|---|---|---|---|
| Kosho | コショー | KK |
Kanto region | Bulleta GOD. | |
| Sako | — | LK |
Kansai region | http://twitter.com/sakonoko http://twitter.com/akikiwww |
OG Bulleta GOD Execution is the best in the world Retired |
| SuperMotiMoti | スーパーモチモチ | PP |
Kansai region | http://twitter.com/supermotimoti | Awesome ground/footsies game |
| Touhou | 徒歩 | LP |
Kanto region | http://twitter.com/tohololovitch | He is also an established IaMP player. |
| Akashi | — | LK |
Kanto region | http://twitter.com/game_overwork | http://orangech.tumblr.com Recently Married DD-Sas. Congrats! |
North America
| Name (English) | Name (Japanese) | Color | Location | Contact | Notes |
|---|---|---|---|---|---|
| Kain | ケイン | HK |
California, USA | https://twitter.com/KainZC7 | Long time player that is considered an execution monster. He started as a Lei-Lei player and has a pocket Bishamon. Has a long history with Hokuto No Ken too. |
| Fee Bee | フィービー | PP |
Kentucky, USA | https://twitter.com/feebeetweety | Recent player that has found success. She also organizes the Beginner's tournaments. |
| Goose | グース | Pacific Northwest, USA | https://twitter.com/chooseagoose | VMPNW's resident Bulleta. | |
| Baco | ベイコ | MK |
NorCal, USA | https://twitter.com/beikho | Originally from east coast, now resides in CA. |
| EmptyShiki | エンプティーシキ | LP |
Chicago, USA | https://twitter.com/Emptyshiki | Long time player. Has a ridiculous amount of CPS2 boards. |
