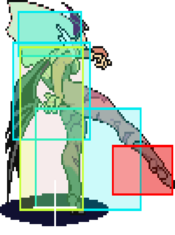
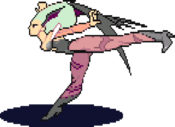
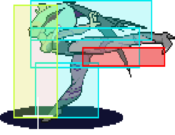
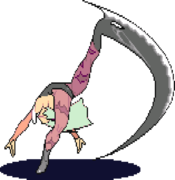
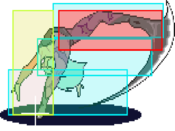
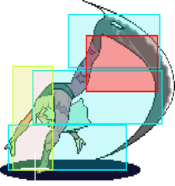
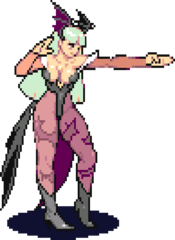
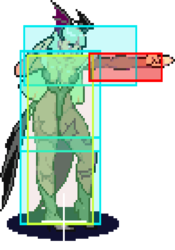
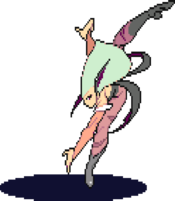
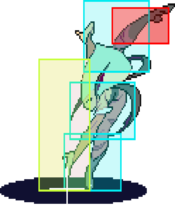
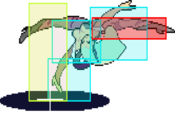
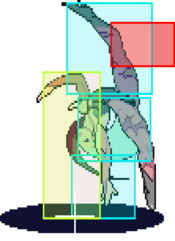
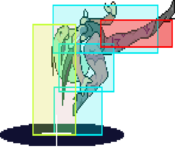
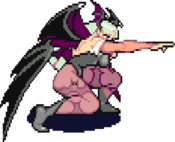
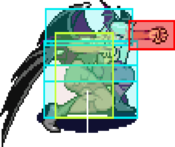
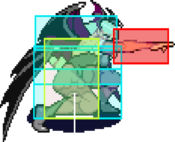
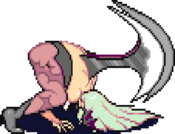
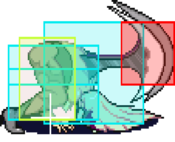
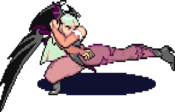
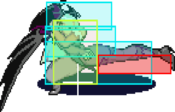
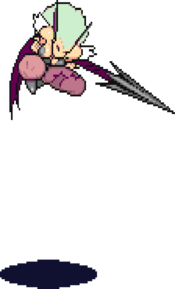
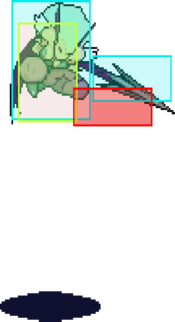
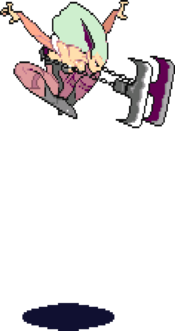
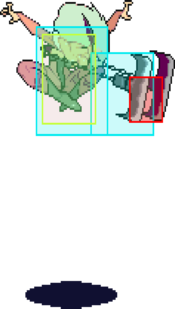
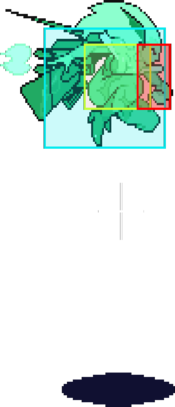
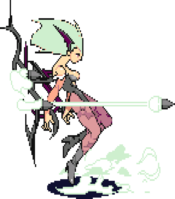
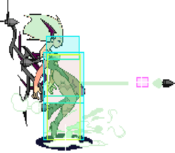
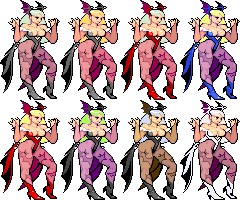
Vampire Savior/Morrigan
Introduction
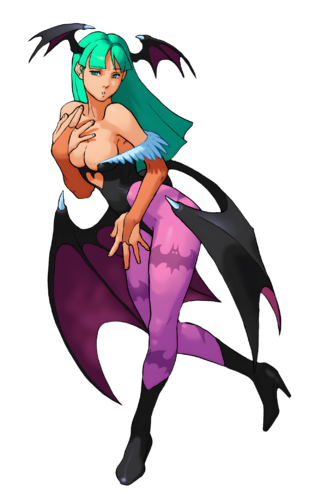
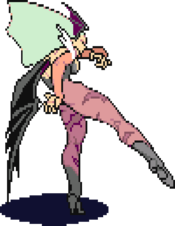
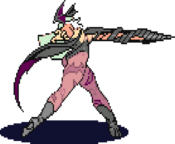
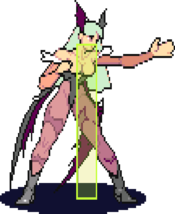
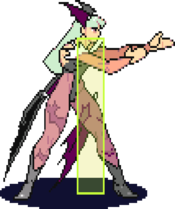
Morrigan Aensland (モリガン), the Succubus
The adopted daughter of Belial Aensland, the ruler of Makai. Morrigan was born as a special succubus, who's power dwarfed those of the other Darkstalkers. Belial foresaw that Morrigan's great power would be disastrous for the kingdom if she could not control it, and so he sealed it away for her to one day master once she became older. Holding a great faith in his daughter, Belial placed the future of Makai in her hands and made Morrigan heir to the kingdom. Originally hedonistic and irresponsible, Morrigan would develop a new outlook on life, after reuniting with the final missing part of her soul, Lilith.
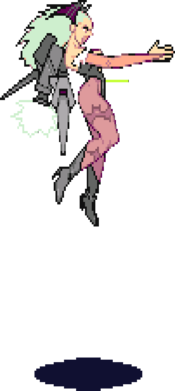
Morrigan's playstyle is often compared to that of a shoto-character (Ryu & Ken do parallel Demitri & Morrigan) from Capcom's Street Fighter series, possessing fireball and dragon punch type moves. Morrigan is widely considered one of the weaker characters in the game. If you want to put on a jet pack, setup high/low offense and throw DPs, then Morrigan is the right character for you.
Gameplay
Primary objectives:
- Be patient at neutral
- Gain meter with kara cancels
- Setup for anti-airs
- Utilize her effective walk speed
- Setup projectile knockdowns, which turn into okizeme opportunities
- Okizeme options
- Dash in for a high/low or left/right offense
- Beat Ireppa & blocking with option select HP-throw x option select Darkness Illusion (input is throw then a delayed DI) or option select Vector Drain x ST.HP
- Confirm hits into big damage with Darkness Illusion
- Utilize Morrigan's effective cheap kill setups to finish the opponent
| Strengths | Weaknesses |
|---|---|
|
|
Movement
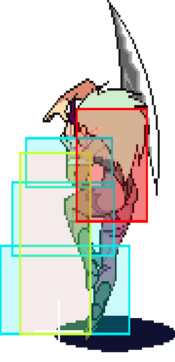
Walk: Fast walk speed, tall stance.
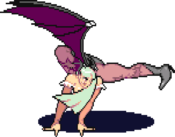
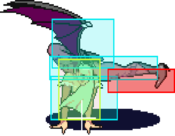
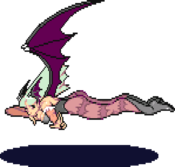
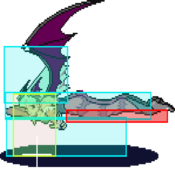
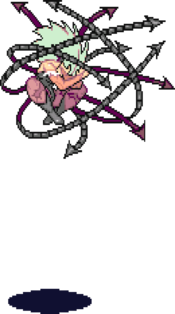
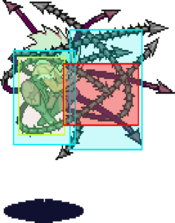
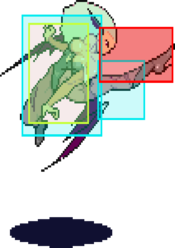
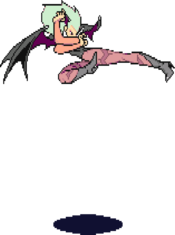
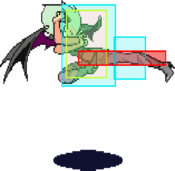
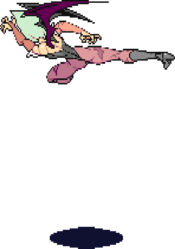
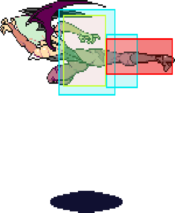
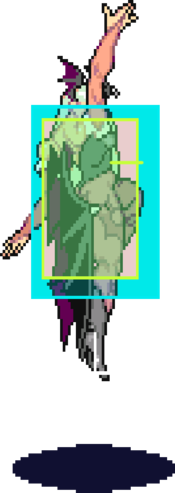
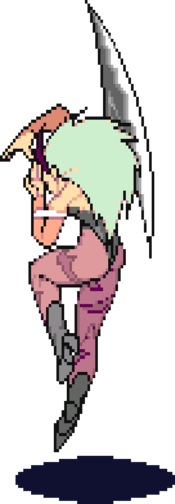
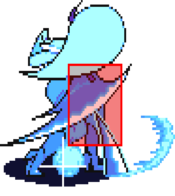
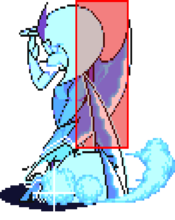
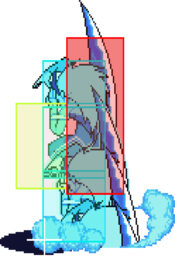
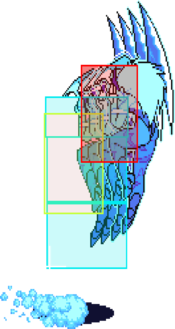
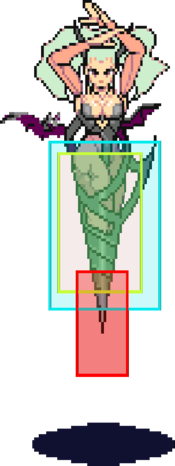
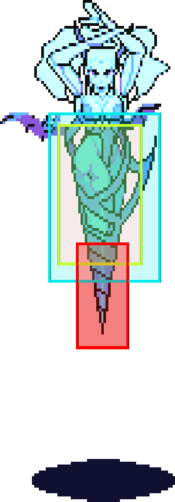
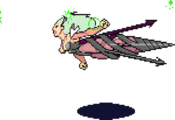
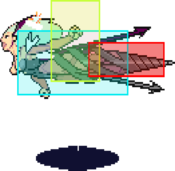
Dash: A ground-to-air dash, aka "flight" dash. Both her forward and backward dashes take her into the air where she can perform jumping attacks. A major tool for high/low rushdown. Another advantage to this kind of dash, apart from very fast overheads, is that it can dodge low attacks and if you're hit out of the air you will be reset rather than getting full-comboed. If you cross the opponent up during this dash you will auto-correct your direction to face the opponent, which also makes it extremely useful for left/right mixups as well as high/low. Morrigan's dash is also somewhat controllable, as you are able to input an upwards direction to modify her trajectory to a more vertical angle. The use of changing trajectory to the vertical dash is mostly for timing and positioning purposes on okizeme. Should you knock the opponent down the upward dash can keep you in place horizontally for a moment after a forward or backwards dash, that can allow you to land a meaty attack, and because it auto-corrects like her normal dash you can potentially cover multiple ground tech directions.
Upward Dash: Similar in nature to her ground dash. However this is done by inputting down then up (2 8). She also has a forwards or backwards version, like her ground dash. Her backwards version must be done by inputting 7, while her forwards one can be done by pressing either 8 or 9, after pressing any downwards direction. During this version you can press a horizontal motion to change her trajectory, if doing the forwards one you can press forward to change to that trajectory, if moving backwards you must press backwards. The use of this is somewhat limited, though it can take you higher on the screen than a normal jump which can be useful for positioning air Soul Fists or escaping pressure momentarily.
Jump: Average jump arc. Decent for airthrowing.
Normal Moves
Standing Normals
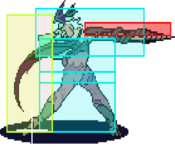
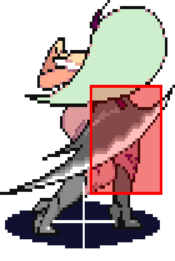
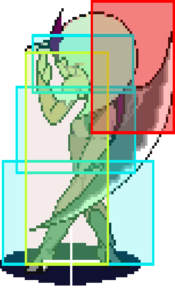
5LP
| Startup | Active | Recovery | Hit Adv. | Block Adv. | Renda Bonus |
|---|---|---|---|---|---|
| 5 | 3 | 7 | 6 | 5 | H: 9 G: 8 |
| Guard | Cancel | Invuln | Red Damage | White Damage | Gauge |
| mid | yes | - | 6 | 3 | H: 6 G: 3 W: 0 |
5MP
| Startup | Active | Recovery | Hit Adv. | Block Adv. | Renda Bonus |
|---|---|---|---|---|---|
| 8 | 3 | 17 | 4 | 3 | N/A |
| Guard | Cancel | Invuln | Red Damage | White Damage | Gauge |
| mid | yes | - | 15 | 6 | H: 15 G: 9 W: 3 |
5HP
| Startup | Active | Recovery | Hit Adv. | Block Adv. | Renda Bonus |
|---|---|---|---|---|---|
| 9 | 4 | 26 | -1 | -2 | N/A |
| Guard | Cancel | Invuln | Red Damage | White Damage | Gauge |
| mid | no | - | 19 | 6 | H: 24 G: 15 W: 6 |
5LK
| Startup | Active | Recovery | Hit Adv. | Block Adv. | Renda Bonus |
|---|---|---|---|---|---|
| 6 | 3 | 7 | 6 | 5 | H: 9 G: 8 |
| Guard | Cancel | Invuln | Red Damage | White Damage | Gauge |
| mid | yes | - | 6 | 3 | H: 6 G: 3 W: 0 |
5MK
| Startup | Active | Recovery | Hit Adv. | Block Adv. | Renda Bonus |
|---|---|---|---|---|---|
| 6 | 3 | 16 | 5 | 4 | N/A |
| Guard | Cancel | Invuln | Red Damage | White Damage | Gauge |
| mid | no | - | 15 | 6 | H: 15 G: 9 W: 3 |
5HK
| Startup | Active | Recovery | Hit Adv. | Block Adv. | Renda Bonus |
|---|---|---|---|---|---|
| 11 | 5 | 26 | -3 | -4 | N/A |
| Guard | Cancel | Invuln | Red Damage | White Damage | Gauge |
| mid | no | - | 19,21 | 7,7 | H: 24 G: 15 W: 6 |
Close Normals
CL.5LP
| Startup | Active | Recovery | Hit Adv. | Block Adv. | Renda Bonus |
|---|---|---|---|---|---|
| 5 | 3 | 7 | 6 | 5 | H: 9 G: 8 |
| Guard | Cancel | Invuln | Red Damage | White Damage | Gauge |
| mid | yes | - | - | 3 | H: 6 G: 3 W: 0 |
CL.5MP
| Startup | Active | Recovery | Hit Adv. | Block Adv. | Renda Bonus |
|---|---|---|---|---|---|
| 6 | 4 | 22 | -3 | -4 | N/A |
| Guard | Cancel | Invuln | Red Damage | White Damage | Gauge |
| mid | yes | - | 16 | 6 | H: 15 G: 9 W: 3 |
CL.5HP
| Startup | Active | Recovery | Hit Adv. | Block Adv. | Renda Bonus |
|---|---|---|---|---|---|
| 9 | 3 | 22 | 3 | 2 | N/A |
| Guard | Cancel | Invuln | Red Damage | White Damage | Gauge |
| mid | no | - | 20 | 7 | H: 24 G: 15 W: 6 |
CL.5HK
| Startup | Active | Recovery | Hit Adv. | Block Adv. | Renda Bonus |
|---|---|---|---|---|---|
| 8 | 3,3,3,3 | 27 | -5 | -6 | N/A |
| Guard | Cancel | Invuln | Red Damage | White Damage | Gauge |
| mid | no | - | 6x4 | 2x4 | H: 11+5x3 G: 8+2x3 W: 6 |
Crouching Normals
2LP
| Startup | Active | Recovery | Hit Adv. | Block Adv. | Renda Bonus |
|---|---|---|---|---|---|
| 5 | 3,3 | 6 | 7 | 6 | H: 10 G: 9 |
| Guard | Cancel | Invuln | Red Damage | White Damage | Gauge |
| mid | no | - | 3+3 | 1+1 | H: 6+6 G: 3+3 W: 0 |
2MP
| Startup | Active | Recovery | Hit Adv. | Block Adv. | Renda Bonus |
|---|---|---|---|---|---|
| 6 | 3 | 18 | 3 | 2 | N/A |
| Guard | Cancel | Invuln | Red Damage | White Damage | Gauge |
| mid | yes | - | 14 | 5 | H: 15 G: 9 W: 3 |
2HP
| Startup | Active | Recovery | Hit Adv. | Block Adv. | Renda Bonus |
|---|---|---|---|---|---|
| 9 | 3 | 24 | 1 | 0 | N/A |
| Guard | Cancel | Invuln | Red Damage | White Damage | Gauge |
| mid | no | - | 20 | 8 | H: 24 G: 15 W: 6 |
2LK
| Startup | Active | Recovery | Hit Adv. | Block Adv. | Renda Bonus |
|---|---|---|---|---|---|
| 5 | 3 | 7 | 6 | 5 | H: 9 G: 8 |
| Guard | Cancel | Invuln | Red Damage | White Damage | Gauge |
| low | yes | - | 5 | 3 | H: 6 G: 3 W: 0 |
2MK
| Startup | Active | Recovery | Hit Adv. | Block Adv. | Renda Bonus |
|---|---|---|---|---|---|
| 6 | 3 | 16 | 5 | 4 | N/A |
| Guard | Cancel | Invuln | Red Damage | White Damage | Gauge |
| low | yes | - | 15 | 6 | H: 15 G: 9 W: 3 |
2HK
| Startup | Active | Recovery | Hit Adv. | Block Adv. | Renda Bonus |
|---|---|---|---|---|---|
| 8 | 4 | 25 | - | -5 | N/A |
| Guard | Cancel | Invuln | Red Damage | White Damage | Gauge |
| low | no | - | 17 | 7 | H: 24 G: 15 W: 6 |
Air Normals
J.LP
| Startup | Active | Recovery | Hit Adv. | Block Adv. | Renda Bonus |
|---|---|---|---|---|---|
| 5 | 6 | 5 | - | - | N/A |
| Guard | Cancel | Invuln | Red Damage | White Damage | Gauge |
| overhead | yes | - | 7 | 3 | H: 6 G: 3 W: 0 |
J.MP
| Startup | Active | Recovery | Hit Adv. | Block Adv. | Renda Bonus |
|---|---|---|---|---|---|
| 6 | 3 | 12 | - | - | N/A |
| Guard | Cancel | Invuln | Red Damage | White Damage | Gauge |
| overhead | yes | - | 16 | 6 | H: 15 G: 9 W: 3 |
J.HP
| Startup | Active | Recovery | Hit Adv. | Block Adv. | Renda Bonus |
|---|---|---|---|---|---|
| 8 | 3 | 15 | - | - | N/A |
| Guard | Cancel | Invuln | Red Damage | White Damage | Gauge |
| overhead | no | - | 19 | 7 | H: 24 G: 15 W: 6 |
J.LK
| Startup | Active | Recovery | Hit Adv. | Block Adv. | Renda Bonus |
|---|---|---|---|---|---|
| 5 | 6 | 5 | - | - | N/A |
| Guard | Cancel | Invuln | Red Damage | White Damage | Gauge |
| overhead | yes | - | 7 | 3 | H: 6 G: 3 W: 0 |
J.MK
| Startup | Active | Recovery | Hit Adv. | Block Adv. | Renda Bonus |
|---|---|---|---|---|---|
| 6 | 7 | 7 | - | - | N/A |
| Guard | Cancel | Invuln | Red Damage | White Damage | Gauge |
| overhead | yes | - | 15 | 6 | H: 15 G: 9 W: 3 |
8J.HK
| Startup | Active | Recovery | Hit Adv. | Block Adv. | Renda Bonus |
|---|---|---|---|---|---|
| 7 | 3 | 13 | - | - | N/A |
| Guard | Cancel | Invuln | Red Damage | White Damage | Gauge |
| overhead | no | - | 20 | 7 | H: 24 G: 15 W: 6 |
J.HK
| Startup | Active | Recovery | Hit Adv. | Block Adv. | Renda Bonus |
|---|---|---|---|---|---|
| 7 | 3 | 10 | - | - | N/A |
| Guard | Cancel | Invuln | Red Damage | White Damage | Gauge |
| overhead | no | - | 20 | 7 | H: 24 G: 15 W: 6 |
Normal Throws
6MP or 6HP
| Startup | Active | Recovery | Hit Adv. | Block Adv. | Renda Bonus |
|---|---|---|---|---|---|
| 1 | - | 69 | - | - | N/A |
| Guard | Cancel | Invuln | Red Damage | White Damage | Gauge |
| throw | no | 1-68 whole body | 21 (21) | 7 (7) | H: 9 G: 0 W: 0 |
6MK or 6HK
| Startup | Active | Recovery | Hit Adv. | Block Adv. | Renda Bonus |
|---|---|---|---|---|---|
| 1 | - | 131-150 | - | - | N/A |
| Guard | Cancel | Invuln | Red Damage | White Damage | Gauge |
| throw | no | 1-106~125 whole body | 21 (10) | 7 (3) | H: 9 G: 0 W: 0 |
J.6P or J.4P
| Startup | Active | Recovery | Hit Adv. | Block Adv. | Renda Bonus |
|---|---|---|---|---|---|
| 1 | - | 135 + 38 + landing 1 | - | - | N/A |
| Guard | Cancel | Invuln | Red Damage | White Damage | Gauge |
| throw | no | 1-135 whole body | 24 (8) | 24 (8) | H: 9 G: 0 W: 0 |
Special Moves
Soul Fist
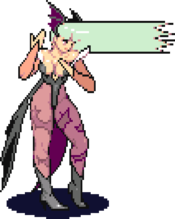
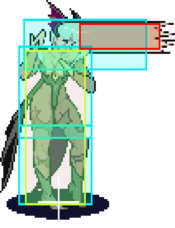
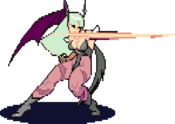
236LP
| Startup | Active | Recovery | Hit Adv. | Block Adv. | Renda Bonus |
|---|---|---|---|---|---|
| 18 | 56 | 36 | -1 | -2 | N/A |
| Guard | Cancel | Invuln | Red Damage | White Damage | Gauge |
| mid | no | - | 17 | 6 | H: 21 G: 16 W: 12 |
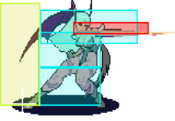
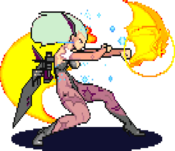
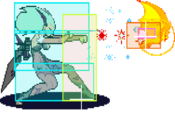
Short distance and slow speed. Great for keeping Sasquatches away
| Startup | Active | Recovery | Hit Adv. | Block Adv. | Renda Bonus |
|---|---|---|---|---|---|
| 18 | 72 | 36 | -1 | -2 | N/A |
| Guard | Cancel | Invuln | Red Damage | White Damage | Gauge |
| mid | no | - | 17 | 6 | H: 21 G: 16 W: 12 |
Medium distance/speed.
| Startup | Active | Recovery | Hit Adv. | Block Adv. | Renda Bonus |
|---|---|---|---|---|---|
| 18 | 88 | 36 | -1 | -2 | N/A |
| Guard | Cancel | Invuln | Red Damage | White Damage | Gauge |
| mid | no | - | 17 | 6 | H: 21 G: 16 W: 12 |
High distance/speed. Mix this up when when opponents like Demitri start doing tricks around your LP version
| Startup | Active | Recovery | Hit Adv. | Block Adv. | Renda Bonus |
|---|---|---|---|---|---|
| 20 | outside of screen | 36 | - | -22 | N/A |
| Guard | Cancel | Invuln | Red Damage | White Damage | Gauge |
| mid | no | - | 9x3 | 3x3 | H: 0 G: 0 W: 0 |
Adds more hits & damage. This version gains huge amounts of advantage on block, but is GC/Tech bait. Low Risk Medium-Reward poke to win neutral
| Startup | Active | Recovery | Hit Adv. | Block Adv. | Renda Bonus |
|---|---|---|---|---|---|
| 19 | until ground | variable + landing 1 | - | - | N/A |
| Guard | Cancel | Invuln | Red Damage | White Damage | Gauge |
| mid | no | - | 17 | 6 | H: 21 G: 16 W: 12 |
Slow speed that is effective for walling off ground approaches
| Startup | Active | Recovery | Hit Adv. | Block Adv. | Renda Bonus |
|---|---|---|---|---|---|
| 20 | until ground | variable + landing 1 | - | - | N/A |
| Guard | Cancel | Invuln | Red Damage | White Damage | Gauge |
| mid | no | - | 17 | 6 | H: 21 G: 16 W: 12 |
| Startup | Active | Recovery | Hit Adv. | Block Adv. | Renda Bonus |
|---|---|---|---|---|---|
| 21 | until ground | variable + landing 1 | - | - | N/A |
| Guard | Cancel | Invuln | Red Damage | White Damage | Gauge |
| mid | no | - | 17 | 6 | H: 21 G: 16 W: 12 |
| Startup | Active | Recovery | Hit Adv. | Block Adv. | Renda Bonus |
|---|---|---|---|---|---|
| 18 | until ground | variable + landing 1 | - | - | N/A |
| Guard | Cancel | Invuln | Red Damage | White Damage | Gauge |
| mid | no | - | 9x3 | 3x3 | H: 0 G: 0 W: 0 |
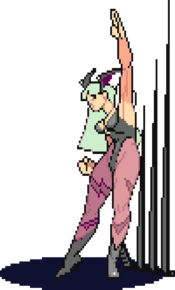
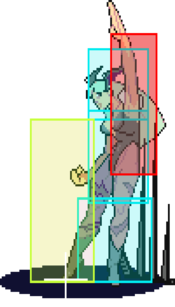
Shadow Blade
623LP
| Startup | Active | Recovery | Hit Adv. | Block Adv. | Renda Bonus |
|---|---|---|---|---|---|
| 5 | 16 | 20 + landing 4 + turn 1 | - | -17 | N/A |
| Guard | Cancel | Invuln | Red Damage | White Damage | Gauge |
| mid | no | 1-7 whole body | 23,16 | 6,5 | H: 31 G: 26 W: 22 |
Short & quick, great for reactive anti-airs & building meter with HK Kara DP
| Startup | Active | Recovery | Hit Adv. | Block Adv. | Renda Bonus |
|---|---|---|---|---|---|
| 5 | 21 | 18 + landing 4 + turn 1 | - | -20 | N/A |
| Guard | Cancel | Invuln | Red Damage | White Damage | Gauge |
| mid | no | 1-7 whole body | 25,17 | 7,5 | H: 31 G: 26 W: 22 |
I rarely use this over LP or HP
| Startup | Active | Recovery | Hit Adv. | Block Adv. | Renda Bonus |
|---|---|---|---|---|---|
| 5 | 26 | 26 + landing 4 + turn 1 | - | -33 | N/A |
| Guard | Cancel | Invuln | Red Damage | White Damage | Gauge |
| mid | no | 1-7 whole body | 27,18 | 8,5 | H: 31 G: 26 W: 22 |
The move rises up much higher, so it can be effective at catching Lei-Lei, Jedah & Morrigan who hover at the top of the sceen.
| Startup | Active | Recovery | Hit Adv. | Block Adv. | Renda Bonus |
|---|---|---|---|---|---|
| 5 | 3,3,3,3,5,5,5,5 | 26 + landing 4 + turn 1 | - | -30 | N/A |
| Guard | Cancel | Invuln | Red Damage | White Damage | Gauge |
| mid | no | 1-10 whole body | 8x8 | 3x8 | H: 0 G: 0 W: 0 |
Guard Cancel
623LP
| Startup | Active | Recovery | Hit Adv. | Block Adv. | Renda Bonus |
|---|---|---|---|---|---|
| 5 | 16 | 20 + landing 4 + turn 1 | - | -17 | N/A |
| Guard | Cancel | Invuln | Red Damage | White Damage | Gauge |
| mid | no | 1-7 whole body | 11,7 | 3,2 | H: 31 G: 26 W: 22 |
Go-to GC options without meter
| Startup | Active | Recovery | Hit Adv. | Block Adv. | Renda Bonus |
|---|---|---|---|---|---|
| 5 | 21 | 18 + landing 4 + turn 1 | - | -20 | N/A |
| Guard | Cancel | Invuln | Red Damage | White Damage | Gauge |
| mid | no | 1-7 whole body | 12,8 | 3,2 | H: 31 G: 26 W: 22 |
| Startup | Active | Recovery | Hit Adv. | Block Adv. | Renda Bonus |
|---|---|---|---|---|---|
| 5 | 26 | 26 + landing 4 + turn 1 | - | -33 | N/A |
| Guard | Cancel | Invuln | Red Damage | White Damage | Gauge |
| mid | no | 1-7 whole body | 13,8 | 4,2 | H: 31 G: 26 W: 22 |
| Startup | Active | Recovery | Hit Adv. | Block Adv. | Renda Bonus |
|---|---|---|---|---|---|
| 5 | 3,3,3,3,5,5,5,5 | 26 + landing 4 + turn 1 | - | -30 | N/A |
| Guard | Cancel | Invuln | Red Damage | White Damage | Gauge |
| mid | no | 1-10 whole body | 3x8 | 1x8 | H: 0 G: 0 W: 0 |
Command Throw
63214P
No results Go-to option select without meter
| Startup | Active | Recovery | Hit Adv. | Block Adv. | Renda Bonus |
|---|---|---|---|---|---|
| 5 | 1 | 422 | - | - | N/A |
| Guard | Cancel | Invuln | Red Damage | White Damage | Gauge |
| throw | no | 1-4 whole body | 34 | 8 | H: 0 G: 0 W: 0 |
Pursuit
8P/K or 8KK/PP
| Startup | Active | Recovery | Hit Adv. | Block Adv. | Renda Bonus |
|---|---|---|---|---|---|
| 38 | 5 | landing 1 | - | - | N/A |
| Guard | Cancel | Invuln | Red Damage | White Damage | Gauge |
| mid | no | 1-6 feet | 2x4 | 2x4 | H: 10+4x3 G: 0 W: 6 |
Go-to option
| Startup | Active | Recovery | Hit Adv. | Block Adv. | Renda Bonus |
|---|---|---|---|---|---|
| 38 | 5 | landing 1 | - | - | N/A |
| Guard | Cancel | Invuln | Red Damage | White Damage | Gauge |
| mid | no | 1-6 feet | 2x8 | 2x8 | H: 0 G: 0 W: 0 |
Ex Moves
63214K~K
| Startup | Active | Recovery | Hit Adv. | Block Adv. | Renda Bonus |
|---|---|---|---|---|---|
| 7 | 3xn until landing | land 1 | 12 | 11 | N/A |
| Guard | Cancel | Invuln | Red Damage | White Damage | Gauge |
| mid | no | - | 4xn | 1xn | H: 0 G: 0 W: 0 |
LP,LP,Towards,LK,HP
| Startup | Active | Recovery | Hit Adv. | Block Adv. | Renda Bonus |
|---|---|---|---|---|---|
| 4 | 20 | 1 + landing 1 | - | -23 | N/A |
| Guard | Cancel | Invuln | Red Damage | White Damage | Gauge |
| mid | no | 1 whole body | 3+1x24+10+10 | 1+0x24+6+6 | H: 0 G: 0 W: 0 |
MP,LP,4,LK,MK
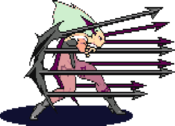
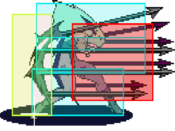
- At max-range, Morrigan can LINK into a Cryptic Needle
- At close or mid-range, Morrigan can LINK a dashing attacks into a full combo
| Startup | Active | Recovery | Hit Adv. | Block Adv. | Renda Bonus |
|---|---|---|---|---|---|
| 53 | - | 174 + landing 1 | 37 | 36 | N/A |
| Guard | Cancel | Invuln | Red Damage | White Damage | Gauge |
| mid | no | - | 5x16 | 2x16 | H: 0 G: 0 W: 0 |
6,HP,MP,LP,6
| Startup | Active | Recovery | Hit Adv. | Block Adv. | Renda Bonus |
|---|---|---|---|---|---|
| 31 | 16+18 | 34 | - | -11 | N/A |
| Guard | Cancel | Invuln | Red Damage | White Damage | Gauge |
| throw | no | - | 15+25 | 1+1 | H: 0 G: 0 W: 0 |
Dark Force
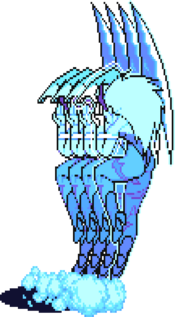
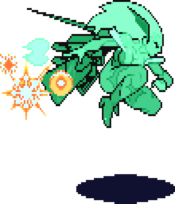
Illusion Attack: Astral Vision - Same strength P + K
- (Any Version) Morrigan creates a double which mirrors her moves. The position of the double is relative to the opponent's position, or rather, relative to your distance from the opponent. Risky due to it's punishable deactivation recovery. Can be used as a combo tool or an escape tool.
- While in Dark Force, soul fist forces a juggle state. All Soul fists can actually combo in situations which otherwise would not - for example, anti-air with J.mk xx Soul Fist
- While in Dark Force all of Morrigan's attacks (including Throws) have a damage output of 1/2 except Soul Fist & Finishing Shower
Colors
Notable Players
Japan
Japanese Player Index: http://www21.atwiki.jp/vsplayer/pages/19.html
| Name (English) | Name (Japanese) | Color | Location | Contact | Notes |
|---|---|---|---|---|---|
| Nishiken | 西建 | KK |
Kanto region | https://twitter.com/OcTxgD0uurC4pq4 | Soul Fist - Soul Fist |
| ARK | LP |
Kanto region | http://twitter.com/arkmorrigan https://www.youtube.com/user/arkmorrigan http://arkmorrigan.topaz.ne.jp |
||
| Morikami | モリカミ | HP |
Kanto Region | ||
| Madam | マダム | HP |
West Japan - A-Cho | ||
| Yajima T.T | やじまT.T | PP |
Kansai region | https://twitter.com/TT31316623 | |
| Sumi | すめ | HP |
Kansai Region | https://twitter.com/sume_mori https://www.youtube.com/channel/UC_2gKMLxs9GApmsviA3UL7w |
|
| Sasazuka | 笹塚 | MK |
Tokyo | http://twitter.com/Sasazuka00 | Execution GOD, also plays Lei-Lei |
| Takepon | たけぽん | PP |
Retired |
North America
| Name (English) | Name (Japanese) | Color | Location | Contact | Notes |
|---|---|---|---|---|---|
| VMP_KyleW | カイルW | PP |
Seattle | https://twitter.com/VMP_KyleW | Creator of the Vampire Savior: Aesthetic Edition hack. |
| DBus | DBus | HK |
New York | https://twitter.com/DBus_CO | Cryptic Needle Truther |
South America
| Name (English) | Name (Japanese) | Color | Location | Contact | Notes |
|---|---|---|---|---|---|
| The Seeker | シーカー | HK |
Brazil | https://twitter.com/ISW_TheSeeker | Commentates on NekoPunchi's streams, also known for his strong Lilith. |
Europe
| Name (English) | Name (Japanese) | Color | Location | Contact | Notes |
|---|---|---|---|---|---|
| CarlKey | MP |
France | https://twitter.com/Nielsapin | French commentator, always does Shadow Blade after Darkness Illusion |
