Super Naruto: Clash of Ninja 4/Sakura
Jump to navigation
Jump to search
| Sakura
| |
|---|---|

| |
| Health: | 210 |
| Guard Gauge: | 1640 |
| Backdash Type: | Quick |
Summary
Sakura didn't exactly do much during part 1 of the anime. So what did we wind up with in Eighting's Clash of Ninja? Hard-hitting, "Inner Sakura" style normals and a plethora of shuriken projectiles. In Super, she receives a revamped combo game that can put the fear into the eyes of any opponent, and a more well-rounded kit with some very strong tools, defensively and offensively.
Notes
String List
| String # | Inputs | Notes |
|---|---|---|
| ||
| ||
| ||
| ||
| ||
| ||
Weak Attacks
5B
Toggle Hitboxes Toggle Hitboxes
|
|---|
6B
Toggle Hitboxes Toggle Hitboxes
|
|---|
2B
Toggle Hitboxes Toggle Hitboxes
|
|---|
4B
Toggle Hitboxes Toggle Hitboxes
|
|---|
8B
Toggle Hitboxes Toggle Hitboxes
|
|---|
Running B
Toggle Hitboxes Toggle Hitboxes
|
|---|
j.B
Toggle Hitboxes Toggle Hitboxes
|
|---|
Strong Attacks
5A
Toggle Hitboxes Toggle Hitboxes
|
|---|
6A
Toggle Hitboxes Toggle Hitboxes
|
|---|
2A
Toggle Hitboxes Toggle Hitboxes
|
|---|
4A
Toggle Hitboxes Toggle Hitboxes
|
|---|
8A
Toggle Hitboxes Toggle Hitboxes
|
|---|
Running A
Toggle Hitboxes Toggle Hitboxes
|
|---|
j.A
Toggle Hitboxes Toggle Hitboxes
|
|---|
Throws
5Y
2Y
Special
5X
Toggle Hitboxes Toggle Hitboxes
|
|---|
2X
Toggle Hitboxes Toggle Hitboxes
|
|---|
Strategy
Colors
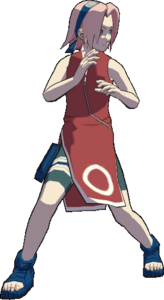
Default ( )
)

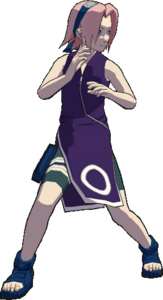
Color 2 ( )
)

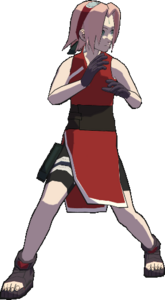
Color 3 ( )
)

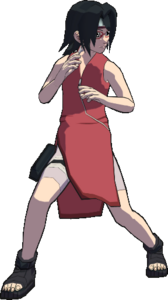
Color 4 ( )
)
