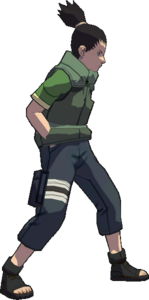
Super Naruto: Clash of Ninja 4/Shikamaru
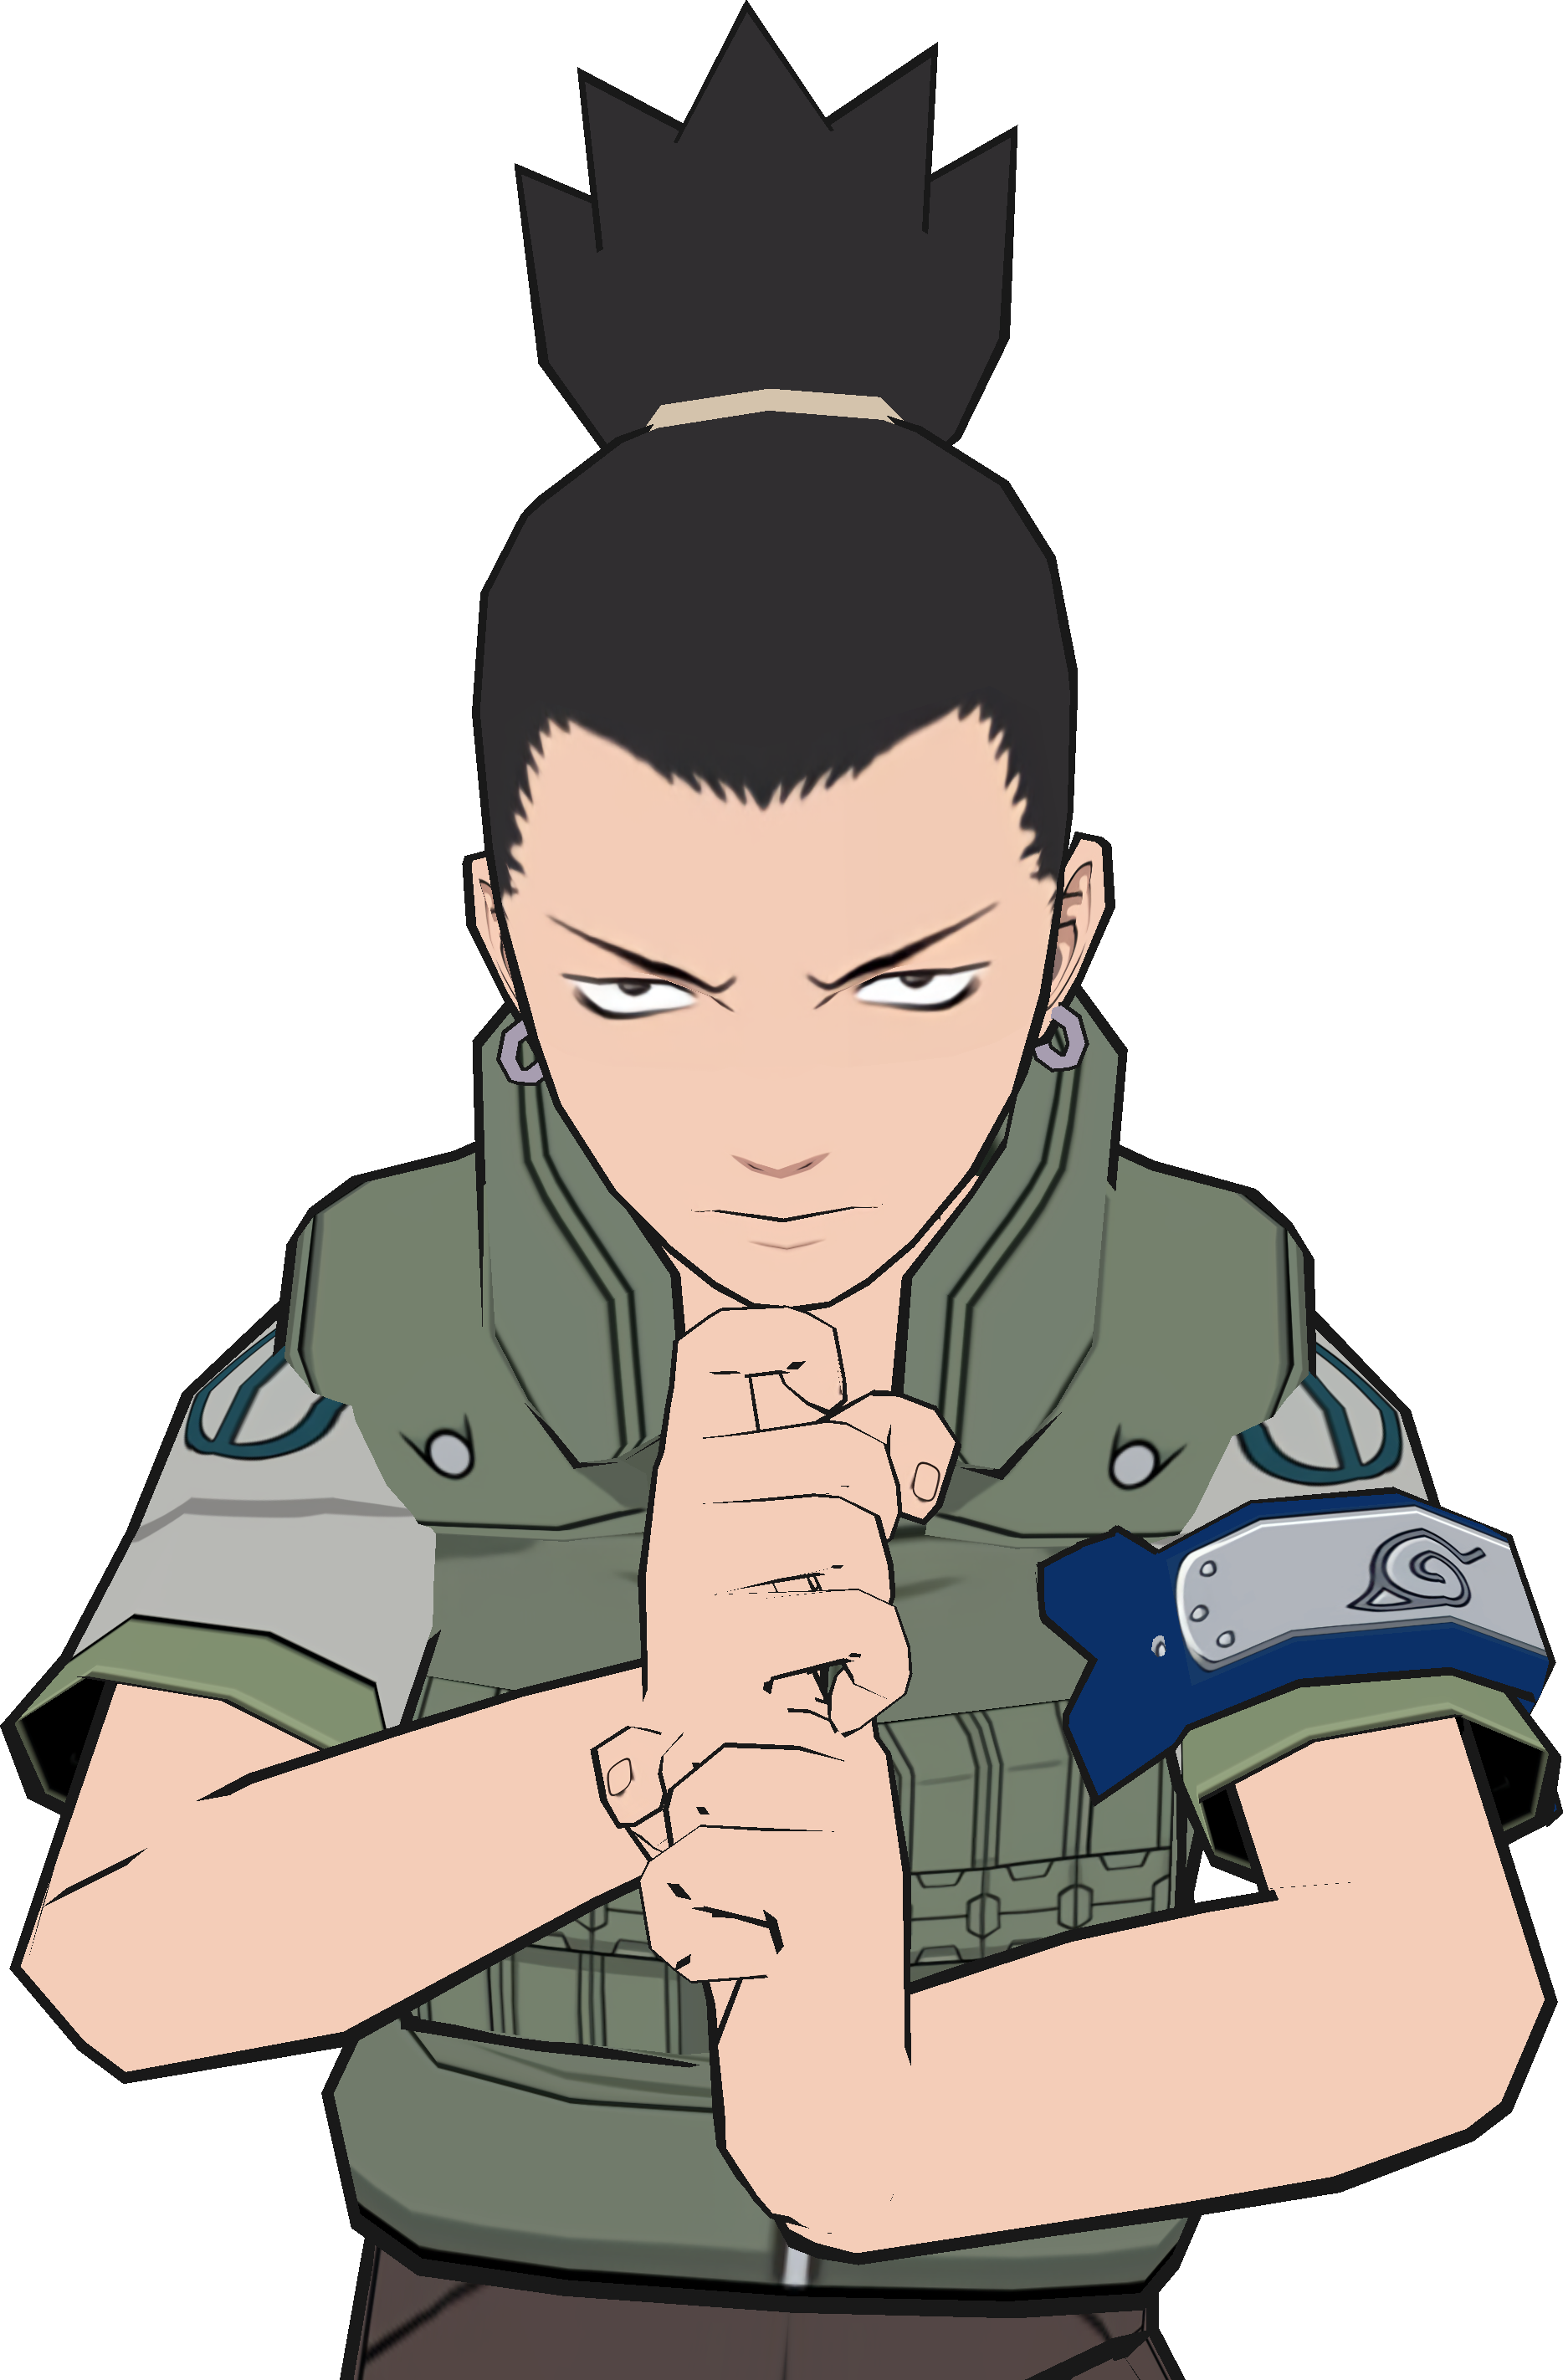
| Shikamaru
| |
|---|---|
| |
| Health: | 210 |
| Guard Gauge: | 1520 |
| Backdash Type: | Normal |
Summary
One of the most improved characters in the jump from Vanilla to Super, Shikamaru now augments his rangy normals and high damage with a variety of quality-of-life improvements, quicker super activations and more versatile and effective wisdom stance (4A). Shikamaru is known for his teleport attacks and one of the strongest oki tools in the game: his unblockable 2X shadow jutsu.
Notes
Auto Dodge
Shikamaru is so lazy that sometimes, he will reflexively dodge incoming attacks instead of putting in the effort to block them. The dodge has a couple of unique animations that all take as long as the would-be blockstun of the attack, so the frame advantage is the same as if he did block it, however he won't suffer any guard gauge damage. This phenomenon never happens when Shikamaru is about to block an attack that pushes or lifts on block, and also never happens when he is close to the stage's wall. Aside from those restrictions, anything else can be dodged, including moves that would otherwise instant guard break on block such as ![]() Zabuza's charged
Zabuza's charged ![]()
![]() .
.
To complement this, Shikamaru also has the worst health guard bar in the game alongside this gimmick, meaning that banking on this gimmick on defense and getting cornered spells trouble for him very quickly, especially against characters that have potent blockstrings and guard damage like ![]() OTK Naruto and
OTK Naruto and ![]() CS2 Sasuke. He will also still receive chip from dodged attacks if applicable, so it won't save him from checkmate scenarios from them or others either.
CS2 Sasuke. He will also still receive chip from dodged attacks if applicable, so it won't save him from checkmate scenarios from them or others either.
String List
| String # | Inputs | Notes |
|---|---|---|
| ||
| ||
| ||
| ||
| ||
| ||
| ||
| ||
| ||
| ||
| ||
|
Weak Attacks
5B
Toggle Hitboxes Toggle Hitboxes
|
|---|
6B
Toggle Hitboxes Toggle Hitboxes
|
|---|
2B
Toggle Hitboxes Toggle Hitboxes
|
|---|
4B
Toggle Hitboxes Toggle Hitboxes
|
|---|
8B
Toggle Hitboxes Toggle Hitboxes
|
|---|
Running B
Toggle Hitboxes Toggle Hitboxes
|
|---|
j.B
Toggle Hitboxes Toggle Hitboxes
|
|---|
Strong Attacks
5A
Toggle Hitboxes Toggle Hitboxes
|
|---|
6A
Toggle Hitboxes Toggle Hitboxes
|
|---|
2A
Toggle Hitboxes Toggle Hitboxes
|
|---|
4A
Toggle Hitboxes Toggle Hitboxes
|
|---|
8A
Toggle Hitboxes Toggle Hitboxes
|
|---|
Running A
Toggle Hitboxes Toggle Hitboxes
|
|---|
j.A
Toggle Hitboxes Toggle Hitboxes
|
|---|
Throws
5Y
Special
5X
Toggle Hitboxes Toggle Hitboxes
|
|---|
2X
Toggle Hitboxes Toggle Hitboxes
|
|---|
Strategy
 Wisdom Stance
Shikamaru is known for his wisdom stance which gives him several options. From stance:

 teleports behind the enemy with a descending aerial dive.
 teleports behind the enemy on the ground with a running kunai slash.
 can be held to reverse the direction of a teleport attack.

 teleports in front of the enemy with no attack.

 teleports behind the enemy with no attack.
 is super-cancellable with
  or
or 
 , allowing Shikamaru to combo into supers.
 cancels the stance.
Shikamaru's teleport attacks are powerful as they lead to combos, though he can be punished if the opponent avoids the attack by sidestepping or otherwise moving out of the way. If the enemy is avoiding teleport attacks, Shikamaru can mix them up by using his "empty" teleport, ![]()
![]()
![]() . If he has his back to the enemy, he can use
. If he has his back to the enemy, he can use ![]()
![]()
![]() instead.
instead.
2X Usage
![]()
![]() is a powerful oki option. While it loses to wake-up-kick (WUK), when properly spaced it is unavoidable and leads to a combo.
is a powerful oki option. While it loses to wake-up-kick (WUK), when properly spaced it is unavoidable and leads to a combo.
- Common ways to land the super include:
- Combos:


 or
or 


 up to about 7 or 8 hits.
  directly into
 (at the total cost of 100% chakra) to access
 from other combo points or at higher combo counts.
- Throw >

 is guaranteed
 - Backdash or walk backwards at the end of a combo to space outside of WUK range.


 to avoid a WUK- an immediate
 should catch the opponent before they can jump.
- If a recovery roll is predicted, Shikamaru can run forward to chase the roll and

 .
. - In some situations close to the wall, Shikamaru can move backwards while staying close enough to

 regardless of whether the opponent tech rolls or not.
- Combos:
- After being captured by

 , the victim cannot KNJ until landing or being hit.
 resets the combo counter. Landing a
 leads to a punish mix as the opponent will need to sub if Shikamaru commits to a combo.
- The opponent will very often have enough chakra to KNJ after a

 so Shikamaru should put thought into his follow-up as to not be punished with a KNJ at low chakra.
 - Shikamaru has several options for his follow-up attack to

 :
:

 : The most common follow-up at short range. Decent damage, quick recovery and threatens a combo.
 : The easiest button to time and can be
  -cancelled.
 has a quick recovery.


 : On the safer side for a Shikamaru string. Can be used as a lower committal way to score extra damage and build chakra.
 : Most damage in a single hit and can potentially combo to
  , but the opponent can tech roll recovery the bounce.
- The amount of time Shikamaru has between the

 animation and the victim reappearing will depend on the distance from the opponent. If Shikamaru is farther away, he may have time for one of:

 ,
, 
 and
and 
 : Strong attacks which threaten an extended combo.
 : If the opponent does not have enough chakra to KNJ
Strengths
Between his rangy normals, mid jab and high crushes, Shikamaru is highly effective at mid-range and can be difficult to approach.
- Some of the longest ranging normal attacks in the game (notably
 and
and 
 ).
).  is a mid and hits close to the ground, snuffing out high crushes and low profiles.
- Several good high crushes:

 : Quickest (crushes on frame 8) and can be used to break up slow strings or delayed string pressure.
 : Lower commitment because Shikamaru sweeps his foot away from his body. Used as a poke in neutral.
 : Long range attack which can whiff punish or surprise an unsuspecting opponent.

 can also be used when Shikamaru is backturned to quickly slide away from the opponent. Be aware that many characters can punish this if they anticipate it.
- Shikamaru hits hard.


 is one of the better combo filler loops in the game and


 is a great whiff punish starter.
 - Stance teleports, most often


 , can be used to punish substitutions.
 punishes jump back.
- Grounded


 and
and 


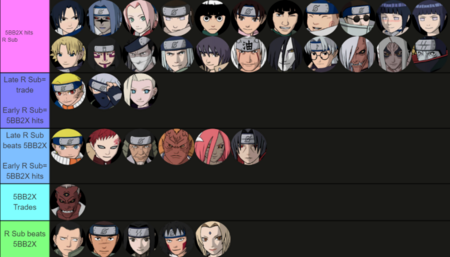
 can "checkmate" the opponent, catching them even if they ground KNJ (see the chart to the side for which characters can substitute against
 ).
). 
 links to combos, primarily with
  and
and 
 . It can also cross-up if Shikamaru manages to get under a jumping opponent.
- Shikamaru has a unique mechanic when blocking. He will dodge physical attacks when on the ground and not next to the wall and not take guard damage, though he still takes chip damage.
- Shikamaru can dodge auto-guard breaks such as Gai

 , CS2
, CS2 
 and Zabuza
 .
.
- Shikamaru can dodge auto-guard breaks such as Gai
Weaknesses
- Shikamaru does not threaten opponents on block due to low guard damage and the escapability of his strings.

 (-6) is his only safe blockstring.
 (-13) and
 (-12) may be safe depending on the opposing character.
- Poor continuations make Shikamaru's block strings predictable and easy for the opponent to take back their turn or punish.
- A near-complete lack of strings which can be performed on whiff make his buttons high commitment and his whiffs easier to punish as compared to characters which can continue strings on whiff.
- Teleport attacks can be sidestepped, jumped or otherwise avoided and punished.
- Shikamaru is a low health, low guard character. His dodge mechanic does not work when he is in the vicinity of the wall, so his guard may be broken easily.
- His slow

 , slow
 and lack of a true reversal make him vulnerable to guard pressure from certain characters, especially when
 is ineffective.
 - His only button/string starters which can be
 -cancelled in combos are
  and the very situational
 .
.
Other Notes

 punishes all of Sasuke's options after blocking his

 . This can also work against CS2, though loses to CS2's


 .
.
 low profiles Shino's


 covers Itachi's strike/throw mix after
 and beats


 .
.
