Vampire Savior/Bishamon/Archive
Introduction
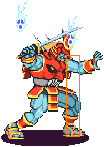
Bishamon (ビシャモン), the Cursed Armor
When browsing a shop selling antiquities, Bishamon uncovered a curious sword and armor that appeared to call to him. He was then surprised to find himself back in his home with the sword and armor beside him and with no recollection of forcing the shop keeper to give them to him. Letting his intrigue get the better of him, Bishamon donned the armor and immediately became lost to the bloodthirsty magic of the sword, Kien, and the armor, Hannya. After the arrival of Pyron, Bishamon overcame the grasp of the objects. After learning the origins of Hannya and Kien, Bishamon dedicated himself to preventing the items from ever taking another soul. In order to finally stop the malevolent objects, Bishamon confronted them in Jedah's Majigen.
Bishamon has link combos, Renda combos, unblockables, effective bugs, and big damage. Bishamon is recommended for players with great execution & who enjoy training - lab monsters excel with Bish! He can compete with the entire roster.
Gameplay
Primary objectives:
- Defensively control space leveraging Iai Giri, Karame Dama, jump attacks & 66MP
- Gain meter with defensive normal attacks
- Start offense with dashing light attacks
- Confirm dashing light attacks into big combos for damage & meter gain
- Once inside use regular throws, frame-traps, low attacks, & instant overheads to open up your opponent
- Anti-air with Iai Giri > Togakubi Sarashi for big damage
- Use the proper input/strings/spacing to set UBs/UB loop & maximize damage
| Strengths | Weaknesses |
|---|---|
|
|
}}
Normal Moves
Standing
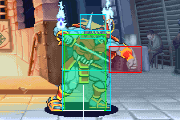
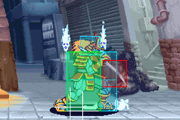
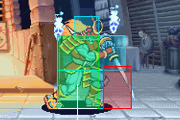
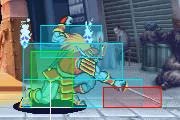
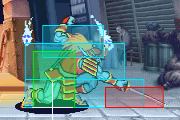
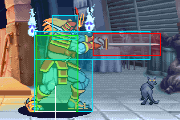
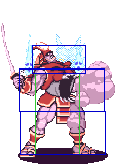
5LP
left
Simple punch, useful all around. |
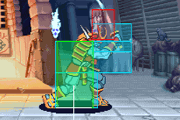
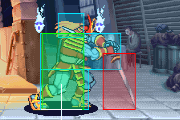
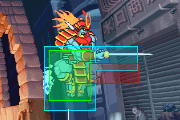
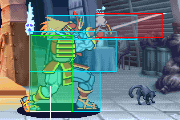
5MP
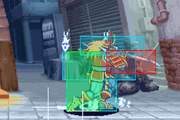
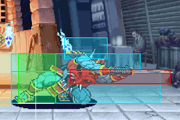
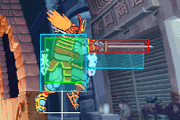
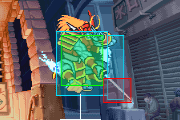
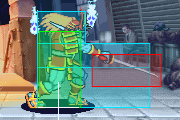
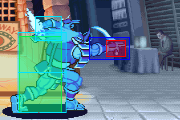
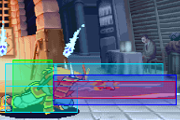
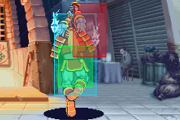
Best used during a forward dash. The combination of the forward movement provided by the dash and the swinging motion of the normal will catch careless jump up or jump back attempts. Also, it offers frame advantage regardless of hit or block. Becomes 3-hits when used during a dash. A great way to control space, advance forwards, and establish offense. |
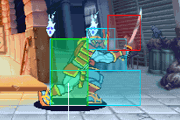
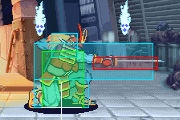
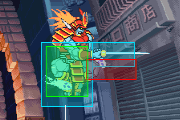
5HP
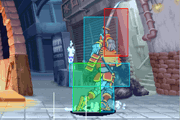
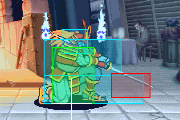
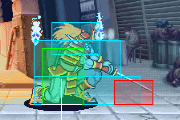
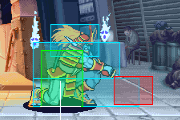
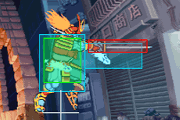
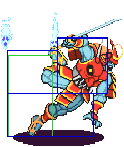
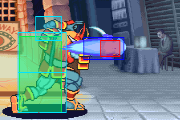
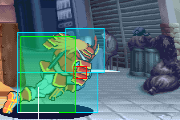
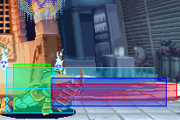
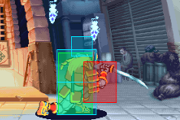
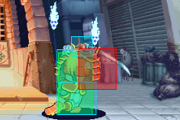
A three-part, one hit normal. Despite its appearance, it is difficult to anti air jump-ins with this move due to its hittable boxes. However, the gigantic upwards swinging motion can be utilized when executed during a forward dash. This is an excellent way to tag jump out attempts (especially when the opponent is backed into the corner) while covering forward movement. |
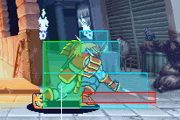
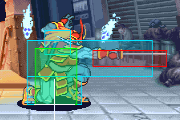
5LK
A great normal for a dash in. Has lots of frame advantage when it connects, so you can either combo it into light attacks or attempt a tick throw. |
5MK
Has some frame advantage when it connects. Not an especially useful normal. |
5HK
An important normal. Comes out fast, recovers quickly and has frame advantage when it connects. Close HK will space you at the correct distance for an unblockable ES fireball against most characters. Builds good amount of meter, mixing this with the charged slash (Iai Giri) will fill a bar in no time. |
Crouching
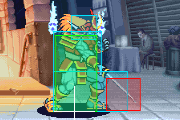
2LP
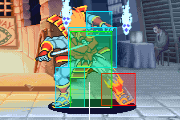
Has a long reach for a crouching jab. Its reach and speed makes it excellent for poking during both offense and defense. A useful pressure/combo starter due to the extra frame advantage provided by the rapidfire/renda bonus. |
2MP
Fast, cancelable normal with good range. Great for comboing into ES fireball. |
2HP
Slower than most of Bishamon's pokes but provides a lot of reach. Great for spacing and poking from a far distance. Canceling this with 5HK regardless of hit or block will offer quicker recovery plus a bit of meter building. |
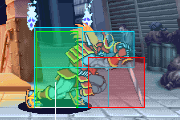
2LK
A quick crouching slash. The range is limited but hits low and offers a lot of frame advantage. Another important pressure/combo starter for Bishamon. |
2MK
2 hit low attack. 1st hit is cancelable. Decent for comboing into ES fireball although 2MP has more range. |
2HK
Knockdown move. Quite slow, range is not great either. Strangely enough, the second slash does less damage. |
Jumping
j.LP
Air horzontal slash. Will swing multiple times before landing if used during a neutral jump. Otherwise, Bishamon will only swing once. |
j.MP
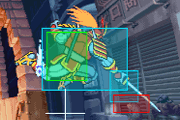
An aerial 2 hit horizontal slash. Backdashing into this move could be good for stopping a dash in. Otherwise, it's a fairly good air to air move. |
j.HP
Similar to his j.MP. Using this during a neutral jump will cause Bishamon to slash twice. |
j.LK
Short range downward attack. An early j.LK can hit a standing opponent, and chaining it into his j.MK and j.HK can make quite a deadly jumping chain. |
j.MK
Good jump in move. Chain into j.HP or j.HK for additional damage. |
j.HK
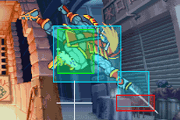
Quite similar to his j.MK. Has a little more range, so you can backdash and j.HK for an instant overhead. |
Command Normal Moves
6LP
Used as a combo confirm or a frame-trap with a very easy DMG conversion. The chain of 6LP, 6MP has no recovery. Use this for easy combo routes |
6MP
Outside of the 6LP, 6MP chain advantages listed above, 6MP is a great poke used at mid-range when you have a slight advantage. This occurs often after a d.mp or Karama Dama on block. From the 6mp, effective Bishamon's like to cancel to 5MK then confirm the hit/block into more offense. If the 6MP catches the opponents jump start-up, Bishamon is likely in a position to setup a UB Karame Dama. |
6HP
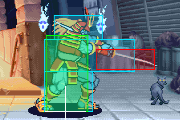
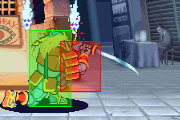
Can be inputted twice for an additional slash. The first slash can be used as an anti-air if spaced properly. |
6LK
|
6MK
|
6HK
|
Pursuit Attack
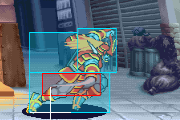
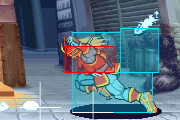
Pursuit: This is one of Bishamon's more dangerous move. It recovers very quickly when it misses and puts you right next to the opponent's other side. From here you can either throw them or c.LK into combo.
Movement
Walk:
Dash:
Jump:
Specials & Throws
Throws
Special Moves
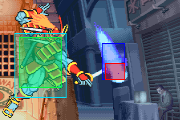
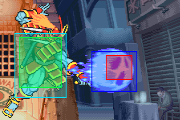
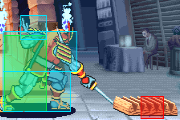
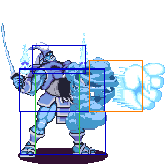
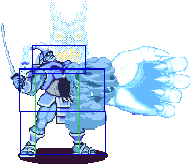
Karame Dama - 41236P (Air OK) then either 236P or 4P->623P :
Slowest version, not really useful.
Average speed. Again, not really useful.
Most used of the non-meter versions. Can combo from cancelable normals but only up close.
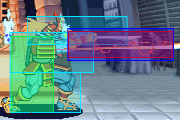
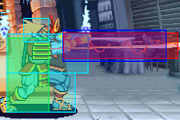
Has some unblockable frames. This only happens if the opponent isn't already in blockstun so canceling a normal into ES fireball will remove the unblockable. To get an idea of the unblockable distance try to do a HK right next to Sasquatch then do an ES fireball. Some other strings to space yourself for the unblockable (all are done at point blank) : 2LP - 2LK >> 2LK 2LP - 2MP 6LP - 6LK - 6MP ... There are a lot more setups : resets (MP or HP) , whiffed pursuit on an opponent rolling away ... but you have to be precise with the distance. Against some characters (like Lilith) this is much more difficult to do. After an unblockable fireball quickly followup with 236P (untechable) , then dash back to the unblockable distance again and do a meaty ES fireball. This can be looped over and over until you run out of meter. About 5 stocks will guarantee a kill from full health. |
Tsuji Hayate - 236P (after hitting with Karame Dama) :
|
Iai Giri (high) - [4]6P:
Charge for 45 frames.
Charge for 52 frames.
Charge for 82 frames.
Charge for 45 frames. |
Iai Giri (low) - [4]6K:
Charge for 45 frames.
Charge for 52 frames.
Charge for 82 frames.
Charge for 45 frames. |
Kienzan - 623P (GC) (only usable when landing from a jump, as a guard cancel or in reversal situations):
The non-guard cancel version can only be performed briefly after specific situations, one being right after landing from a jump, and the other when coming out of recovery (such as getting up from being knocked down, or coming out of hit or block stun). After either of those scenarios Bishamon is allowed for 10 frames to perform a Kienzan.
|
EX Moves
Togakubi Sarashi - 22PP:
Pursuit type EX. Amazing move, it adds HUGE damage to your combos (and even throws !) as long as you have meter. Know which knockdowns you can follow up with this move though, if it whiffs then it's a waste of knockdown and meter. |
Enma Seki - 41236KK:
Must be blocked low. Kinda decent move to use once in awhile. Save meter for his other moves. |
Dark Force
Kyouka Yoroi: Kogane Katabira - Same strength P + K
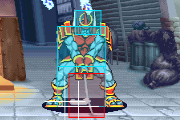
- (Any Version) Gains super armor. Particularly slow deactivation time, use with caution.
- Bishamon avoids Chip-Damage while in Dark Force
Strategies
Frame Data
Normals
| Move | Startup | Hit
Advantage |
Block
Advantage |
Meter
Whiff/Block/Hit |
Guard | Cancel | Notes |
| LP | 5 | +6 | +5 | 0/ 3/ 6 | Mid | Yes/Rapid | Renda+: H:+9 G:+8 |
| MP | 10 | +2 | +1 | 3/ 5+2+2/ 7+4+4 | Mid | × | |
| HP | 8 | -7 | -8 | 6/ 9+3+3/ 12+6+6 | Mid | × | |
| LK | 5 | +7 | +6 | 0/ 3/ 6 | Mid | Yes | |
| MK | 6 | +6 | +5 | 3/ 9/ 15 | Mid | Yes | |
| HK | 7 | +6 | +5 | 6/ 15/ 24 | Mid | × |
| Move | Startup | Hit
Advantage |
Block
Advantage |
Meter
Whiff/Block/Hit |
Guard | Cancel | Notes |
| 6LP | 6 | -2 | -3 | 0/ 1/ 3 | Mid | x | Renda+: H:+1 G:0 |
| 6LPx2 | --- | +7 | +6 | 0/1/3 | Mid | x | |
| 6MP | 7 | 0 | -1 | 3/ 6/9 | Mid | x | |
| 6MPx2 | --- | +12 | +11 | 3/ 6/9 | Mid | x | |
| 6HP | 8 | -3 | -4 | 6/ 10/15 | Mid | x | |
| 6HPx2 | --- | +8 | +7 | 6/ 10/15 | Mid | x | |
| 6LK | 5 | +4 | +3 | 0/ 3/ 6 | Mid | x | |
| 6MK | 6 | +3 | +2 | 3/ 9/15 | Mid | x | |
| 6HK | 7 | -7 | -8 | 6/15/24 | Mid | x |
| Move | Startup | Hit
Advantage |
Block
Advantage |
Meter
Whiff/Block/Hit |
Guard | Cancel | Notes |
| c.LP | 5 | +8 | +7 | 0/ 3/ 6 | Mid | Yes | Renda+: H:+11 G:+10 |
| c.MP | 6 | +4 | +3 | 3/ 9/ 15 | Mid | Yes | |
| c.HP | 9 | -4 | -5 | 6/ 15/ 24 | Mid | x | |
| c.LK | 5 | +8 | +7 | 0/ 3/ 6 | Low | Yes | |
| c.MK | 6 | +6 | +5 | 3/ 6+3/ 9+6 | Low | Yes + x | |
| c.HK | 11 | Down | +5 | 6/ 15+9/ 24 | low | × |
| Move | Startup | Meter
Whiff/Block/Hit |
Guard | Cancel | Notes |
| j8.LP | 6 | 0/ 3x5/ 6x5 | High | Yes + Xx4 | |
| j8.MP | 6 | 3/ 9+6/ 15+12 | High | Yes + X | |
| j8.HP | 7 | 6/ 15+9/ 15+12 | High | x | |
| j8.LK | 5 | 0/ 3/ 6 | High | Yes | |
| j8.MK | 6 | 3/ 9/15 | High | x | |
| j8.HK | 8 | 6/ 15/ 24 | High | x | |
| j7/9.LP | 7 | 0/ 3/ 6 | High | Yes | |
| j7/9.MP | 6 | 3/ 9+6/15+12 | High | Yes + x | |
| j7/9.HP | 11 | 3/ 9+6/ 15+12 | High | x | |
| j7/9.LK | 5 | 0/ 3/ 6 | High | Yes | |
| j7/9.MK | 6 | 3/ 9/15 | High | x | |
| j7/9.HK | 8 | 6/ 15/ 24 | High | × |
Specials
| Move | Startup | Hit
Advantage |
Block
Advantage |
Meter
Whiff/Block/Hit |
Guard | Notes |
| 41236LP | 12 | possessed | -9 | 12/ 15/ 18 | Mid | Knocks down airborne, stuns for 63f |
| 41236LP | 12 | possessed | -4 | 12/ 15/ 18 | Mid | Knocks down airborne, stuns for 93f |
| 41236LP | 12 | possessed | 0 | 12/ 15/ 18 | Mid | Knocks down airborne, stuns for 123f |
| 41236LP | 12 | possessed | 0 | 0/ 0/ 0 | Mid | Knocks down airborne, stuns for 123f |
| j.41236LP | 28 | possessed | --- | 12/ 15/ 18 | Mid | Knocks down airborne, stuns for 63f, landing suki: 8f |
| j.41236LP | 28 | possessed | --- | 12/ 15/ 18 | Mid | Knocks down airborne, stuns for 93f, landing suki: 8f |
| j.41236LP | 28 | possessed | --- | 12/ 15/ 18 | Mid | Knocks down airborne, stuns for 123f, landing suki: 8f |
| j.41236LP | 28 | possessed | --- | 0/ 0/ 0 | Mid | Knocks down airborne, stuns for 123f, landing suki: 8f |
| 4P followup | --- | Down | --- | 0/ 0/ 0/ | --- | Any followup will knock down, can also followup with 623P |
| 236P followup | 7 | Down | --- | 12/ 14+2/ 16+4 | Mid | Knocks down airborne |
| 623LP | 6 | Down | -21 | 22/ 26/ 31 | Mid | landing suki: 8f |
| 623MP | 6 | Down | -28 | 22/ 26/ 31 | Mid | landing suki: 8f |
| 623HP | 6 | Down | -33 | 22/ 26/ 31 | Mid | landing suki: 8f |
| 623PP | 4 | Down | -29 | 0/ 0/ 0 | Mid | landing suki: 8f |
| [4]6P Level 1 | 12 | +8 | +7 | 18/ 19/ 21 | Mid | Knocks down airborne, charge for 45f |
| [4]6P Level 2 | 12 | +10 | +9 | 18/ 19+1/ 21+3 | Mid | Knocks down airborne, charge for 52f |
| [4]6P Level 3 | 12 | +12 | +11 | 18/ 19+1+1/ 21+3+3 | Mid | Knocks down airborne, charge for 82f |
| [4]6PP | 12 | +12 | +11 | 0/ 0/ 0 | Mid | Knocks down airborne, charge for 45f |
| [4]6K Level 1 | 10 | +10 | +9 | 18/ 19/ 21 | Mid | Knocks down airborne, charge for 45f |
| [4]6K Level 2 | 10 | +12 | +11 | 18/ 19+1/ 21+3 | Mid | Knocks down airborne, charge for 52f |
| [4]6K Level 3 | 10 | +14 | +13 | 18/ 19+1+1/ 21+3+3 | Mid | Knocks down airborne, charge for 82f |
| [4]6KK | 10 | +14 | +13 | 0/ 0/ 0 | Mid | Knocks down airborne, charge for 45f |
| 360LP | 8 | Down | --- | 12/ 14+2 | Throw | Performed by pressing LP+MP or LP+HP, Invulnerable Time: 13F |
| 360MP | 8 | Down | --- | 12/ 14+2+2 | Throw | Invulnerable Time: 13F |
| 360HP | 8 | Down | --- | 12/ 14+2x3 | Throw | Invulnerable Time: 13F |
| 360PP | 8 | Down | --- | 0/ 0 | Throw | Invulnerable Time: 13F |
Supers
| Move | Gauge | Startup | Hit
Advantage |
Block
Advantage |
Guard | Notes |
| 624PP | 1 | 17 | Down | --- | Throw | |
| 426KK | 1 | 18 | Down | -5 | Low | |
| 22PP | 34 | Pursuit | --- | --- | --- |
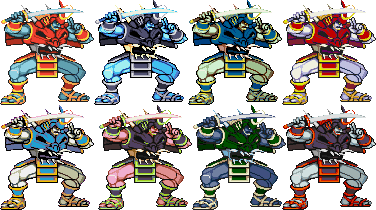
Colors
Notable Players
Japan
Japanese Player Index: http://www21.atwiki.jp/vsplayer/pages/17.html
| Name (English) | Name (Japanese) | Color | Location | Contact | Notes |
|---|---|---|---|---|---|
| Nakanishi | ナカニシ | KK |
Kanto region | http://twitter.com/sonic883b | Bishi-GOD : NAKANISHAMON |
| Shuu | 修 | LK |
Kanto region | http://twitter.com/shu180sx | |
| Natsu | ナツ | PP |
Kanto Region | https://twitter.com/natsu_bishamon | |
| Norio | のりお | KK |
Kanto region | ||
| Rantii | らんてぃ | MK |
Kyushu region | http://twitter.com/Ran__T | |
| Nuki | ヌキ | KK |
Kanto region | http://twitter.com/nuki2 | Retired. |
| Umehara | ウメハラ | LK |
Kanto region | http://twitter.com/daigothebeast | Retired. |
North America
| Name (English) | Name (Japanese) | Color | Location | Contact | Notes |
|---|---|---|---|---|---|
| Kyokuji | キョクジ | PP |
Canada | https://twitter.com/KyokujiFGC | Longtime Fightcade player. Super technical player that also has a history with Street Fighter Alpha 3. |
South America
| Name (English) | Name (Japanese) | Color | Location | Contact | Notes |
|---|---|---|---|---|---|
| So Hai | ソーハイ | HP |
Brazil | https://twitter.com/LNycholas2000 | Frequent player on NekoPunchi's streams |
