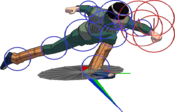
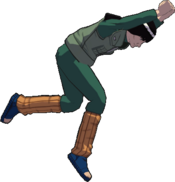
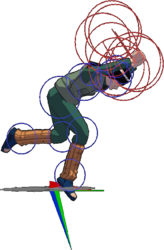
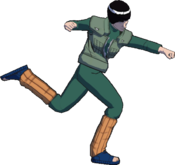
Super Naruto: Clash of Ninja 4/Might Guy: Difference between revisions
No edit summary |
|||
| Line 638: | Line 638: | ||
===Gameplay footage=== | ===Gameplay footage=== | ||
* [https://replaytheater.app/?game=scon4&c1=Might+Guy Might Guy ReplayTheater ] | * [https://replaytheater.app/?game=scon4&c1=Might+Guy Might Guy ReplayTheater ] | ||
==Notable Players== | |||
:{{Template:PlayerListDisclaimer}} | |||
{| class="wikitable" | |||
!width="95"|Name | |||
!width="70"|Usual Color | |||
!width="125"|Region | |||
!Contact | |||
!Example Play | |||
|- | |||
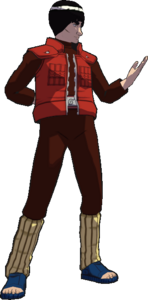
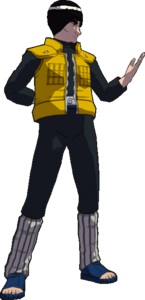
|Skeet | |||
|style="text-align:center;"|[[File:SCON4 Might Guy Color 2.png|110px]] | |||
|[[File:Flag_US.png]]<br>United states | |||
|Unavailable | |||
|[https://replaytheater.app/?game=scon4&c1=Might+Guy&p1=Skeet Skeet matches] | |||
|- | |||
|Paradise | |||
|style="text-align:center;"|[[File:SCON4 Might Guy Color 3.png|110px]] | |||
|[[File:Flag_us.png]]<br>United states | |||
|Unavailable | |||
|[https://replaytheater.app/?game=scon4&c1=Might+Guy&p1=Paradise Paradise matches] | |||
|- | |||
|} | |||
== Navigation == | == Navigation == | ||
Revision as of 17:20, 1 December 2023
Summary
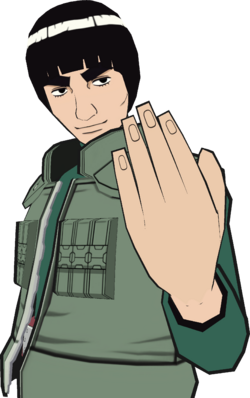
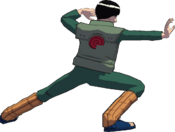
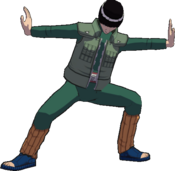
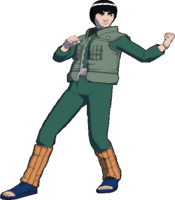
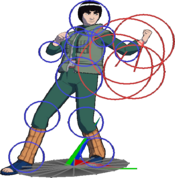
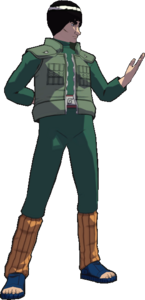
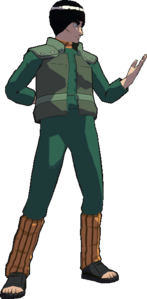
Konoha's Sublime Green Beast of Prey, Might Gai, is one of the more explosive fighters in SCON4. He boasts the fastest B jab in the game (tied with his protege, ![]() Rock Lee, but with better range), numerous flying screen combos, and the invincible gate-release reversal, all of which help Guy to mash to his heart's content and keep the enemy on the defensive. His charge 4B guard breaks instantly, giving him a uniquely strong okizeme game. While he gained a slower, tracking 8A overhead teleport kick in Super, he lacks projectiles or any great "cheap" options at range. Still, his high HP and damage give him a youthful leg up as he rushes down the competition.
Rock Lee, but with better range), numerous flying screen combos, and the invincible gate-release reversal, all of which help Guy to mash to his heart's content and keep the enemy on the defensive. His charge 4B guard breaks instantly, giving him a uniquely strong okizeme game. While he gained a slower, tracking 8A overhead teleport kick in Super, he lacks projectiles or any great "cheap" options at range. Still, his high HP and damage give him a youthful leg up as he rushes down the competition.
Notes
- Eight Gates: Might Guy can
 open the Gate of Rest, increasing his attack power for the rest of the round.
String List
| String # | Inputs | Notes |
|---|---|---|
| ||
Weak Attacks
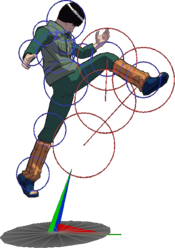
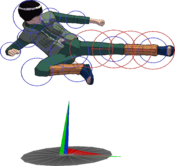
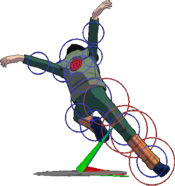
5B
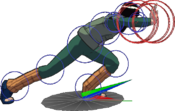
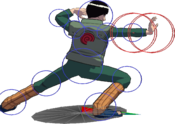
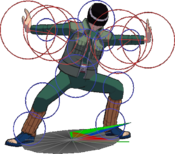
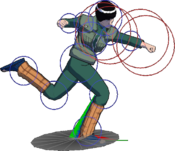
Toggle Hitboxes Toggle Hitboxes
|
|---|
6B
Toggle Hitboxes Toggle Hitboxes
|
|---|
2B
Toggle Hitboxes Toggle Hitboxes
|
|---|
4B
Toggle Hitboxes Toggle Hitboxes
|
|---|
8B
Toggle Hitboxes Toggle Hitboxes
|
|---|
Running B
Toggle Hitboxes Toggle Hitboxes
|
|---|
j.B
Toggle Hitboxes Toggle Hitboxes
|
|---|
Strong Attacks
5A
Toggle Hitboxes Toggle Hitboxes
|
|---|
6A
Toggle Hitboxes Toggle Hitboxes
|
|---|
2A
Toggle Hitboxes Toggle Hitboxes
|
|---|
4A
Toggle Hitboxes Toggle Hitboxes
|
|---|
8A
Toggle Hitboxes Toggle Hitboxes
|
|---|
Running A
Toggle Hitboxes Toggle Hitboxes
|
|---|
j.A
Toggle Hitboxes Toggle Hitboxes
|
|---|
Throws
5Y
2Y
Special
5X
Toggle Hitboxes Toggle Hitboxes
|
|---|
4X
Toggle Hitboxes Toggle Hitboxes
|
|---|
2X
Toggle Hitboxes Toggle Hitboxes
|
|---|
Strategy
![]() and
and ![]()
![]() : Great for stagger pressure and tick throw but loses to fast high crush moves, and the second jab has really poor range that it’s almost never going to win after a clash and it’ll even sometimes whiff after the first jab is blocked.
: Great for stagger pressure and tick throw but loses to fast high crush moves, and the second jab has really poor range that it’s almost never going to win after a clash and it’ll even sometimes whiff after the first jab is blocked.
5BBB and its follow ups: The safer and faster follow up after the second jab. It is punishable on block, but continuing the string can beat the punish attempt. Great for adding in your 5BB stagger pressure. However, delaying it too much will lose to the opponent’s immediate fast high crush moves after 5BB is blocked. The only follow up you should consider on block is 5BBBB, which is Guy’s 8B. It launches on normal hit, and on block you can continue with both B and A to try to escape, but can both be punished.
![]()
![]()
![]() and its follow ups: Extremely unsafe on block by itself, and anything after that can be punished accordingly if the opponent is looking at the screen. If Guy doesn’t continue the string, the opponent still has plenty of time to recognize that and punish it because the recovery is way too long. The saving grace for doing this after blocked 5BB is that it’s a mid and doing 5BBAY will launch the opponent immediately if the opponent tries to do fast high crush moves. 5ABAY is your main combo filler, but if the opponent KNJs after 5AB you can be stuck in the kick animation that has really long recovery and Guy doesn’t have Hyuuga cancel to save him. The A follow up, which is an uppercut, has a hitbox in the back so it can catch the opponent off guard when they KNJ and try to punish your whiffed combo.
and its follow ups: Extremely unsafe on block by itself, and anything after that can be punished accordingly if the opponent is looking at the screen. If Guy doesn’t continue the string, the opponent still has plenty of time to recognize that and punish it because the recovery is way too long. The saving grace for doing this after blocked 5BB is that it’s a mid and doing 5BBAY will launch the opponent immediately if the opponent tries to do fast high crush moves. 5ABAY is your main combo filler, but if the opponent KNJs after 5AB you can be stuck in the kick animation that has really long recovery and Guy doesn’t have Hyuuga cancel to save him. The A follow up, which is an uppercut, has a hitbox in the back so it can catch the opponent off guard when they KNJ and try to punish your whiffed combo.
Unique anti-KNJ tech:
![]()
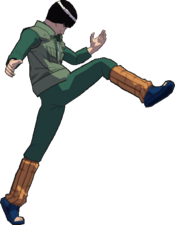
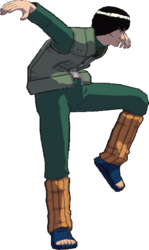
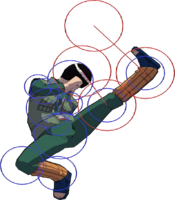
![]() : A tracking teleport kick that gives a combo if the opponent fails to tech roll. It hits the opponent’s back when both characters are facing the same direction, making it a great anti-KNJ tool that covers both RKNJ and LKNJ and potentially gives a combo. If the opponent tech rolls, immediately do a charged 4B can guard break the opponent and get a huge reward.
: A tracking teleport kick that gives a combo if the opponent fails to tech roll. It hits the opponent’s back when both characters are facing the same direction, making it a great anti-KNJ tool that covers both RKNJ and LKNJ and potentially gives a combo. If the opponent tech rolls, immediately do a charged 4B can guard break the opponent and get a huge reward.
![]() : One of the only jabs that can truly punish LKNJ when done immediately after turning around, but it has a strict timing and can be hard to pull off online.
: One of the only jabs that can truly punish LKNJ when done immediately after turning around, but it has a strict timing and can be hard to pull off online.
Punish game:
5B is i11, which is the fastest jab in the game, can punish a lot of stuff that other characters can’t, but the move has a really high hitbox. 5A is a i15 mid jab that will cover punishable moves and landing that low profile 5B, but it’s slower and has worse range.
Colors
Changes from Vanilla
(May be outdated, feel free to update)
- 5B: has more lift on hit
- 5B(B): has an additional endlag frame
- 5BBA(A): has more lift on hit
- 6B: animation changed to be the 4B(B) animation and staggers, when done in string it is vanilla
- 6B(A): has more lift on hit can be super canceled has less blockstun; if holding 6 when it comes out does 6A
- 2B: hitbox duration increased by 1 frame, launches, lift adjusted
- 8B: both hits have slightly more lift on hit
- 8B(B): added as JB
- RB: Changed to be plus frame on block, launches upwards, hitbox duration increased by 8 frames
- JB: doesn't float as high in the startup; has slightly more height and launch angle change
- 5A: Super cancel added; slightly more lift
- 6A: Second hit launches far and away, Y cancel removed
- 4A: window improved, can move immediately on appearance
- 2A: launches instead of sweeps with more lift on hit
- 8A: teleports in front of the opponent; can be grabbed; cannot do follow ups on whiff
- 5Y: does 20 damage with no gate or 1 gate open
- 2Y: does a knockdown throw that does 30 damage
- 5X: slightly bigger shoulder hitbox, more duration, begins moving 2 frames sooner, activator does 10 damage in both gated form; damage on activation changed from 71 to 66 and 76
- 2X: can be done with no gates open, activator does 10 damage in both gate forms; activated does 80 and 90 damage from 90
- GRKnJ: made to work like RB, but is a mid instead of a high
Resources
Guides and Info
Gameplay footage
Notable Players
- Disclaimer: This list is derived from community input and is in no way comprehensive or a form of ranking of any kind. Our community criteria can be found here.
| Name | Usual Color | Region | Contact | Example Play |
|---|---|---|---|---|
| Skeet | File:SCON4 Might Guy Color 2.png | File:Flag US.png United states |
Unavailable | Skeet matches |
| Paradise | File:SCON4 Might Guy Color 3.png | United states |
Unavailable | Paradise matches |
