Introduction
Health: 1100
Walk Speed: - forward, - back
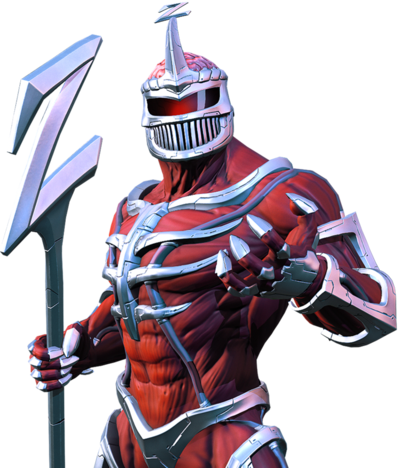
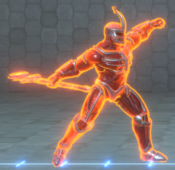
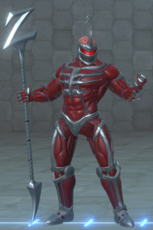
After Rita Repulsa cited irreconcilable differences when divorcing Lord Zedd and getting sole custody of Thrax, he lived as a single bachelor in the Vica Galaxy, playing a bunch of UNIB. Realizing how top tier Gordeau was in that game, he ripped him the hell off to compensate for having lost his teleports from The Fighting Edition.
Overview
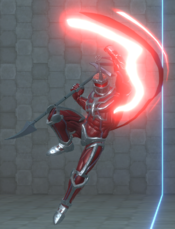
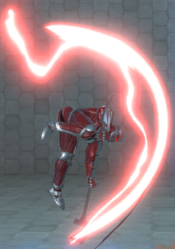
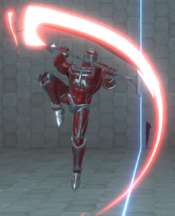
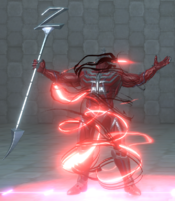
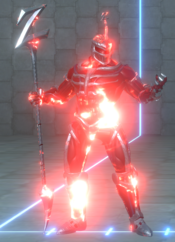
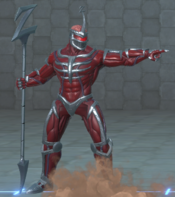
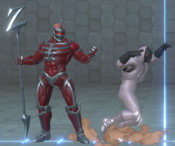
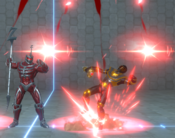
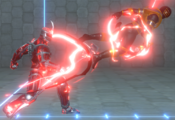
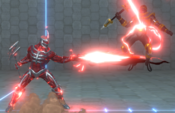
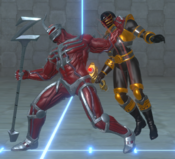
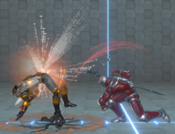
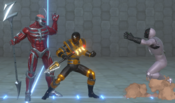
Zedd can be best summed up as an all-rounder. He possess very long-ranged normals, allowing him to control space, in addition to delayed projectiles such as Z Putties. Yet, when it comes to close range combat, he's no slouch either, having deceptively strong normals suited for that purpose. His unique dashes allow him to cross up opponents, mostly compensating for his otherwise slow mobility.
Normal Moves
5L
5L
|
| Damage
|
Guard
|
Startup
|
Active
|
Recovery
|
Frame Adv (Block)
|
Frame Adv (Hit)
|
| 40
|
High/Low/Air
|
-
|
-
|
-
|
-
|
-
|
Lightning zap. Deceptively powerful due to its range and frame advantage, and leads to strong 50/50 mixups on block, but it whiffs on some crouching opponents. Can combo into itself infinitely with the correct timing.
- Whiffs on crouch: RJ, Tommy, Slayer, CBR, Gia, Udonna, Lauren, Eric, Jen, Sentry, Kat
- Hits on crouch: Zedd, Goldar, Trini, Jason (But not close-up), Doggie, Trey, Dai Shi, Drakkon, Magna
|
|
5LL
5LL E V I L E V I L
|
| Damage
|
Guard
|
Startup
|
Active
|
Recovery
|
Frame Adv (Block)
|
Frame Adv (Hit)
|
| 70
|
High/Air
|
-
|
-
|
-
|
-
|
-
|
Overhead punch. Actually an overhead, and an extremely fast one at that. Special-cancelable.
|
|
5M
5M
|
| Damage
|
Guard
|
Startup
|
Active
|
Recovery
|
Frame Adv (Block)
|
Frame Adv (Hit)
|
| 60
|
High/Low/Air
|
-
|
-
|
-
|
-
|
-
|
Knee. Advances forward, making its range deceptive.
|
|
5MM
5MM Fisherman's Slam vibes Fisherman's Slam vibes
|
| Damage
|
Guard
|
Startup
|
Active
|
Recovery
|
Frame Adv (Block)
|
Frame Adv (Hit)
|
| 80, 108
|
High/Low/Air
|
-
|
-
|
-
|
-
|
-
|
Zedd grabs the opponent, then slams the opponent behind him. Groundbounces.
|
|
5H
5H
|
| Damage
|
Guard
|
Startup
|
Active
|
Recovery
|
Frame Adv (Block)
|
Frame Adv (Hit)
|
| 35, 40
|
High/Low/Air
|
-
|
-
|
-
|
-
|
-
|
Zedd attacks the opponent with the Z Staff, then pulls it back. Pulls the opponent slightly closer to Zedd both on hit or block.
|
|
5HH
5HH
|
| Damage
|
Guard
|
Startup
|
Active
|
Recovery
|
Frame Adv (Block)
|
Frame Adv (Hit)
|
| 45, 80
|
High/Low/Air
|
-
|
-
|
-
|
-
|
-
|
Zedd attacks twice with the Z Staff. Causes a hard knockdown.
|
|
6H
6H Near-full-screen overhead HYPE! Near-full-screen overhead HYPE!
|
| Damage
|
Guard
|
Startup
|
Active
|
Recovery
|
Frame Adv (Block)
|
Frame Adv (Hit)
|
| 90
|
High/Air
|
-
|
-
|
-
|
-
|
-
|
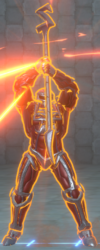
Zedd slams the Z Staff in front of him. An overhead with massive range that groundbounces and also has OTG properties.
|
|
2L
2L
|
| Damage
|
Guard
|
Startup
|
Active
|
Recovery
|
Frame Adv (Block)
|
Frame Adv (Hit)
|
| 40
|
High/Low/Air
|
-
|
-
|
-
|
-
|
-
|
Crouching lightning zap. Similar to 5L.
|
|
2M
2M
|
| Damage
|
Guard
|
Startup
|
Active
|
Recovery
|
Frame Adv (Block)
|
Frame Adv (Hit)
|
| 70
|
Low/Air
|
-
|
-
|
-
|
-
|
-
|
Zedd attack with the Z Staff's rear end. Zedd's only low, vital for opening up opponents.
|
|
2H
2H
|
| Damage
|
Guard
|
Startup
|
Active
|
Recovery
|
Frame Adv (Block)
|
Frame Adv (Hit)
|
| 90
|
High/Low
|
-
|
-
|
-
|
-
|
-
|
Zedd swings the Z Staff upwards. Dedicated anti-air and, thus, air-unblockable. Huge recovery and not cancelable on block.
|
|
j.L
j.L
|
| Damage
|
Guard
|
Startup
|
Active
|
Recovery
|
Frame Adv (Block)
|
Frame Adv (Hit)
|
| 40
|
High/Air
|
-
|
-
|
-
|
-
|
-
|
|
|
|
j.M
j.M
|
| Damage
|
Guard
|
Startup
|
Active
|
Recovery
|
Frame Adv (Block)
|
Frame Adv (Hit)
|
| 35x2
|
High/Air
|
-
|
-
|
-
|
-
|
-
|
Swings the Z Staff twice.
|
|
j.H
j.H
|
| Damage
|
Guard
|
Startup
|
Active
|
Recovery
|
Frame Adv (Block)
|
Frame Adv (Hit)
|
| 30x2
|
High/Low/Air, High/Air
|
-
|
-
|
-
|
-
|
-
|
Swings the Z Staff upwards. First hit is NOT an overhead. Cancels all of Zedd's momentum.
|
|
Special Moves
5S
5S
|
| Damage
|
Guard
|
Startup
|
Active
|
Recovery
|
Frame Adv (Block)
|
Frame Adv (Hit)
|
| 23x4
|
High/Low/Air
|
-
|
-
|
-
|
-
|
-
|
(DaggerZ)
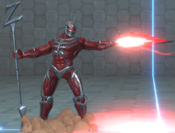
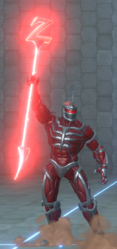
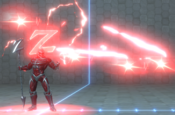
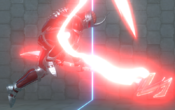
Zedd raises his staff, summoning a Z-shaped lightning bolt. After a moment, 4 projectiles come from the lightning bolt. The projectiles have slight homing properties, but if Zedd is hit before they are deployed, the move is canceled.
|
|
4S
4S Captain Corridor! Captain Corridor!
|
| Version
|
Damage
|
Guard
|
Startup
|
Active
|
Recovery
|
Frame Adv (Block)
|
Frame Adv (Hit)
|
| 4S
|
60
|
High/Low/Air
|
-
|
-
|
-
|
-
|
-
|
| Charged
|
45x2
|
High/Low/Air
|
-
|
-
|
-
|
-
|
-
|
(Catalytic Jolt)
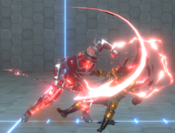
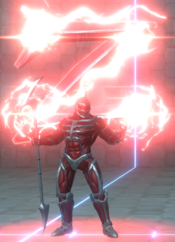
Zedd surrounds himself with electricity. This is one of the few meterless moves in the game with some invincibility.
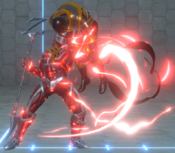
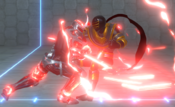
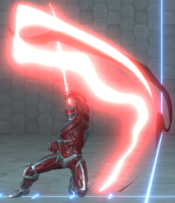
If this move succesfully connects, Zedd will be enveloped in a red aura. This aura persists even if he is tagged out.
(Fulmination)
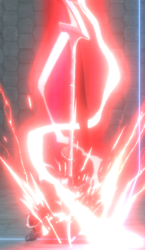
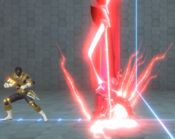
Attemping to use (Catalytic Jolt) again while enveloped in the red aura results in Zedd summoning a red lightning column in his current location. This move, as of version 1.6.2, does not contribute to the juggle limiter, meaning Zedd can net strong combos from it.
Using this move expends the aura, so Zedd needs to hit with (Catalytic Jolt) to use it again.
|
|
6S
6S "Prepare the Palace for my return!" "Prepare the Palace for my return!" *garbled underwater noises* *garbled underwater noises*
|
| Damage
|
Guard
|
Startup
|
Active
|
Recovery
|
Frame Adv (Block)
|
Frame Adv (Hit)
|
| 50
|
High/Low/Air
|
-
|
-
|
-
|
-
|
-
|
(Prepare the Palace)
Zedd points forward, which causes a Z Putty Patroller to run towards the opponent, eventually falling flat. Though it can be used as a combo filler, its main use is to reduce the recovery of Zedd's normals.
|
|
j.S
j.S
|
| Damage
|
Guard
|
Startup
|
Active
|
Recovery
|
Frame Adv (Block)
|
Frame Adv (Hit)
|
| 90
|
High/Low/Air
|
-
|
-
|
-
|
-
|
-
|
(Seismic Crush)
Zedd dives to the ground Z-Staff-first. Not an overhead. Groundbounces and has OTG properties.
|
|
EX Attack
5L+S
5S+L
|
| Damage
|
Guard
|
Startup
|
Active
|
Recovery
|
Frame Adv (Block)
|
Frame Adv (Hit)
|
| 150, 50x5
|
High/Low/Air
|
-
|
-
|
-
|
-
|
-
|
(Hail of Ire)
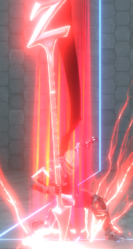
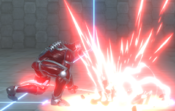
Upon use, Zedd stabs the ground with the Z Staff, creating a red lightning bolt. Later, 5 lightning balls fall from the sky. Both the stab and the Lightning balls have OTG properties
An unique EX Attack in that it only has one phase, with its entirety coming out even on block or whiff. The lightning bolts cause a groundbounce against airborne opponents.
|
|
Throws
Forward Throw
Forward Throw
5M+H/6M+H
|
| Damage
|
Guard
|
Startup
|
Active
|
Recovery
|
Frame Adv (Block)
|
Frame Adv (Hit)
|
| 101
|
Throw
|
6
|
-
|
-
|
-
|
-
|
Zedd backhands the opponent, then zaps them lightning, stunning them.
|
|
Back Throw
Back Throw
4M+H
|
| Damage
|
Guard
|
Startup
|
Active
|
Recovery
|
Frame Adv (Block)
|
Frame Adv (Hit)
|
| 121
|
Throw
|
6
|
-
|
-
|
-
|
-
|
Zedd slams the opponent behind him. Groundbounces.
|
|
Super
Super
Super
H+S "DESTROY!" *garbled underwater noises* "DESTROY!" *garbled underwater noises* Delicious combo ahead. Delicious combo ahead.
|
| Damage
|
Guard
|
Startup
|
Active
|
Recovery
|
Frame Adv (Block)
|
Frame Adv (Hit)
|
| 1, 10x30, 50x2
|
Unblockable
|
-
|
-
|
-
|
-
|
-
|
Zedd snaps his fingers, summoning a Z Putty Patroller who tries to hit the opponent from behind. If successful, Zedd then command 2 additional Z Putty Patrollers to beat upon the helpless opponent.
This super is considered a grab and, as such, it cannot hit aerial opponents. Although it can be combo'd into, the opponent cannot be knocked down, making routes into Super quite limited. Instead, this Super provides massive reward on its own, dealing an extreme amount of damage and causing a groundbounce, meaning Zedd can combo from this Super.
|
|
Tag Actions
Assist
Assist
A1/A2
|
| Damage
|
Guard
|
Startup
|
Active
|
Recovery
|
Frame Adv (Block)
|
Frame Adv (Hit)
|
| 45x2
|
High/Low/Air
|
-
|
-
|
-
|
-
|
-
|
Based on the Charged version of 4S. Has 7 frames of invincibility. Much like with the original, as of version 1.6.2, this move does not contribute to the juggle limiter.
|
|
Swap Strike
Swap Strike
A1/A2+S
|
| Damage
|
Guard
|
Startup
|
Active
|
Recovery
|
Frame Adv (Block)
|
Frame Adv (Hit)
|
| 70
|
High/Low/Air
|
6
|
-
|
-
|
-
|
-
|
Faster than EX Attack, making it a little more reliable as a reversal, but far less damaging. Forces a character switch on hit; knocks down if only one character remains.
Unlike most Swap Strikes, Zedd's has a unique animation: a backhanded fist.
|
|
Team Synergy
Characters with a fast dash and OTGs that lead to a combo work very well with Zedd, as they can pick up a combo after he catches an opponent at range. Notable characters would be RJ, Trey, Drakkon and Quantum. If spaced properly, Trey's assist can pick up a combo after Zedd's 6H from nearly full range.
Characters with a strong advancing assist such as Goldar or RJ can also give Zedd space to setup a 5S, or for him to teleport dash through the opponent for side switching mixups.
Combos
Solo
*all combos tested as of version 2.5
Note: "c.4S" denotes the charged version of 4S.
Corner Routes
2MH 6S 2M 5S 2M 4S 2M 5HH c.4S 2M 5HH 5S EX 2L 5HH 5S 6H 2H 6S 4S 5H c.4S EX
You can substitute some of the 2Ms for 2Ls if they're giving you trouble, 2M is a finnicky link, just make sure you keep one 2L available for the EX pickup
2M 5HH(1) 5S 2M 4S 2M 5HH c.4S 2M 5HH 5S EX 2LM 5HH 5S 6H (2H 6S 4S 5H c.4S)x2 5H EX
5LL 2MH 6S 2M 5S 4S 2M 5HH c.4S 2M 5HH 5S EX 2LM 5HH 5S 6H 2H 6S 4S 5H c.4S EX
Midscreen Routes
5HH(1) (6S dash forward, then take a small step back, putty hits) 5HH 6S 4S (putty hits) 5HH c.4S 2L 2L 2LM 5HH 5S 6H 2H 6S 4S 5H c.4S EX
ToD that works from roundstart 5H. It can generally work midscreen, but the first 4S is very position dependant.
5HH(1) (6S dash forward, then take a small step back, putty hits) 5HH 6S 2L (putty hits) 5MM 2L 5MM 2M 5HH 5S 6H (2H 6S 4S 5H c.4S)x2 5H EX
Doesn't require the weird spacing of 4S, but forces you to do the hard ender since it's less damage. Both routes can kill with a 2M start.
Facing away from Corner
Throw Routes
Reset Routes
Assist combos
5L > 5M > 5H > assist name > 5L > 5M > 5H
Example combo
Videos
Lord Zedd combo video by Star 55 (2020)
How to Zedd 101: Corner Loops
How to Zedd 101: Combo Enders
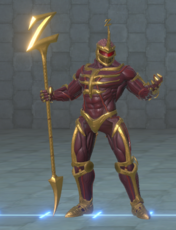
Colors
External Links
