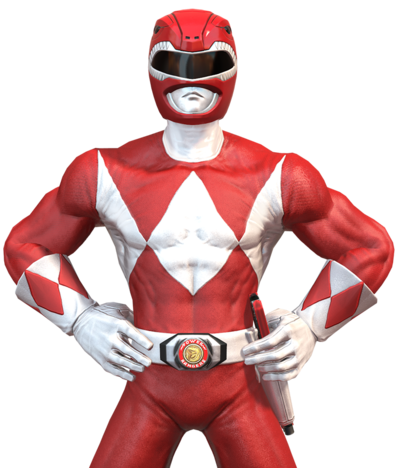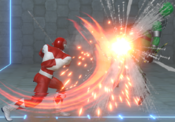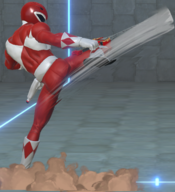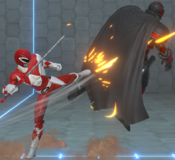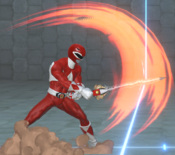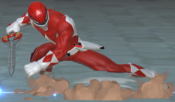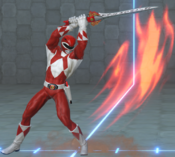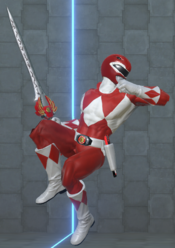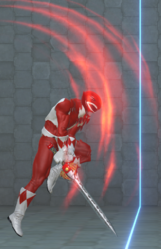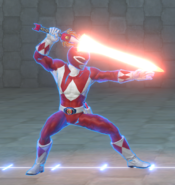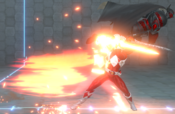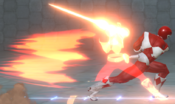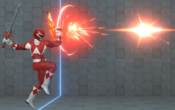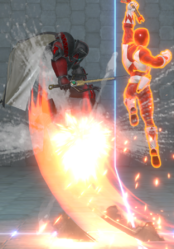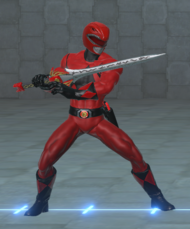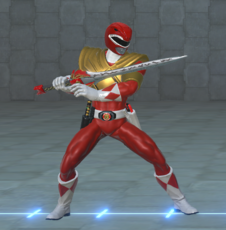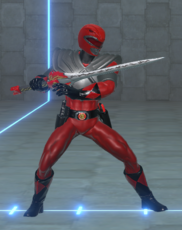
Jason Lee Scott
Mighty Morphin' Red Ranger Introduction
Health: 1000
Walk Speed: 900 forward, 375 back
Chain Rules: Magic Series
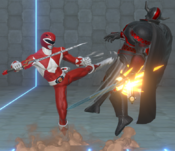
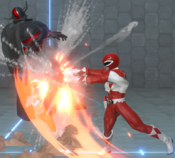
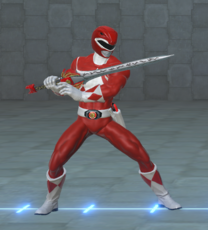
Jason Lee Scott is the original MMPR Red Ranger and a natural born leader. A 17-year-old black belt, Jason's sly smile betrays his rugged young warrior mantle to reveal a kid next door with a bit of a mischievous streak.
Overview
Jason is a fairly straightforward character who stands his ground. His 2H is jump-cancelable and it's what he uses to start air combos, but it doesn't launch by itself, letting him do extended ground combos against grounded opponents. Similarly, his assist doesn't launch either, which helps other characters extend grounded combos. Combining an offensive rushdown style with decent zoning properties, he's an easy character to get into if you want to learn the basics of the game.
Normal Moves
5L
5L
|
| Damage
|
Guard
|
Startup
|
Active
|
Recovery
|
Frame Adv (Block)
|
Frame Adv (Hit)
|
| 35
|
High/Low/Air
|
5
|
-
|
-
|
-1
|
-
|
|
|
|
5LL
5LL
|
| Damage
|
Guard
|
Startup
|
Active
|
Recovery
|
Frame Adv (Block)
|
Frame Adv (Hit)
|
| 26*
|
High/Low/Air
|
-
|
-
|
-
|
-7
|
-
|
|
5LLL
5LLL
|
| Damage
|
Guard
|
Startup
|
Active
|
Recovery
|
Frame Adv (Block)
|
Frame Adv (Hit)
|
| 28*
|
High/Low/Air
|
-
|
-
|
-
|
-8
|
-
|
|
5LLLL
5LLLL
|
| Damage
|
Guard
|
Startup
|
Active
|
Recovery
|
Frame Adv (Block)
|
Frame Adv (Hit)
|
| 32*
|
High/Low/Air
|
-
|
-
|
-
|
-
|
-
|
|
5M
5M
|
| Damage
|
Guard
|
Startup
|
Active
|
Recovery
|
Frame Adv (Block)
|
Frame Adv (Hit)
|
| 50
|
High/Low/Air
|
7
|
-
|
-
|
+3
|
-
|
Spin kick with decent vertical reach.
|
|
5MM
5MM
|
| Damage
|
Guard
|
Startup
|
Active
|
Recovery
|
Frame Adv (Block)
|
Frame Adv (Hit)
|
| 51*
|
High/Low/Air
|
-
|
-
|
-
|
0
|
-
|
|
|
|
5H
5H
|
| Damage
|
Guard
|
Startup
|
Active
|
Recovery
|
Frame Adv (Block)
|
Frame Adv (Hit)
|
| 60
|
High/Low/Air
|
7
|
-
|
-
|
-12
|
-
|
|
|
|
5HH
5HH
|
| Damage
|
Guard
|
Startup
|
Active
|
Recovery
|
Frame Adv (Block)
|
Frame Adv (Hit)
|
| 61
|
High/Low/Air
|
-
|
-
|
-
|
-14
|
-
|
|
|
|
2L
2L
|
| Damage
|
Guard
|
Startup
|
Active
|
Recovery
|
Frame Adv (Block)
|
Frame Adv (Hit)
|
| 35
|
Low/Air
|
3
|
-
|
-
|
0
|
-
|
Jason's fastest low and his main tool to open up opponents.
|
|
2M
2M
|
| Damage
|
Guard
|
Startup
|
Active
|
Recovery
|
Frame Adv (Block)
|
Frame Adv (Hit)
|
| 55
|
Low/Air
|
7
|
-
|
-
|
-2
|
-
|
|
|
|
2H
2H
Tyranno Upper
|
| Damage
|
Guard
|
Startup
|
Active
|
Recovery
|
Frame Adv (Block)
|
Frame Adv (Hit)
|
| 20, 50
|
High/Low
|
8
|
-
|
-
|
-11
|
-
|
Standard jump-cancellable anti-air.
Only launches on airborne and OTG hits.
|
|
j.L
j.L
|
| Damage
|
Guard
|
Startup
|
Active
|
Recovery
|
Frame Adv (Block)
|
Frame Adv (Hit)
|
| 40
|
High
|
-
|
-
|
-
|
-
|
-
|
A simple short-range elbow attack that actually has cross-up properties. On-hit in air, causes a juggle state, though this isn't always a reliable confirm, so you have to find the right timing. Otherwise, j.M is your best friend.
|
|
j.M
j.M
|
| Damage
|
Guard
|
Startup
|
Active
|
Recovery
|
Frame Adv (Block)
|
Frame Adv (Hit)
|
| 55
|
High
|
-
|
-
|
-
|
-
|
-
|
Very fun as a cross-up. Also a good aerial combo extender.
|
|
j.H
j.H
|
| Damage
|
Guard
|
Startup
|
Active
|
Recovery
|
Frame Adv (Block)
|
Frame Adv (Hit)
|
| 65
|
High
|
-
|
-
|
-
|
-
|
-
|
Despite being nerfed, it's still a nice move to end combos with. It does have good range to it, and the hitbox on it goes deep.
|
|
Special Moves
5S
Titanus Counter
5S
|
| Damage
|
Guard
|
Startup
|
Active
|
Recovery
|
Frame Adv (Block)
|
Frame Adv (Hit)
|
| 90
|
High/Low/Air
|
-
|
-
|
-
|
-
|
-
|
Slow move but acts as a reversal. If the opponent hits you during the startup, they'll take additional damage (134). Crumples on hit, making it a strong combo starter. Fun fact: this can counter supers!
|
|
4S
Back Roll
4S
|
| Version
|
Damage
|
Guard
|
Startup
|
Active
|
Recovery
|
Frame Adv (Block)
|
Frame Adv (Hit)
|
Back Roll
4S
|
n/a
|
-
|
-
|
-
|
-
|
-
|
-
|
Roll backwards. Command roll that has three followup options.
|
Cover Fire High
4S~L or 4S~S
|
45
|
High/Low/Air
|
-
|
-
|
-
|
-
|
-
|
Shoots a high projectile. Cancels into 4S~M by pressing L or S again.
|
Cover Fire Low
4S~M
|
45
|
High/Low/Air
|
-
|
-
|
-
|
-
|
-
|
Shoots a low projectile. Cancels into 4S~L by pressing M again.
|
Triple Slice 2
4S~H
|
35
|
High/Low/Air
|
-
|
-
|
-
|
-
|
-
|
Does the second hit of Jason's 6S chain.
|
Triple Slice 3
4S~HS
|
35
|
High/Low/Air
|
-
|
-
|
-
|
-
|
-
|
Does the third hit of Jason's 6S chain.
|
|
6S
Triple Slice
6S
|
| Version
|
Damage
|
Guard
|
Startup
|
Active
|
Recovery
|
Frame Adv (Block)
|
Frame Adv (Hit)
|
Triple Slice
6S
|
35
|
High/Low/Air
|
6
|
-
|
-
|
-24
|
-
|
Triple Slice 2
6SS
|
35
|
High/Low/Air
|
-
|
-
|
-
|
-
|
-
|
Triple Slice 3
6SSS
|
35
|
High/Low/Air
|
-
|
-
|
-
|
-
|
-
|
Rekka move. Can be done up to three times by pressing S again. Followups are only available on hit.
The first hit is an OTG.
|
|
j.S
Air Blaster Shot
j.S
|
| Damage
|
Guard
|
Startup
|
Active
|
Recovery
|
Frame Adv (Block)
|
Frame Adv (Hit)
|
| 70
|
High/Low/Air
|
-
|
-
|
-
|
-
|
-
|
Air version of his 4S~L projectile. Good for poking people that jump way too much, such as Magna Defender players spamming j.S.
|
|
EX Attack
5S+L
Triple Threat
5S+L
|
| Damage
|
Guard
|
Startup
|
Active
|
Recovery
|
Frame Adv (Block)
|
Frame Adv (Hit)
|
| 35x4, 75
|
High/Low/Air
|
28
|
-
|
-
|
-26
|
-
|
If the first hit is blocked, the rest of the move will not come out.
|
|
Throws
Forward Throw
Forward Throw
5M+H/6M+H
|
| Damage
|
Guard
|
Startup
|
Active
|
Recovery
|
Frame Adv (Block)
|
Frame Adv (Hit)
|
| 101
|
Throw
|
6
|
-
|
-
|
-
|
-
|
Perform a series of attacks that end with a spinning kick. Can be followed up with 6S.
|
|
Back Throw
Back Throw
4M+H
|
| Damage
|
Guard
|
Startup
|
Active
|
Recovery
|
Frame Adv (Block)
|
Frame Adv (Hit)
|
| 101
|
Throw
|
6
|
-
|
-
|
-
|
-
|
Switches sides with the opponent and slices them. If this connects, Jason can cancel into 6S.
|
|
Super
Tyranno Charge
H+S The omnomnom super. The omnomnom super.
|
| Damage
|
Guard
|
Startup
|
Active
|
Recovery
|
Frame Adv (Block)
|
Frame Adv (Hit)
|
| 200, 180
|
High/Low/Air
|
-
|
-
|
-
|
-37
|
-
|
Jason charges forward, enveloped in a Tyrannosaurus aura. Always does consistent damage, and confirms easy off of EX. You do have to time this a little proper, as you can miss the final hit otherwise. Get used to the timing on this move and you should be good to go.
|
|
Tag Actions
Assist
Assist
Triple Slice
A1/A2
|
| Damage
|
Guard
|
Startup
|
Active
|
Recovery
|
Frame Adv (Block)
|
Frame Adv (Hit)
|
| 35x2
|
High/Low/Air
|
-
|
-
|
-
|
-
|
-
|
The same as the first two hits of 6SS. Leaves opponent grounded, good combo and pressure tool. Also easy to Takeover into on confirm. The first hit has OTG properties like the normal move.
|
|
Swap Strike
Swap Strike
A1/A2+S
|
| Damage
|
Guard
|
Startup
|
Active
|
Recovery
|
Frame Adv (Block)
|
Frame Adv (Hit)
|
| 70
|
High/Low/Air
|
-
|
-
|
-
|
-
|
-
|
Faster than EX Attack, making it a little more reliable as a reversal, but far less damaging. Forces a character switch on hit; knocks down if only one character remains.
Similar animation and same range as 5S, which makes it decent.
|
|
Strategy
Jason is a fairly straightforward character - he doesn't kill solo, and he doesn't have the greatest mixups in the world. But he does play neutral very well using his j.S gunshot and his 4ss gunshots to keep you glued in place until you either make a mistake he can capitalize on, or he decides to try to press any kind of advantage he's gained. In addition, he has access to routes that build a metric ton of meter, and save important states like spins and wallbounce, if you learn his blaster loops.
The combination of these two things make him an incredible "battery" character, building bar and tagging out to a damage engine that can finish the job for him, like Dog, Eric, Trey, or even Kat if properly routed.
Team Synergy
Jason is at his best being a midliner on your team. Putting him here gives you access to his strengths - his assist to use for mixups or neutral skips, and his high meter gain - while avoiding his weaknesses as a solo character, like his lack of solo mix and low damage output. When paired up with a damage engine to convert all that bar he builds into a kill, he can become a very formidable force.
Combos
Solo
Easy Combos
j.H > 5HH > 5HH > 5MH > 2H > j.MS > 5MH > 2H > j.MS > 5MH > EX > Super
https://imgur.com/InvRlG2
j.H > 5HH > 5M > 2H > j.MS > 5MH > 2H > j.MS > 5MHHH > EX > Super
https://imgur.com/sRnPaDV
2LMH > j.LM > 5MH > 2H > j.MS > 5MHHH > EX > Super
https://imgur.com/jmcWMLa
j.H > 5MHH > 5MH > 2H > JMS > 5MH > 2H > JMS > 5MH > EX > Super
https://imgur.com/2WLqYK3
BnB Combos *Wip*
5HH > 5HH > 5H > 2H > jMS > 5M dl 2M > 2H > jMS > 5M dl 2M > 5H > (6SSS/EX Super)
Zord combos
Mega Goldar: 2M 5H Zord Call 5H 6SSH 6SSH 6SSH 6SSH H+S Visualization
The dirty stuff.
Videos
Jason BnB video Jan 2020 by Starrich55
Red Ranger/Trini combo video by starrich55*old*
Colors
Dragon Shield Skin
External Links
