Wonderful World/Ryuza: Difference between revisions
m (Fixed translation.) |
No edit summary |
||
| Line 1: | Line 1: | ||
[[File:portraitRyuza.JPEG|<center><font size="4"><b>Ryuza | [[File:portraitRyuza.JPEG|<center><font size="4"><b>Ryuza Lengrand</b></font></center>|frame|right]] | ||
{{TOClimit|2}} | {{TOClimit|2}} | ||
Revision as of 02:24, 28 April 2019
Profile
- Full Name: Ryuza Lengrand (リュウザ=ラングラン)
- Age: 22
- Occupation: Knight
- Height: 179cm
- Weight: 73kg
- Interests: Collecting Weapons, Researching Magic.
- Dislikes: Office Job.
- Values: Fellow Knights.
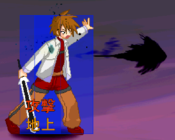
- Weapon: Giant Sword and Black Flames
Special Skills
All of Ryuza's Original Actions act essentially as EX moves. Similar to a Skill Break, using one of his EX moves will put your meter gain on cooldown.
Gameplan
Ryuza, as of patch 0.938 is a shoto, one of the more flexible characters in the game, with no bad matchups. He has really good pressure, gigantic hitboxes, and more than enough damage to come by. His special character ability allows him to enhance any one of his specials for 50 meter.
Neutral Game
f.5S, j.S, and j.HS all have amazing range and should be used liberally so that your opponent will learn to respect the ranges Ryuza operates in. If you are having difficulty getting near you can toss out some 236P to build meter and restrict movement. Nothing too complex here, but don't forget that you want to use j.K or j.HS if they are above you in the air, j.S is for below you.
Ryuza has no real anti air normals... however f.5S can swat careless approaches out of the air easily, and not much will beat a DP. Try not to let them get so close you don't have time to get out a DP.
Pressuring
Ryuza's pressure game is really simple, and it doesn't really need to be anything more. His range lets him sit comfortably at a range where most (exceptions for characters like Lemius and Orphe) characters can't really do much. Like most characters his 2P is frame advantage, so make sure to use it for frame traps and tick throw setups.
Jump Cancels
Both Ryuza's f.5S and 5HS are jump cancelable, so later in your blockstrings you pretty much always have it available to you. You can jumpback, then delay an airdash back in, IAD, or simply jump over your opponent and crossup with a j.S. On taller characters you can also do a high j.S > j.HS on the way down to create stronger frame advantage.
Dark Flame Pressure
This is pretty straight forward, against a respectful opponent you can just cancel into 236K which will generate a ton of frame advantage and allow you to dash back in. Depending on how they answer you should adjust accordingly. 236P isn't really good to be used from close up, but when you are pushed out more and you toss it out you can create a frame trap by doing a f.5S after it is blocked. Of course if you have the meter to spare (whether or not you consider it worth it to use 50% meter to get close is up to you), you can always cancel into a 236O which is a pretty effective way to get back in (note that some chars have ways to escape it such as Duna 623K and Aiwhen's teleports).
Okizeme
214P or 214K Knockdown, then Meaty 236K is a very easy and simple way to force a block.
With 214P ender in the corner, the opponent will be pushed out slightly. If you mix up the distance you walk forward before an IAD you can create a hard to see crossup or no-crossup mixup.
623HS Knockdown: Not really enough time for a meaty 236K except for on respectful opponents. Just do a meaty 2K or 2S or something. IAD j.S isn't a bad option. Blocking reversals is also a good option.
j.623HS Knockdown: Not really the greatest situation ever, but not bad for Ryuza considering he has a ton of range anyways. If you do a short dash then f.5S most characters will have to backdash or airblock it. You sort of go straight into your further range pressure game here, probably why you should end your longer combos early at a grounded 623HS for more frame advantage.
Normal Moves
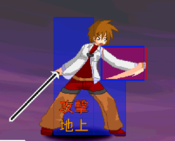
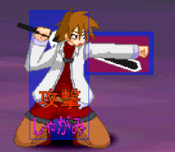
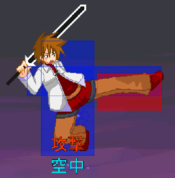
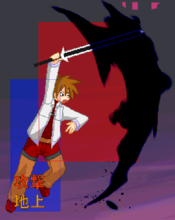
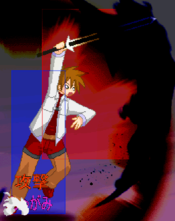
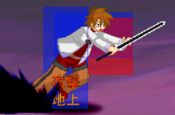
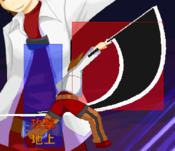
5P
5P
|
|---|
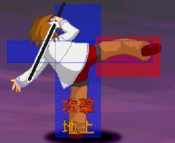
5K
5K
|
|---|
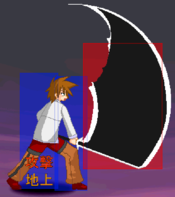
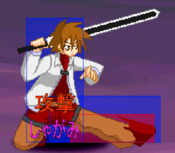
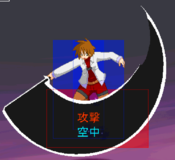
5S
f.5S
|
|---|
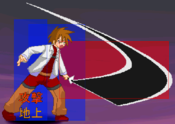
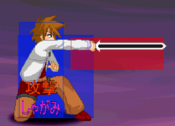
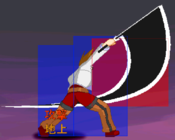
5HS
5HS
|
|---|
2P
2P
|
|---|
2K
2K
|
|---|
2S
2S
|
|---|
2HS
2HS
|
|---|
jP
jP
|
|---|
jK
jK
|
|---|
jS
jS
|
|---|
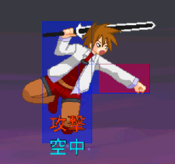
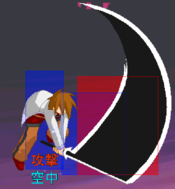
jHS
jHS
|
|---|
Command Moves
6HS
|
|---|
Special Moves
Dark Flame
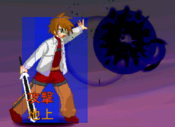
Dark Flame 236X 236P 236P 236K 236K 236O Part 1 236O Part 1 236O Part 2 236O Part 2
|
|---|
Heavenly Flying Rook
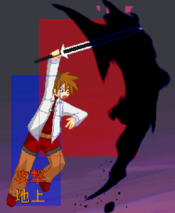
Heavenly Flying Rook 623X 623S 623S 623HS Part 1 623HS Part 1 623HS Part 2 623HS Part 2 623O 623O
|
|---|
Lower Rook Heaven
Lower Rook Heaven 421X 421S 421S 421HS 421HS 421O 421O
|
|---|
Night Burial Edge
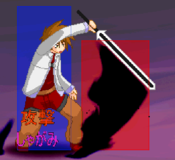
Night Burial Edge 214X 214 Startup 214 Startup P Version P Version K version K version 214O 214O
|
|---|
Finishing Moves
Demon Scratch
2146HS |
|---|
Combos
BnBs
Meterless
- xx > 214P / 214K
- 214P in the corner, 214K for midscreen. They both set up an OTG or meaty 236K (performed by taking a step back first).
- Throw / 214P / 214O > Air Combo
- Near Wall. Depending on the distance, you either want to start out with 5P, f.5S, or j.P (going by increasing distance from the wall).
- 421S > 2S 5HS 6HS > Air Combo
- Far positioning.
- 421S > 2S 5HS > 236K > 421HS > Followup
- Near positioning.
- Starter > Dash > 5HS 6HS > Air Combo
- Midscreen, Damage Followup
- Starter > 5HS > 214P (Wallbounce) > Air Combo
- Midscreen, Wall Bounce Followup
- Starter > Dash > 5S 5HS > 623HS
- Midscreen, Oki Followup
- Starter > 5HS > 6HS > Air Combo
- Corner, Damage Followup
- Starter > Dash > 5HS > 421S > (2S) > 623HS
- Corner, Oki Followup
- Some Launcher / Wallbounce > (j.P) j.S > dj9.(j.P) j.S j.HS > j.623HS
- Air Combo
Meter Required
- 623O > Air Combo / 623HS
- xx > 214P / 214K > BRK > f.5S 5HS > 236K > 421HS > Followup
- 50% Meter: this is how Ryuza goes into most of his big damage combos, 214K midscreen and 214P corner (extra damage).
- xx > f.5S / 5HS / some ground normal that's not 6HS > 2146HS
- 100% Meter: Ryuza's super is a really great combo tool when you have it, adds on great damage to the end of longer combos. However it is not really worth the meter unless you will end the round with it.
OTGs
- 2K 5S 214P
- Carries towards the corner a fair bit, allows you to DP techs
- 2K cl.5S(f.5S) 5HS > IAD
- 2K (cl.5S) 5HS > 236K
- 2K cl.5S (f.5S) 5HS > 2146HS
Post OTG Game
Midscreen Ryuza can't really do too much against techs, fortunately if you use his 214P OTG combined with a dash you can get them pretty damn near the corner if you aren't there already.
OTGing builds you meter which you need to do big damage and strong pressure, so getting respect to do OTGs off your smaller combos is important. One simple solution is to buffer a DP after your OTG and do a 623S on reaction to the tech sound (don't press anything if they did not tech, IAD or go into some sort of oki instead). Once tagged by the 623S further 623S attempts won't really be as effective, so you should jump and get ready to force them to block in the air with a j.S.
His other post OTG options are pretty basic. His only air unblockable is his DP so it can be hard for Ryuza to punish chicken blocking near the ground. Doesn't mean they are bad options.
Videos
- Ryuza Combos (2010)
- Wonderful World: Ryuza Full Corner Carry Combo (2012)
- Ryuza Basic Combo (Ver 0.83) (2015)
Colors
| P Button | K Button | S Button | HS Button |
|---|---|---|---|
| O Button | SP Button | Hidden | |
External Links
