Skullgirls/Peacock/Team Building
Assists this character provides
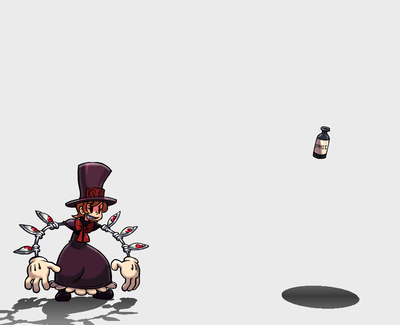
M Shadow of Impending Doom (default assist)
Drops a level 1 item for an unconventional anti-air assist.
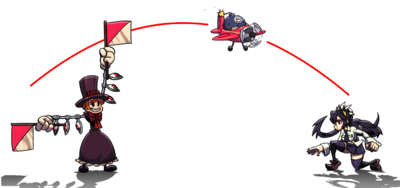
George at the Air Show (default assist)
Projectile assist that homes in on the opponents position from when it starts.
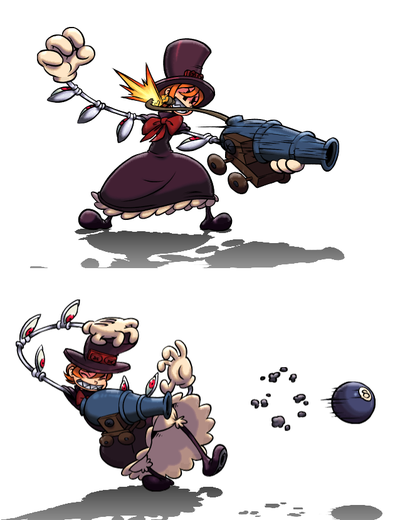
5HP
A 2 in 1 lockdown/projectile assist. At long range, this attack acts as a projectile assist. At shorter ranges this 2 hit, high hit -and- block stun move can trap the opponent for the point character. A lockdown and projectile assist in one.
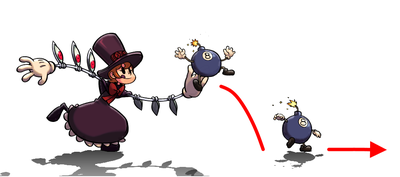
George's Day Out (236LK)
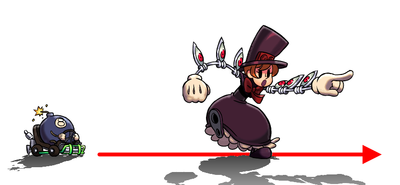
Projectile assist that slowly moves across the floor. Amazing assist that always keeps a threat on the screen, and is very difficult to remove from play.
Boxcar George (236MK)
Projectile assist that travels fast across the screen from one end to the other. Can be useful to hit from behind, and the fast travel speed is good against grounded approaches and for certain conversions.
Throw (LP+LK)
Peacock's throw assist not only has a good throw range, but it is also the only assist in the game that, when used as a combo starter, can allow you to call another assist mid-combo.
Shadow of Impending Doom (Level 3) (214LP+MP / 214MP+HP / 214LP+HP)
Peacock will stay on screen looping her tag out animation until the item charges and drops once it reaches level 3. Just like when she's on point, the opponent can stop the SoID with a successful hit to Peacock. The level 3 item will hit overhead and the MP/HP versions can track, making this assist useful for all sorts of utilities: a combo breaker against the opponent hitting you, a powerful combo extension tool, and an overhead mixup tool. Peacock staying on screen can also be used to keep the opponents from flying too far in combos, which can be useful for certain conversions (such as Squigly ground throw). It has a high risk of being hit, but it comes with great rewards.
Assists this character especially benefits from
- Zoning help: Peacock typically wants some sort of assist that covers some area slightly above and in front of her to cover the dead zone of her zoning, allowing her to throw as many projectiles on screen as she wants and stay safe from most approaches. There are many forms of assist this can take: armored assists that can take the hits, DP assists that stuff out aggressive opponents, lockdown assists that stay in place to cover the deadzone, and even other projectile assists that fill in the gaps between your projectiles.
- Examples: H Brass (Big Band), H Lock n Load (Bella), Napalm Pillar (Parasoul), H Hurting Hurl (Beowulf), H Spiral (Eliza), H Love Dart (Fukua), H Theonite Beam (Robo)
- Item Drop Setup: Peacock really likes having access to her item drop reset loops (video of peck here), which give her access to one of the best reset loops in the game. She ideally wants some assist that lets her combo, call the assist while charging M item drop, then letting her pick up back the combo into a multiway reset. There are surprisingly numerous amounts of assists that give her access to this.
- Examples: L or M Beat Extend (Big Band), H Lock n Load (Bella), H Theonite Beam (Robo), Silver Cord (Squigly)
DHCs
- Argus Agony has great utility both as a DHC and being DHC'd from. It's one of the most damaging Level 1 supers in the game, can hit across the screen allowing it to hit very far as a DHC, and can be DHC'd into several other supers to continue a combo from the fullscreen distances (such as Filia's Gregor).
- Lenny is a very strong DHC. It's a safe DHC due to the low recovery, as well as the Lenny itself giving Peacock a good defensive tool as she's coming in, making this DHC hard to challenge. She's also free to combo off of certain supers such as Bella's Dynamo or most supers when near the corner, potentially even integrating in the Lenny's explosion to add on even more damage than you would get from Argus.
- Peacock's level 3 is a hitgrab that hits very fast, making it very useful against armor and/or winning against certain DHC wars.
Meter management
- Peacock generally will build a lot of meter in her neutral gameplay due to her being a zoner that will throw out lots of safe projectiles. Because of this, she can work pretty well as a battery character.
- Peacock doesn't particularly need to use meter for her reversals. While she can use Lenny after M Bang to be safer on block or to rack up damage on hit (with an Argus), it's not strictly required for either purpose. Using meter can be very useful to convert off of her ground throw if needed, but again it's not always needed since Peacock already benefits well from the Hard Knockdown (or can just use item drop/george to convert in either midscreen or corner).
- Peacock can be meter hungry or as a battery depending on the player's playstyle. Lenny is a powerful neutral tool that can halt some matchups completely, making this tool very tempting. But it's not essential given Peacock's already strong zoning tools especially combined with assists. Additionally, due to Peacock being very flexible in using any amount of meter in a particular combo (with Lenny/Argus interactions), she can always meter dump at the end of combos however much she wants to generally do lots of damage, meaning it's pretty effective to save meter with Peacock as well.
