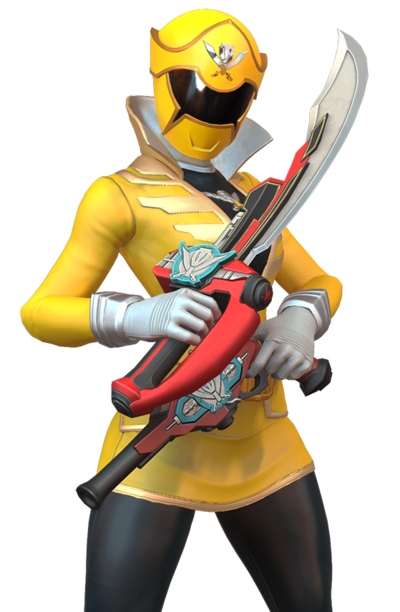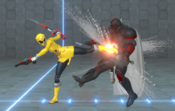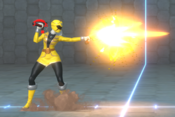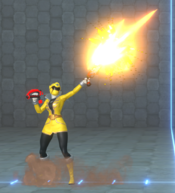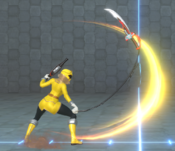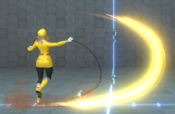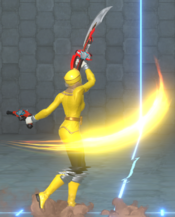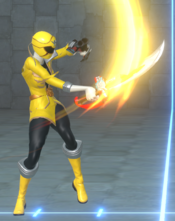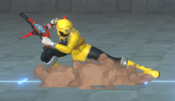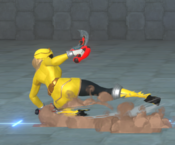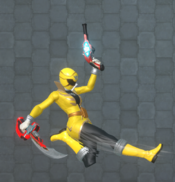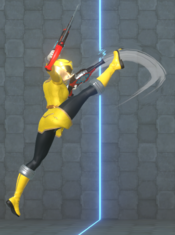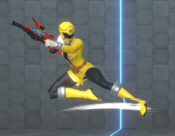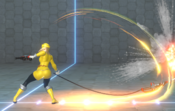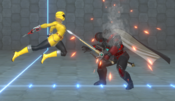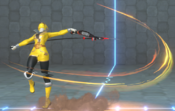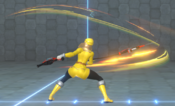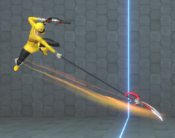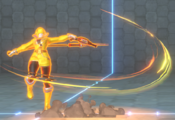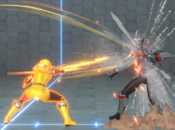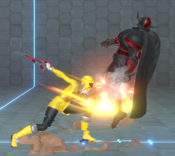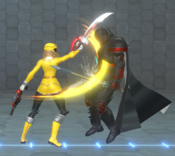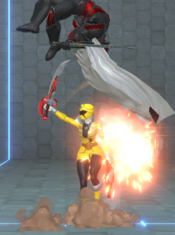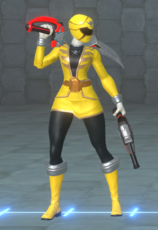
Gia Moran
Super Megaforce Yellow Ranger Introduction
Health: 1000
Walk Speed: 875 Forward, 375 Back
Gia, the Yellow Super Megaforce Ranger, is generally unflappable and carries herself with a sense of confidence that comes from her success. Strong and capable, Gia will never back down from protecting her friends.
Overview
Gia is a well-rounded character who thrives at the mid-range. She excels at controlling space with her long grounded normals and specials that keep the opponent at bay. That isn't to say she's a slouch in the close range, where she sports a fast low 2L, strong overheads (including a long range instant overhead in j.S) and unblockable setups. Her assist is excellent for combo extensions, long range pokes, and lockdown, making her a strong pick on any team.
Playstyle
|
Gia Moran is a strong midrange character with excellent space control and tagouts |
| Pros |
Cons |
- Has Melty Normals - Gia is one of the scariest characters from anywhere as she can threaten from afar with her mediums and heavies, while also having strong pressure through plink lights from up close. All while being relatively safe.
- Gia has left the room - In conjunction with her large normals, her specials have a long screen presence give much reason to tag out into another character and continue pressure
- Mixup Options - After jab flipout, Gia has the scariest mixup game across the roster with a left-right-low-high-throw mixup that can be further layered with fake cross-unders or double dashing
|
- Mediocre Damage - At a cost for her strong mixup game, Gia’s damage is mediocre at best and efforts to push beyond it are typically resource heavy and inconsistent
|
Normal Moves
5L
5L
|
| Damage
|
Guard
|
Startup
|
Active
|
Recovery
|
Frame Adv (Block)
|
Frame Adv (Hit)
|
| 40
|
High/Low/Air
|
6
|
-
|
-
|
0
|
-
|
Average jab. Great range and excellent for plink cancels.
- Forced Flipout (on airborne opponents)
|
|
5LL
5LL
|
| Damage
|
Guard
|
Startup
|
Active
|
Recovery
|
Frame Adv (Block)
|
Frame Adv (Hit)
|
| 26*
|
High/Low/Air
|
-
|
-
|
-
|
-11
|
-
|
|
5LLL
5LLL
|
| Damage
|
Guard
|
Startup
|
Active
|
Recovery
|
Frame Adv (Block)
|
Frame Adv (Hit)
|
| 22*
|
High/Low/Air
|
-
|
-
|
-
|
-10
|
-
|
|
5LLLL
5LLLL
|
| Damage
|
Guard
|
Startup
|
Active
|
Recovery
|
Frame Adv (Block)
|
Frame Adv (Hit)
|
| 42*
|
High/Low/Air
|
-
|
-
|
-
|
-11
|
-
|
|
|
|
5M
5M
|
| Damage
|
Guard
|
Startup
|
Active
|
Recovery
|
Frame Adv (Block)
|
Frame Adv (Hit)
|
| 50
|
-
|
-
|
-
|
-
|
-4
|
-
|
Excellent horizontal poke.
Treated as a projectile, so it can nullify single-hit projectiles
|
|
5MM
5MM
|
| Damage
|
Guard
|
Startup
|
Active
|
Recovery
|
Frame Adv (Block)
|
Frame Adv (Hit)
|
| 50
|
-
|
-
|
-
|
-
|
-4
|
-
|
- Treated as a projectile, so it can nullify single-hit projectiles
- Causes spin knockdown on airborne opponents, no spin state is consumed
|
|
5MMM
5MMM
|
| Damage
|
Guard
|
Startup
|
Active
|
Recovery
|
Frame Adv (Block)
|
Frame Adv (Hit)
|
| 75
|
High/Low/Air
|
-
|
-
|
-
|
-
|
-
|
- Treated as a projectile, so it can nullify single-hit projectiles
|
|
4M
4M
Diagonal Shot
|
| Damage
|
Guard
|
Startup
|
Active
|
Recovery
|
Frame Adv (Block)
|
Frame Adv (Hit)
|
| 65
|
High/Low/Air
|
-
|
-
|
-
|
-
|
-
|
Treated as a projectile, so it can nullify single-hit projectiles. Excellent as a meaty on incoming. Great anti-air poke that leads to full combo on hit. Can chain into EX at any point during the 4MMH string.
|
|
4MMH
4MMH
Pistol Combination
|
| Damage
|
Guard
|
Startup
|
Active
|
Recovery
|
Frame Adv (Block)
|
Frame Adv (Hit)
|
| 80
|
High/Low/Air
|
-
|
-
|
-
|
-
|
-
|
|
|
|
5H
5H
|
| Damage
|
Guard
|
Startup
|
Active
|
Recovery
|
Frame Adv (Block)
|
Frame Adv (Hit)
|
| 60
|
High/Low/Air
|
13
|
-
|
-
|
-1
|
-
|
Very high reach. Excellent poke due to being only -1 on block and chainable into 5HH on both hit and whiff.
- Groundbounce on airborne opponents
|
|
5HH
5HH
|
| Damage
|
Guard
|
Startup
|
Active
|
Recovery
|
Frame Adv (Block)
|
Frame Adv (Hit)
|
| 60
|
High/Low/Air
|
-
|
-
|
-
|
-
|
-
|
Very high reach.
Unlike most normals tied to autocombos, this one can be done on whiff.
|
|
5HHH
5HHH
|
| Damage
|
Guard
|
Startup
|
Active
|
Recovery
|
Frame Adv (Block)
|
Frame Adv (Hit)
|
| 80
|
High/Low/Air
|
-
|
-
|
-
|
-
|
-
|
- Treated as a projectile, so it can nullify single-hit projectiles
- Hard knockdown.
|
|
4H
4H
Scimitar
|
| Damage
|
Guard
|
Startup
|
Active
|
Recovery
|
Frame Adv (Block)
|
Frame Adv (Hit)
|
| 80
|
High/Low
|
-
|
-
|
-
|
-
|
-
|
- Launcher.
- Air-unblockable.
|
|
6H
6H
Overhead Slice
|
| Damage
|
Guard
|
Startup
|
Active
|
Recovery
|
Frame Adv (Block)
|
Frame Adv (Hit)
|
| 60
|
High/Air
|
14
|
-
|
-
|
-
|
-
|
Excellent far range overhead. Links into 5L and 2L. Unsafe on block, but safe if pushblocked. Also good to kara throw with using 6H~M.
- Overhead
- OTG, uses OTG bounce
|
|
2L
2L
|
| Damage
|
Guard
|
Startup
|
Active
|
Recovery
|
Frame Adv (Block)
|
Frame Adv (Hit)
|
| 40
|
Low/Air
|
6
|
-
|
-
|
2
|
-
|
|
|
|
2M
2M
|
| Damage
|
Guard
|
Startup
|
Active
|
Recovery
|
Frame Adv (Block)
|
Frame Adv (Hit)
|
| 65
|
Low/Air
|
7
|
-
|
-
|
0
|
-
|
Unlike most crouching mediums, Gia's 2M doesn't knock down.
|
|
2H
2H
|
| Damage
|
Guard
|
Startup
|
Active
|
Recovery
|
Frame Adv (Block)
|
Frame Adv (Hit)
|
| 65
|
High/Low/Air
|
-
|
-
|
-
|
-
|
-
|
Great whiff punish/low profile poke. Treated as a projectile, so it can nullify single-hit projectiles.
|
|
j.L
j.L
|
| Damage
|
Guard
|
Startup
|
Active
|
Recovery
|
Frame Adv (Block)
|
Frame Adv (Hit)
|
| 40
|
High/Air
|
5
|
-
|
-
|
-
|
-
|
Excellent air-to-ground normal. Used as a button to press on incoming because it hits behind her as well. Because of how active it is, it's a great air-to-air normal as well. j.L~j.S in the air serves as an especially strong aerial pushblock OS and should be the go-to defensive option in the air.
|
|
j.M
j.M
|
| Damage
|
Guard
|
Startup
|
Active
|
Recovery
|
Frame Adv (Block)
|
Frame Adv (Hit)
|
| 65
|
High/Air
|
11
|
-
|
-
|
-
|
-
|
Mainly an air-to-air tool due to how high Gia kicks, though the ground bounce makes it useful in combos.
|
|
j.H
j.H
|
| Damage
|
Guard
|
Startup
|
Active
|
Recovery
|
Frame Adv (Block)
|
Frame Adv (Hit)
|
| 70
|
High/Air
|
8
|
-
|
-
|
-
|
-
|
Gia's j.H is a jump-in that can hit very deep.
|
|
Special Moves
5S
Double Whip
5S
|
| Damage
|
Guard
|
Startup
|
Active
|
Recovery
|
Frame Adv (Block)
|
Frame Adv (Hit)
|
| 40, 60
|
Low/Air, High/Air
|
-
|
-
|
-
|
-
|
-
|
First hit is low, second is overhead that wallbounces. Exceptionally far range.
First hit can hit opponents OTG, which is primarily useful for cancelling into super after a hard knockdown.
|
|
4S
Whip Fling
4S
|
| Version
|
Damage
|
Guard
|
Startup
|
Active
|
Recovery
|
Frame Adv (Block)
|
Frame Adv (Hit)
|
Whip Fling
4S
|
35
|
-
|
-
|
-
|
-
|
-
|
-
|
Hitbox is tied to the sword, not the cord. Excellent far-range punish option.
|
Engage
4S~S
|
0
|
-
|
-
|
-
|
-
|
-
|
-
|
Press S a second time to pull yourself in for a combo. Can cancel into normals as soon as Gia lands. Can be jump canceled by forward jump only.
|
|
6S
Saber Whip
6S
|
| Damage
|
Guard
|
Startup
|
Active
|
Recovery
|
Frame Adv (Block)
|
Frame Adv (Hit)
|
| 30, 40, 50
|
High/Low/Air
|
-
|
-
|
-
|
-
|
-
|
Gia advances forward while spinning. Third hit knocks down.
|
|
j.S
Saber Strike
j.S
|
| Damage
|
Guard
|
Startup
|
Active
|
Recovery
|
Frame Adv (Block)
|
Frame Adv (Hit)
|
| 65
|
High/Air
|
14
|
-
|
-
|
-
|
-
|
Instant overhead with very long reach. Excellent air-to-air tool, can combo off of the air hard knockdown with OTG 6H for a full combo.
- Hard knockdown, air-to-air only
- OTG, uses OTG bounce
- Juggle limit immune
|
|
EX Attack
5L+S
Saber Rush
5S+L
|
| Damage
|
Guard
|
Startup
|
Active
|
Recovery
|
Frame Adv (Block)
|
Frame Adv (Hit)
|
| 40x4, 80
|
High/Low/Air
|
-
|
-
|
-
|
-
|
-
|
Gia performs an altered version of her 6S, which ends in her 2H. If the first hit is blocked, the rest of the move will not come out. It has excellent range and leads into full combo if it makes contact.
- Invincible startup
- Hard Knockdown
|
|
Throws
Forward Throw
Forward Throw
5M+H/6M+H
|
| Damage
|
Guard
|
Startup
|
Active
|
Recovery
|
Frame Adv (Block)
|
Frame Adv (Hit)
|
| 61
|
Throw
|
8
|
-
|
-
|
-
|
-
|
Standard throw. Kara throw with 6H~M. Recovers faster when holding a direction allowing a combo by holding down and pressing/mashing 2S (which gives 5S) for a full combo (although heavily scaled).
|
|
Back Throw
Back Throw
4M+H
|
| Damage
|
Guard
|
Startup
|
Active
|
Recovery
|
Frame Adv (Block)
|
Frame Adv (Hit)
|
| 81
|
Throw
|
6
|
-
|
-
|
-
|
-
|
Can be linked into a full combo with 5M>4SS (although heavily scaled).
- Switches sides
- Groundbounces
|
|
Super
Mega Blast
H+S
|
| Damage
|
Guard
|
Startup
|
Active
|
Recovery
|
Frame Adv (Block)
|
Frame Adv (Hit)
|
| 60x4, 150
|
High/Low/Air
|
-
|
-
|
-
|
-
|
-
|
After a brief delay, Gia launches a multi-hitting wave forward.
- Hits opponents in a hard knockdown.
|
|
Tag Actions
Assist
Assist
Saber Whip
A1/A2
|
| Damage
|
Guard
|
Startup
|
Active
|
Recovery
|
Frame Adv (Block)
|
Frame Adv (Hit)
|
| 86
|
High/Low/Air
|
-
|
-
|
-
|
-
|
-
|
Based on her 6S, making it a good assist for combo extension. Great lockdown and poke.
|
|
Swap Strike
Swap Strike
A1/A2+S
|
| Damage
|
Guard
|
Startup
|
Active
|
Recovery
|
Frame Adv (Block)
|
Frame Adv (Hit)
|
| 70
|
High/Low/Air
|
6
|
-
|
-
|
-
|
-
|
Faster than EX Attack, making it a little more reliable as a reversal, but far less damaging. Forces a character switch on hit; knocks down if only one character remains.
Because it shares the same animation as 5H, this Swap Strike has great range.
|
|
Colors
External Links
