Melty Blood/MBAACC/Nero Chaos: Difference between revisions
m (Decluttering Page) |
m (Jotamide moved page Melty Blood/Nero Chaos to Melty Blood/MBAACC/Nero Chaos) |
(No difference)
| |
Revision as of 15:41, 21 February 2020
(Click here for the original Nero Chaos page)
Introduction
A living mass of chaotic matter analogous to a primordial soup, created from the accumulation of the lives of 666 creatures. His name, phonetically spelled "Nero", was given to him by the Church as a play on words in Gematria by which the letters that compose it add up to 666, the so-called Number of the Beast.
Nero Chaos is a character that relies heavily on summons and long-reaching normals. By taking advantage of many long reaching and air unblockable moves, a Nero player can keep an opponent locked down or keep his opponent from approaching easily. The bad news is that a lot of these moves have huge blind spots and leave him vulnerable to attacks from specific angles. He's also really tall, giving certain characters instant overheads on him.
Stage: Back Alley
BGM: Theme of Arcueid
Moon Overview
The greatest strength in the crescent moon strategy is the solidness of most of the moves.
EX Crows can pin an opponent in place. If they attempt to jump the crows and block, using a ground move will cause a frozen opponent to get hit. A well placed A crow can catch an opponent off guard and deal quite a bit of damage. The B Crow is nice to have out, but takes far too long to summon and has an awkward angle.
Snakes persist and can be used as a defense against jump-ins. The A snake can cover you even if the opponent lands behind you. The ideal combo during an A snake chew is two charged 2c. The B snake -> A crow can also lead into the standard air combo.
The deer are the best of these moves because they last forever and "chase" the opponent. In between the strikes of the deer it is possible to throw your opponent, fake throwing your opponent, or summon more junk.
The difficulty you will have here besides most characters taking advantage of Nero's large hitbox will be the fact that you have no overheads besides jumping attacks. Against an opponent who blocks the entire time you may have very little options to crack their guard.
Half Moon relies heavily on a running throw mixup and using 63214C to make opponents make mistakes. An opponent who sees you run may try to poke you out of your throw or jump; 5B will stop this pretty easily. Of course you can also block instead.
The deer summon must now be placed carefully instead of "wherever" like in crescent moon. This move is now best when Nero is in the corner since it will jump to the other side of the screen instead of tracking the opponent.
The crow summon is now different. The A crow will no longer allow an opponent to dash under and beat the crap out of you. Of course, the A crow doesn't reach ALL the way across the screen anymore, but the new run will let you close the distance easier to use it.
Overall, H-Nero is a lot less solid than the other moons because of a lack of consistency in damage and a reliance on gimmicks to cause that damage but is not an awful character.
Considered by many to be the strongest version of Nero due to many useful tools and an actual overhead.
Many normals are now shorter or more oddly angled than previous versions and you are unable to airdash during jumping moves due to Full Moon's mechanics, making this Nero a lot less mobile.
However, the key to achieving consistent damage lies in superior summons and the chargeable overhead that is 6[C].
External Links
Check out the Google Docs guide 'Stupid Unnecessary Insurance' - https://docs.google.com/document/d/1t6-Icsyo99IdyEVt-O856bvL_JU4fFVZLwTGP2xLnJs/edit
Win Quotes
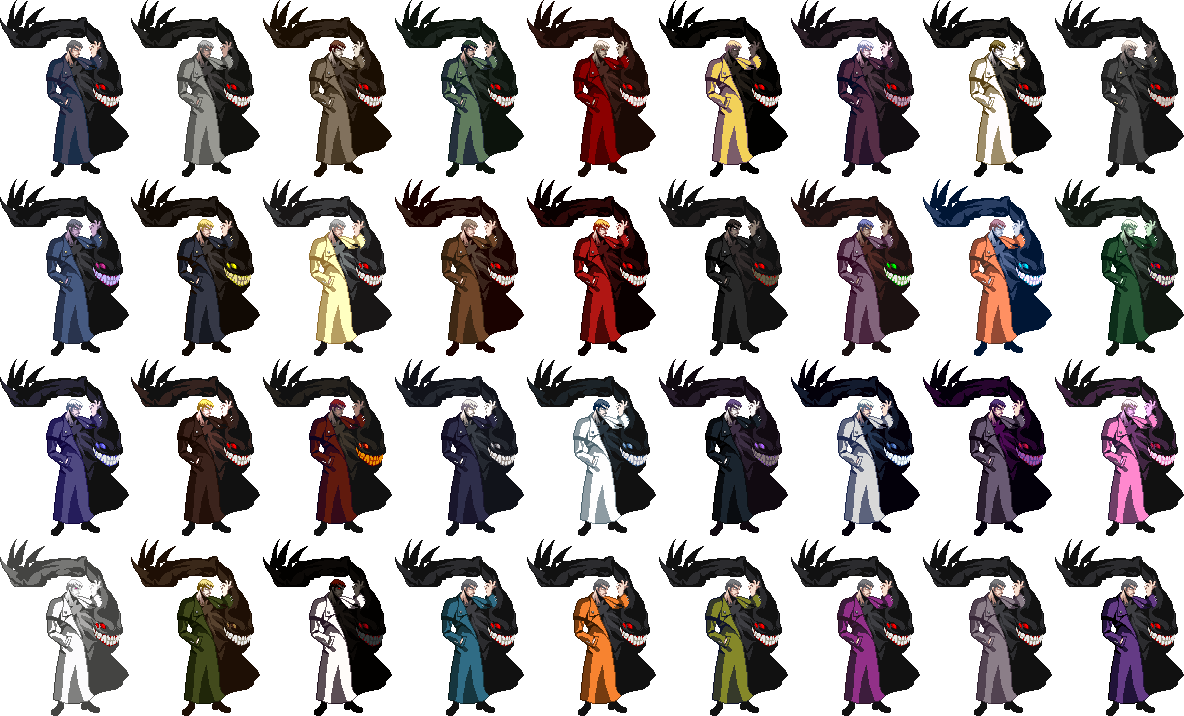
Colors
Statistics Crescent Moon
| Stance | 100% | 75% | 50% | 25% | Net Health |
|---|---|---|---|---|---|
| Jump | 0.792 | 0.740 | 0.717 | 0.638 | 15,891 |
| Stand | 0.900 | 0.842 | 0.815 | 0.725 | 13,979 |
| Crouch | 0.972 | 0.909 | 0.880 | 0.783 | 12,945 |
| Average | 14,271 |
Statistics Half/Full Moon
| Stance | 100% | 75% | 50% | 25% | Net Health |
|---|---|---|---|---|---|
| Jump | 0.792 | 0.749 | 0.717 | 0.638 | 15,845 |
| Stand | 0.900 | 0.852 | 0.815 | 0.725 | 13,939 |
| Crouch | 0.972 | 0.920 | 0.880 | 0.783 | 12,908 |
| Average | 14,230 |


